Gauge pod without drilling: cupholder, vent, steering column, dashboard or cage?
Where can I mount a 52 mm gauge without drilling?
The easiest place is the cupholder: the pod drops in without tools and carries heavy gauges too. A round air vent gives a flush, factory-style fit. For a gauge right in view, use the steering column shroud or the top of the dashboard (stuck on with VHB tape); in motorsport, the roll cage. Off limits: the underside of the steering column (knee airbag), the passenger airbag cover and the head-strike zone.
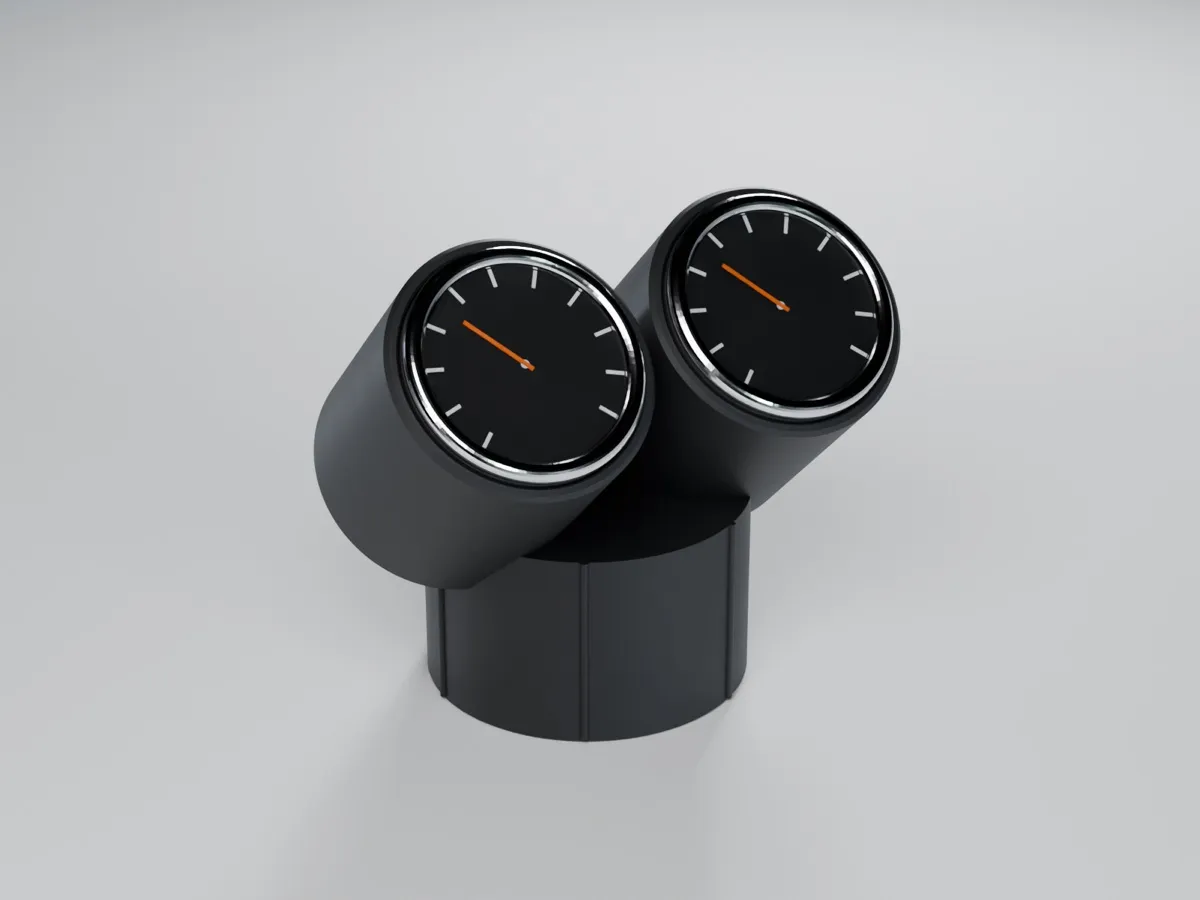
- Cupholder
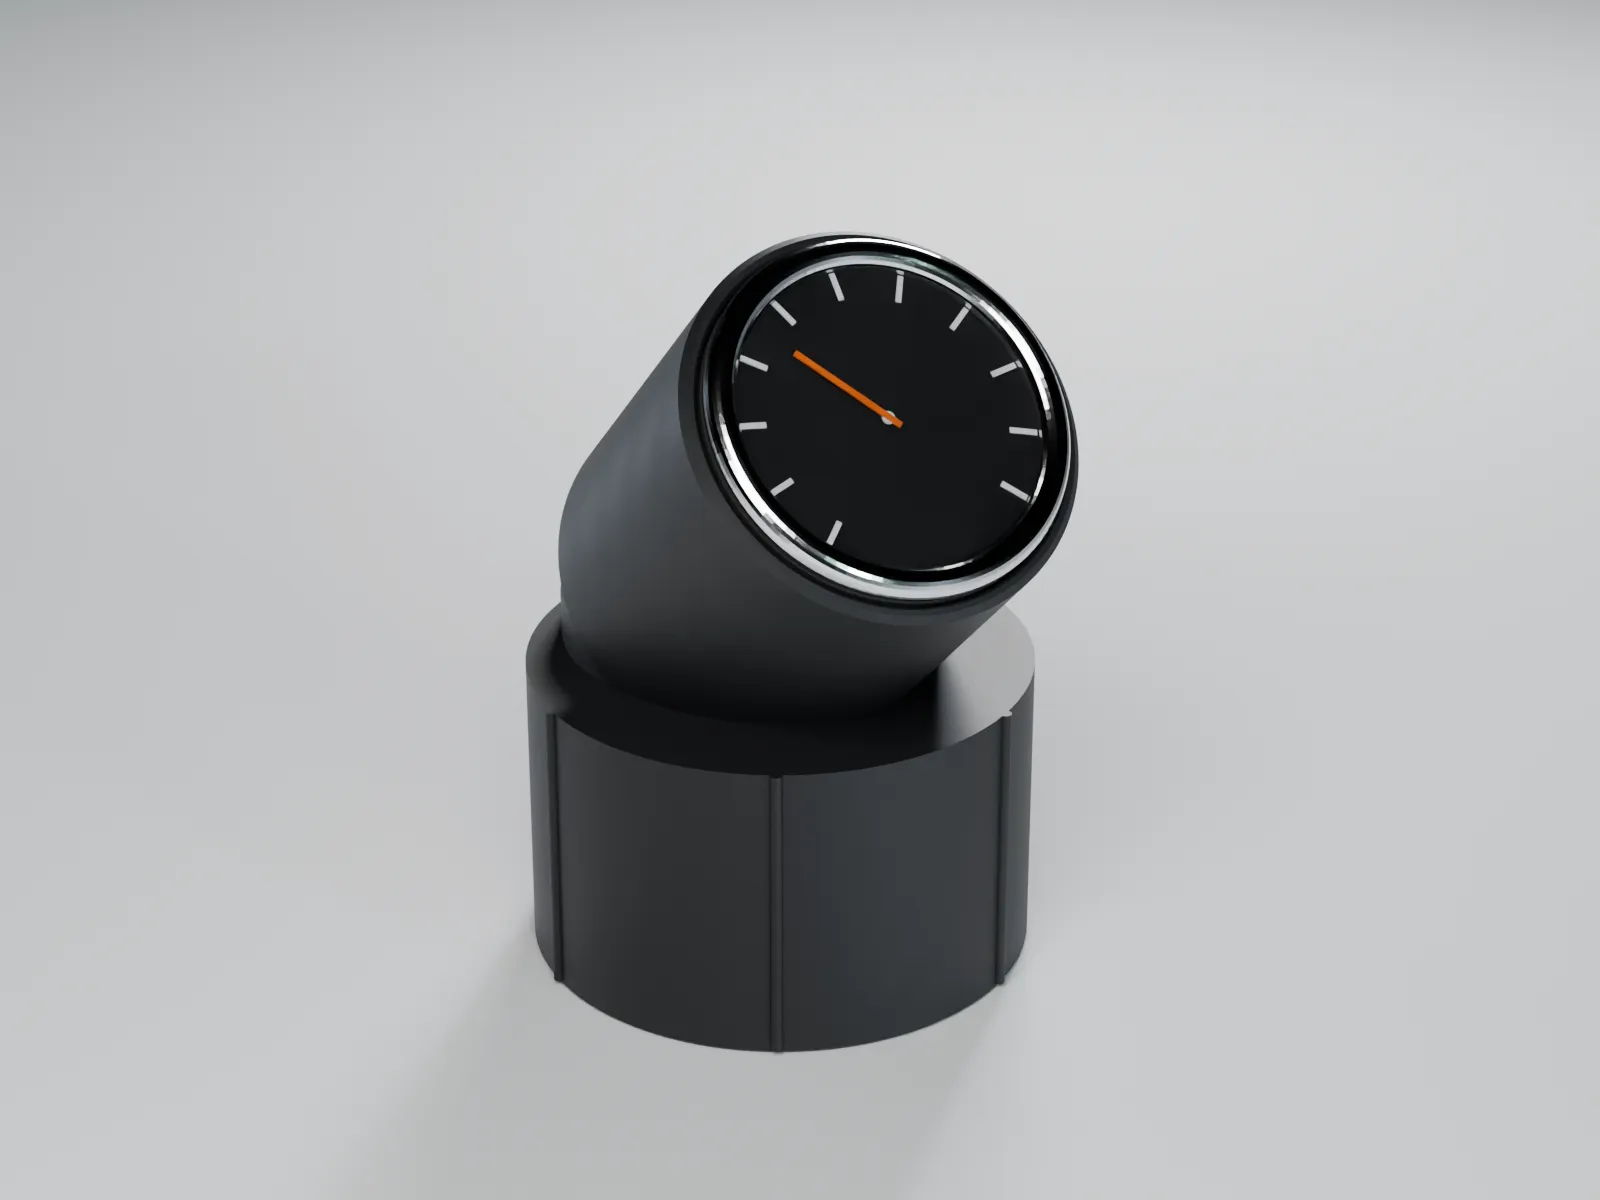
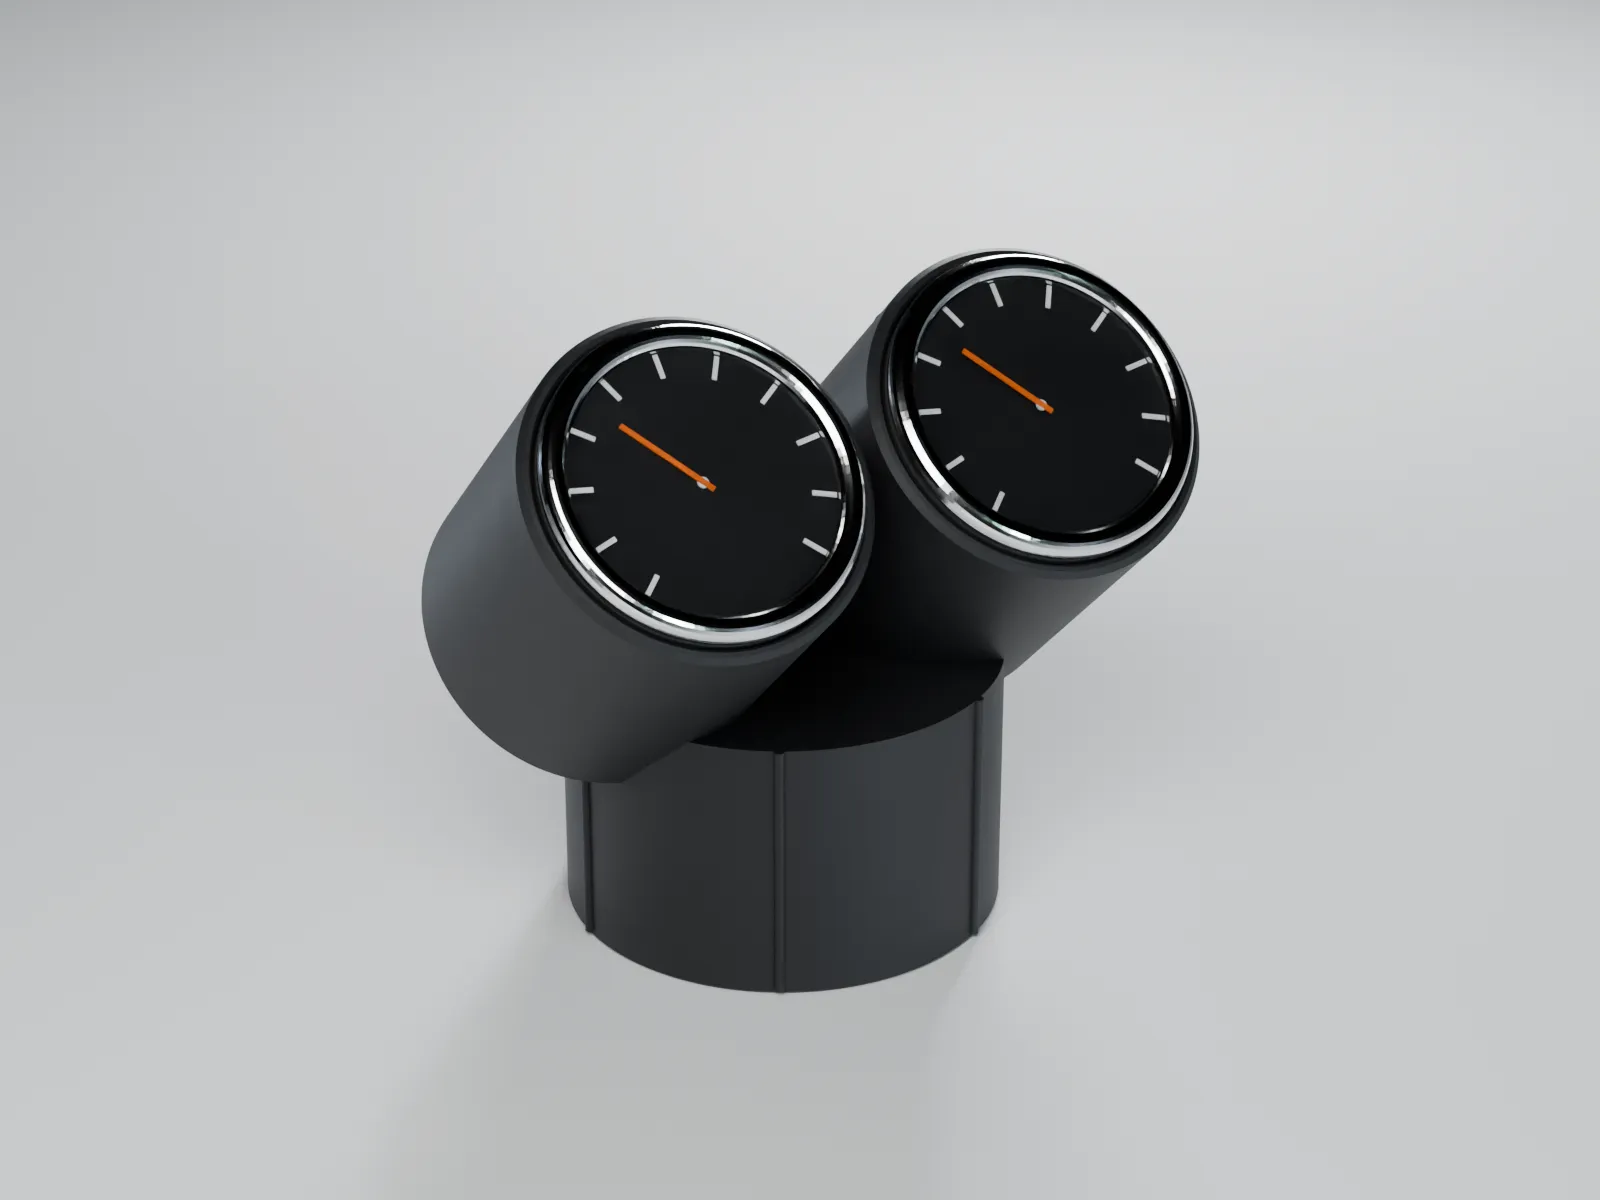
- Ø 70–85 mm, 1 or 2 gauges, tilted 45°
- Round vent
- housing inner Ø 60–80 mm, flush
- Vent clip
- slat 1.5 / 2.5 / 3.5 mm, light gauges only
- Steering column
- radius 45 / 70 / 120 mm, top only (knee airbag)
- Dashboard
- tilt 60 / 75 / 90°, ASA/ABS only, driver's side only
- Roll cage
- tube Ø 30–60 mm, hose clamps, not in the head-strike zone
The locations compared
| Location | Mounting | Gauges | Measure first | Limit |
|---|---|---|---|---|
| Cupholder | drops in, 6 crush ribs | 1 or 2 × 52 mm, 45° | inner Ø of the cupholder (70–85 mm) | cupholder is taken |
| Round air vent | clamps in place of the vent head | 1 × 52 mm, flush | inner Ø of the vent housing (60–80 mm) | vent no longer blows |
| Vent clip | jaws on a slat | 1 × 52 mm, light | slat thickness (1.5 / 2.5 / 3.5 mm) | 80–150 g only |
| Steering column | VHB tape on a saddle | 1 or 2 × 52 mm, 75° | shroud radius (single 45 / 70 / 120 mm, dual 100 / 150 / 250 mm) | top only, never underneath |
| Dashboard | VHB tape on a base | 1 or 3 × 52 mm, or ball joint | tilt (60 / 75 / 90°) or free ±40° | ASA/ABS only, driver’s side only |
| Roll cage | V-block, 2 hose clamps | 1 × 52 mm | nothing (tube Ø 30–60 mm) | not in the head-strike zone |
The pods are made for gauges with a 52 mm body. A larger bezel rests on the front; on dual and triple pods the spacing between the gauges limits its size. For gauges with a 60 mm body the universal pods are getting dedicated versions with a 60.4 mm bore one by one, starting with the dashboard pod; the product page shows whether one exists. More in 52 mm or 60 mm.
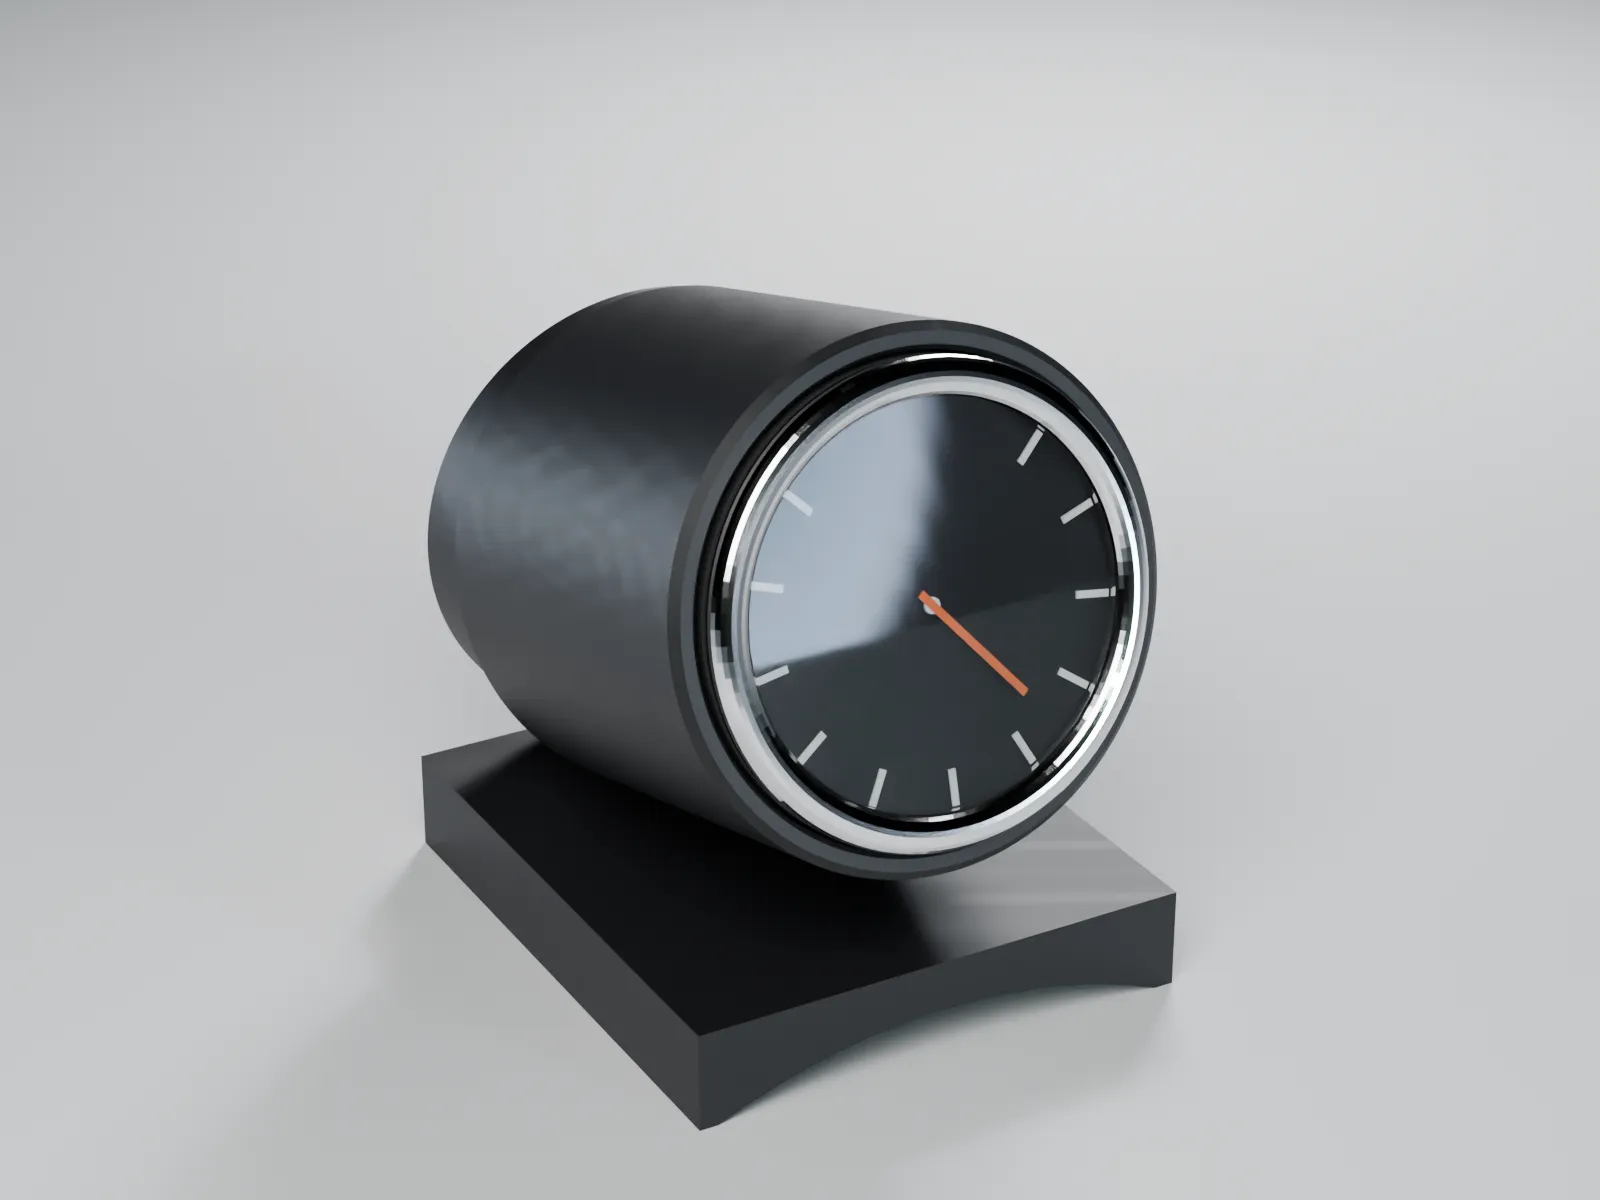
Cupholder: the easiest way
The pod drops into the cupholder, six crush ribs absorb ±0.5 mm, and a pedestal supports the cup across its full width, so even heavy mechanical gauges stay steady. The cable exits at the back over the rim. It comes for one or two gauges; measure the inner diameter with calipers.
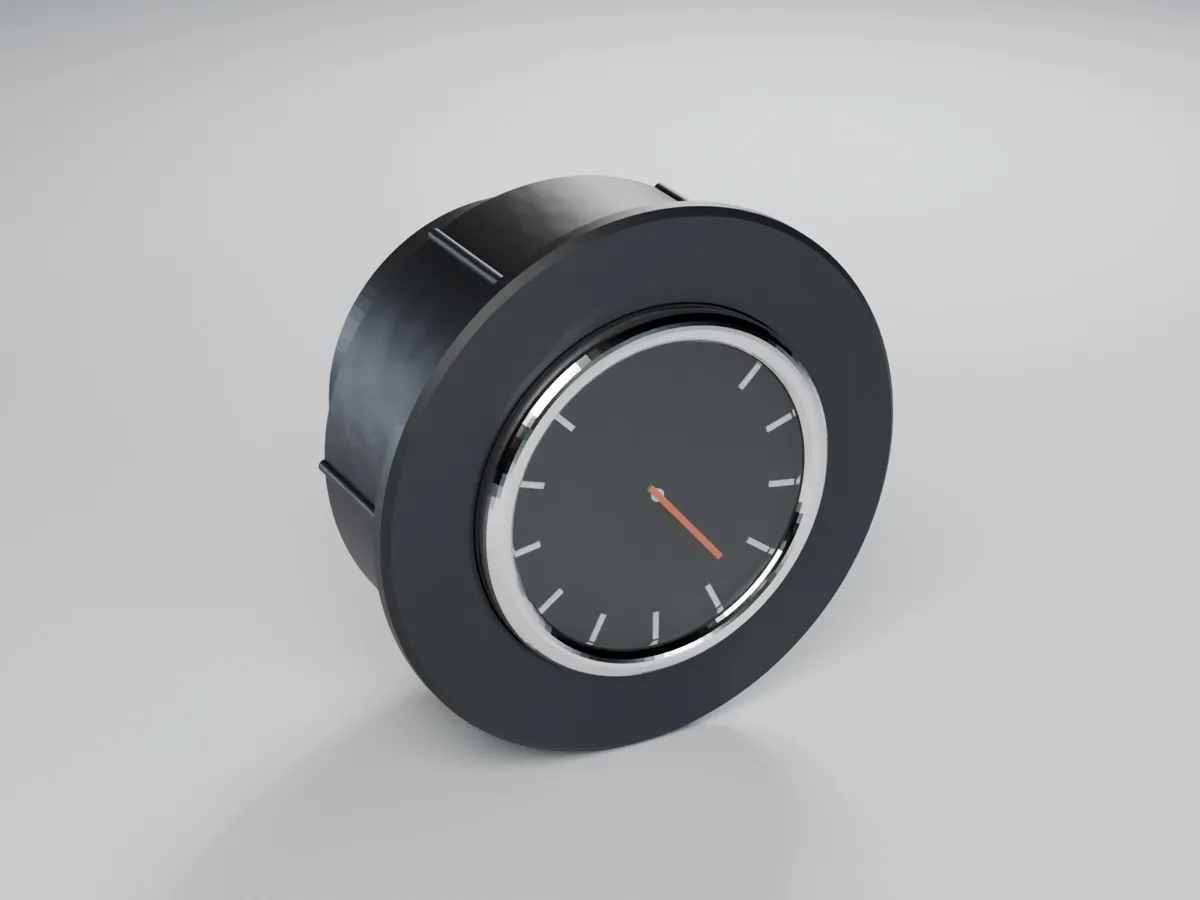
Air vent: flush or clipped
With round vents whose head can be removed, the pod sits in the housing in its place and the gauge sits flush in the face, held by crush ribs. The vent no longer blows afterwards – do not use one you need to keep the windscreen clear, or one in an airbag cover.
On slatted vents a clip sits on one slat. It moves in seconds but only carries light gauges; check it is secure before every drive.
Steering column: right behind the wheel
The pod sticks onto the top of the steering column shroud, with the gauge tilted 75° toward the driver. The saddle follows the curve and comes for a 45, 70 or 120 mm radius. We don’t know the radius of your car – you measure it: hold a piece of card against the shroud, trace the curve and compare. If in doubt, take the larger radius; the tape absorbs some difference.
For two gauges there is a dual pod: both tilted 75° and each turned 6° toward the centre. Its shell follows the shroud with a 100, 150 or 250 mm radius and needs a bonding area of about 120 × 70 mm. It therefore only suits wide, fairly flat shrouds (at least 120 mm wide) and hides more of the instrument cluster than the single pod. For narrow, strongly curved shrouds, use the single pod.
Never mount it underneath the column: many cars have a knee airbag there. The pod must also not block the view of the speedometer and warning lights or the steering wheel adjustment.
Dashboard: single, triple or ball joint
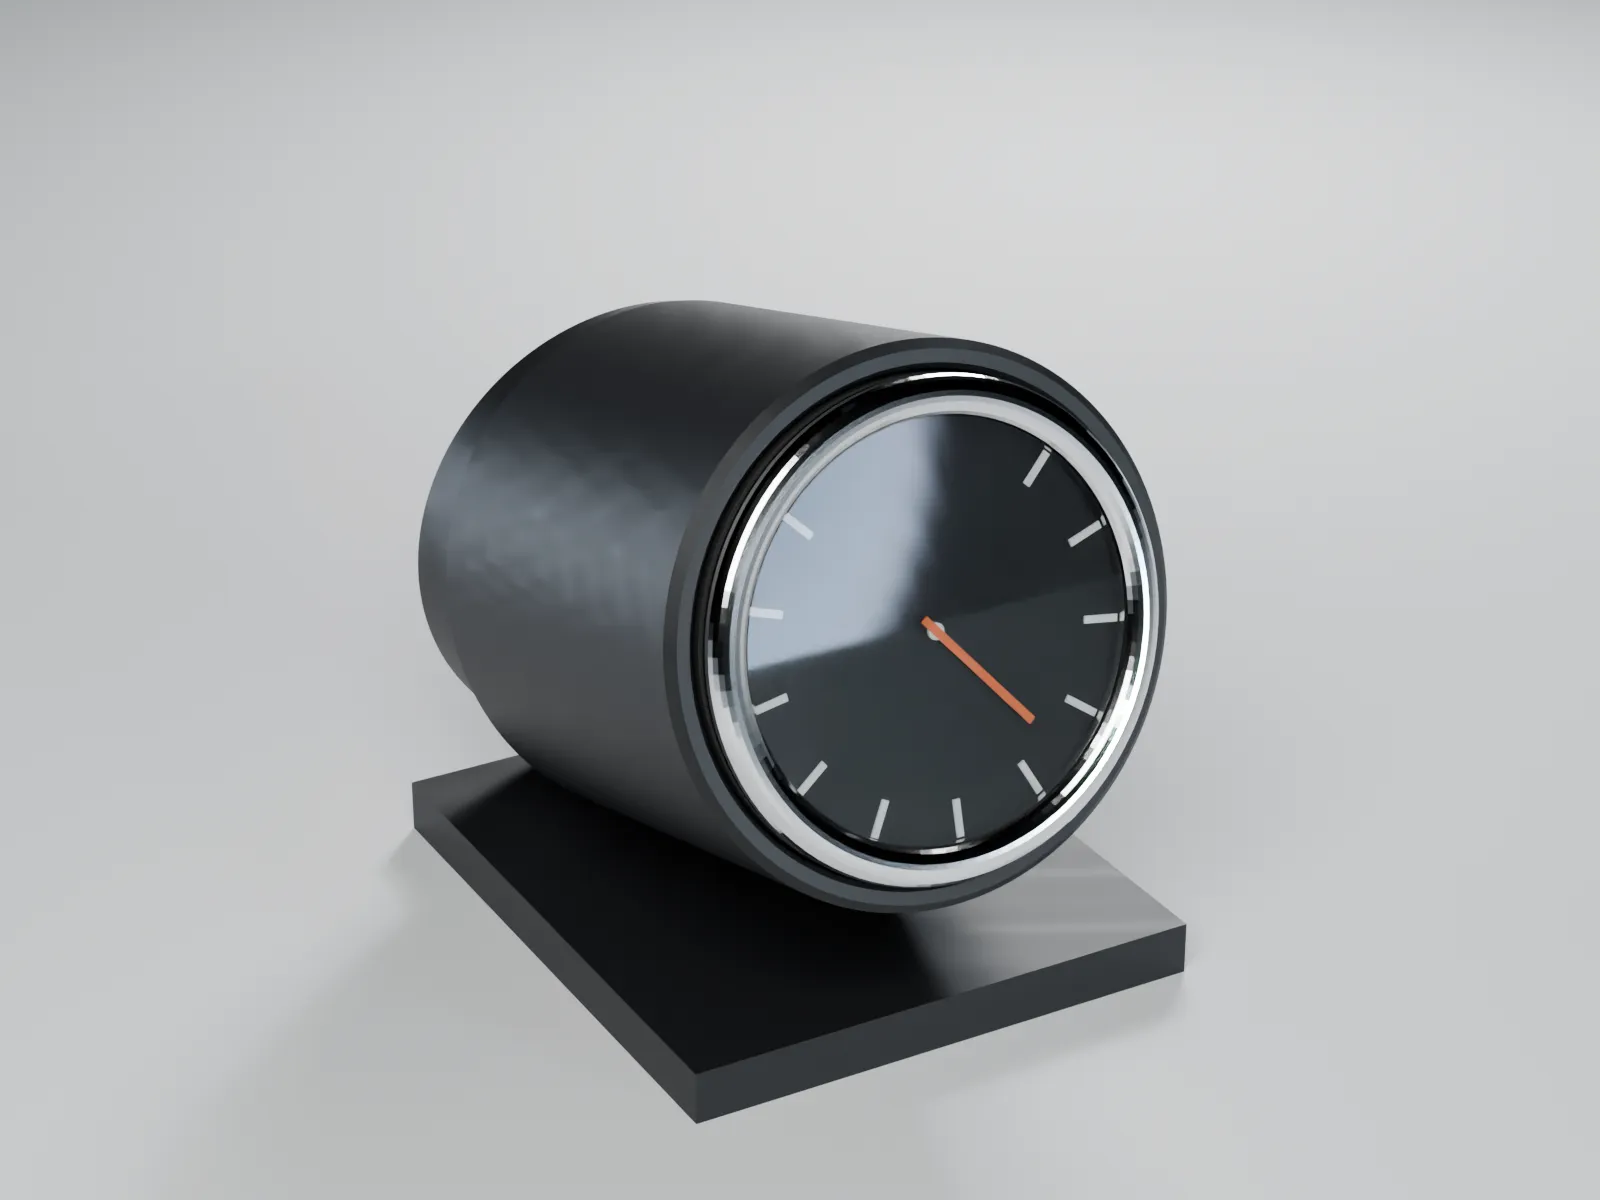
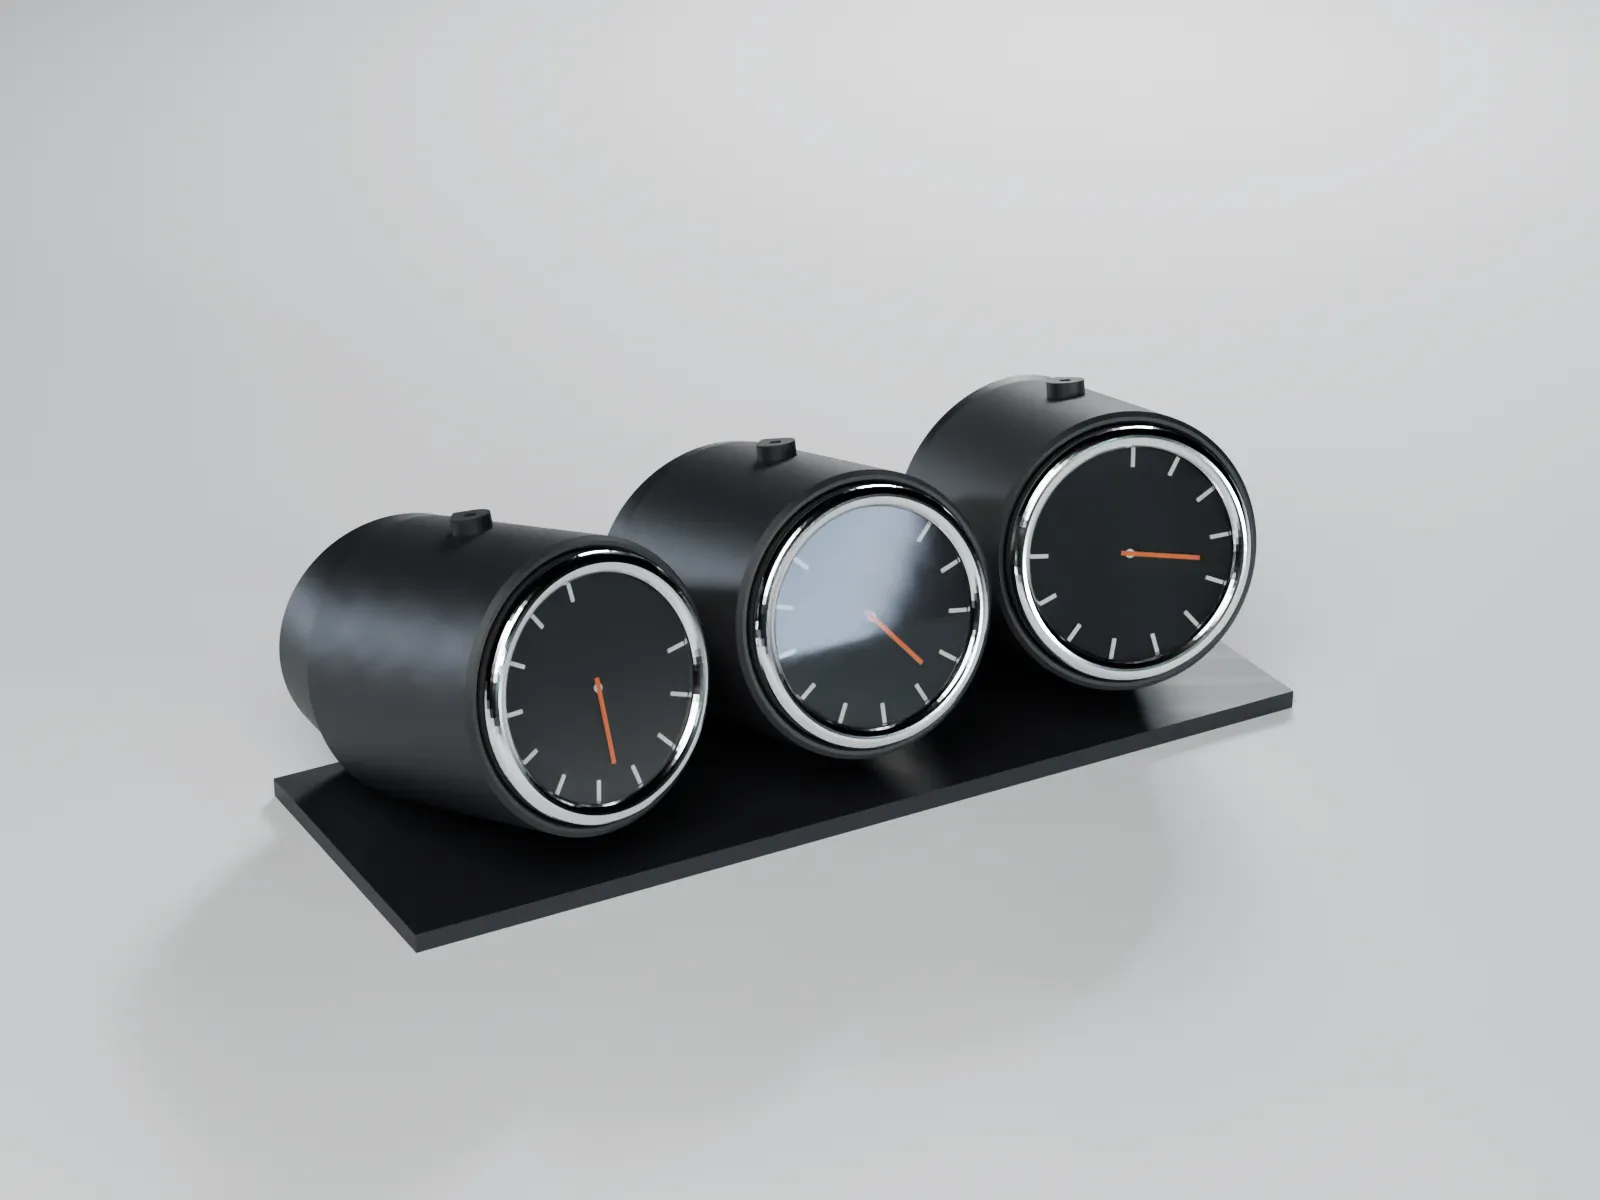
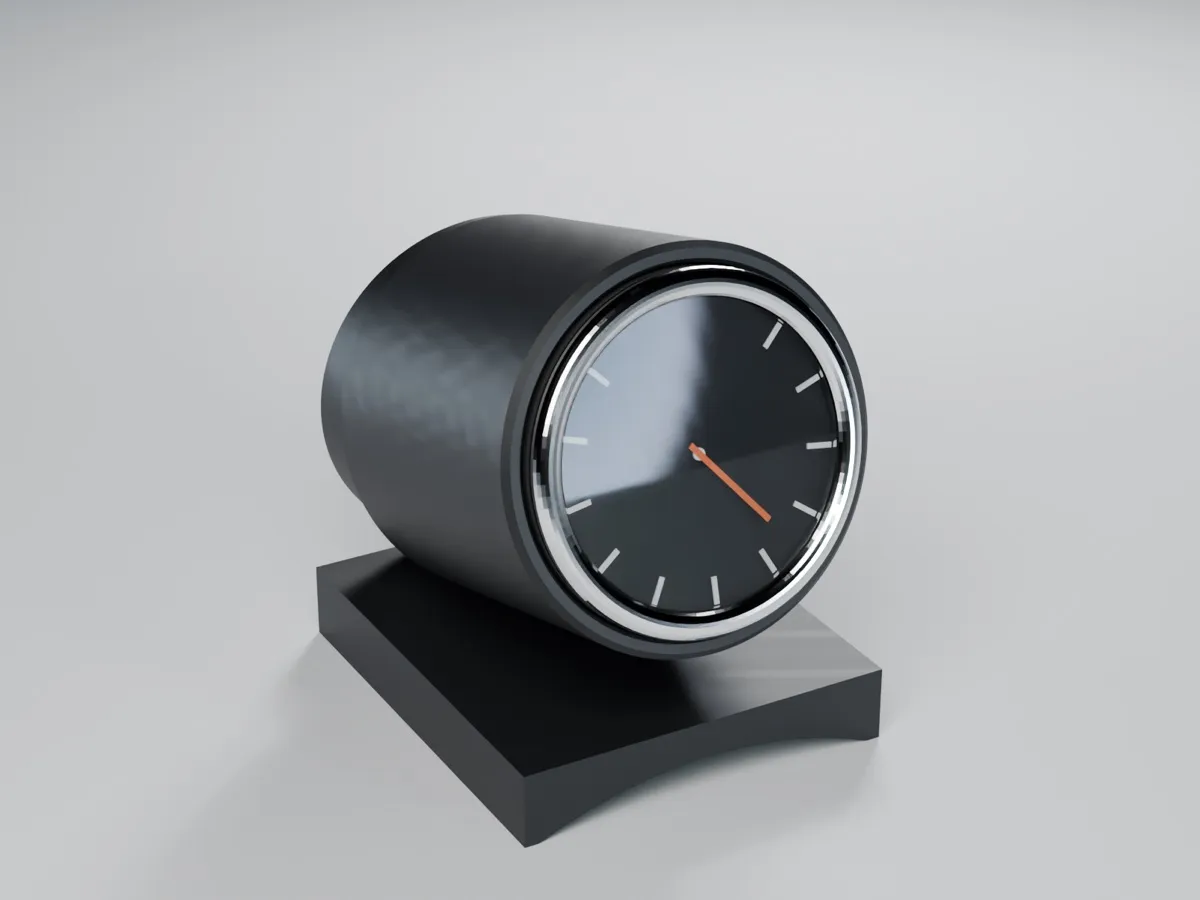
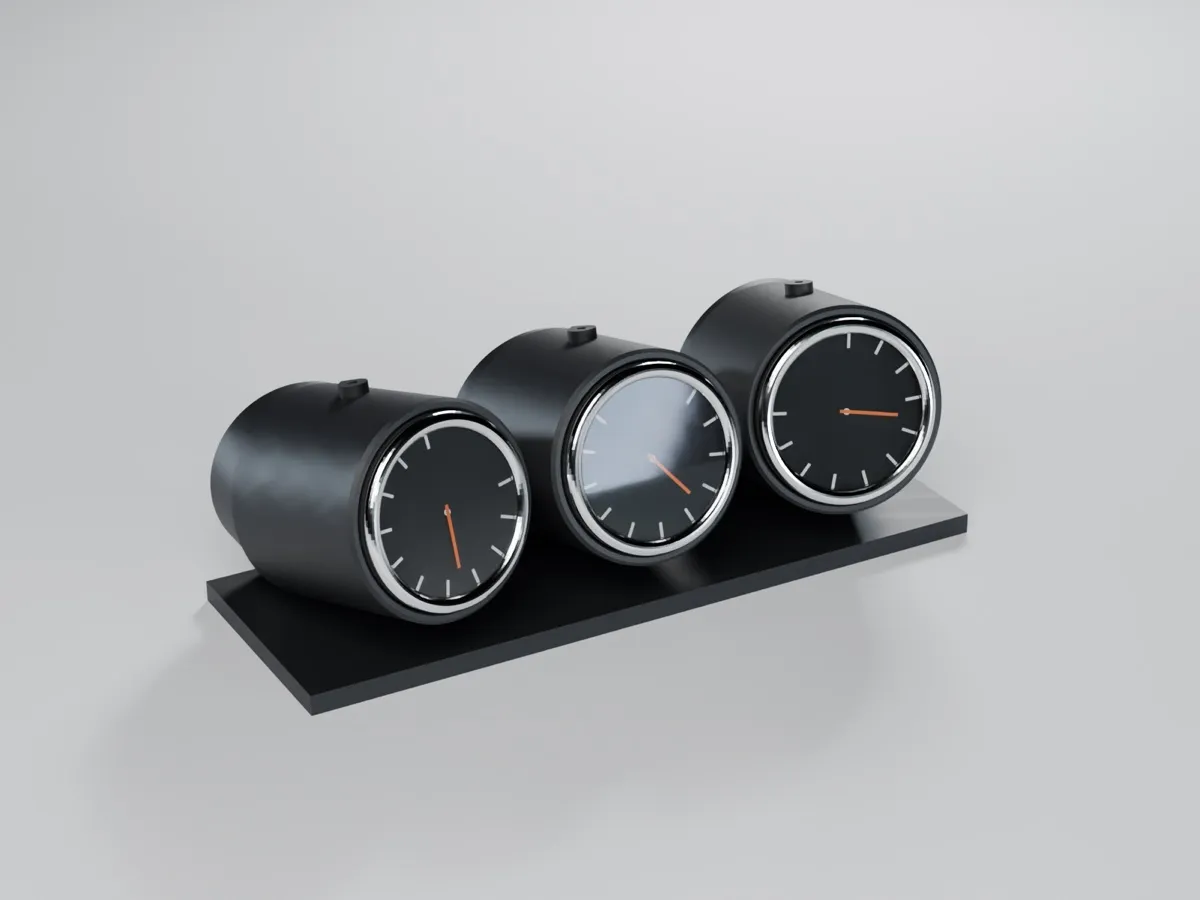
On top of the dashboard the gauge sits best in view. Three tilt angles (60, 75, 90°) compensate for the slope. The triple pod angles the outer gauges 12° toward the driver, is 203 mm wide, weighs 170 g and needs a 220 mm print bed.
If you want to choose the angle freely, take the ball-joint pod: a set of a cup with a ball and an adhesive base (50 × 40 mm); an M3 screw clamps the socket. The joint swivels ±40°, so on a flat dashboard the gauge can be set anywhere from horizontal to almost vertical, and it also works on vertical surfaces. Clamping force and snap-in have only been calculated so far, not tested in print. On the A-pillar only in cars without curtain airbags, and never in the area the head can hit in a crash.
It gets hot up here: up to about 89 °C in summer. ASA or ABS only – details in PETG or ASA in a car. Stick it on the driver’s side only, never on or in front of the passenger airbag cover, and keep the view through the windscreen clear.
Roll bar and cage
A 90° V-block centres itself on any tube from Ø 30 to 60 mm and is held by two hose clamps (9–12 mm band). A strip of rubber or TPU tape in the V-groove stops it turning and protects the paint. Do not mount it in the head-strike zone of driver or passenger and do not remove required cage padding; in motorsport your series rules apply.
Accessories: visor and back cover
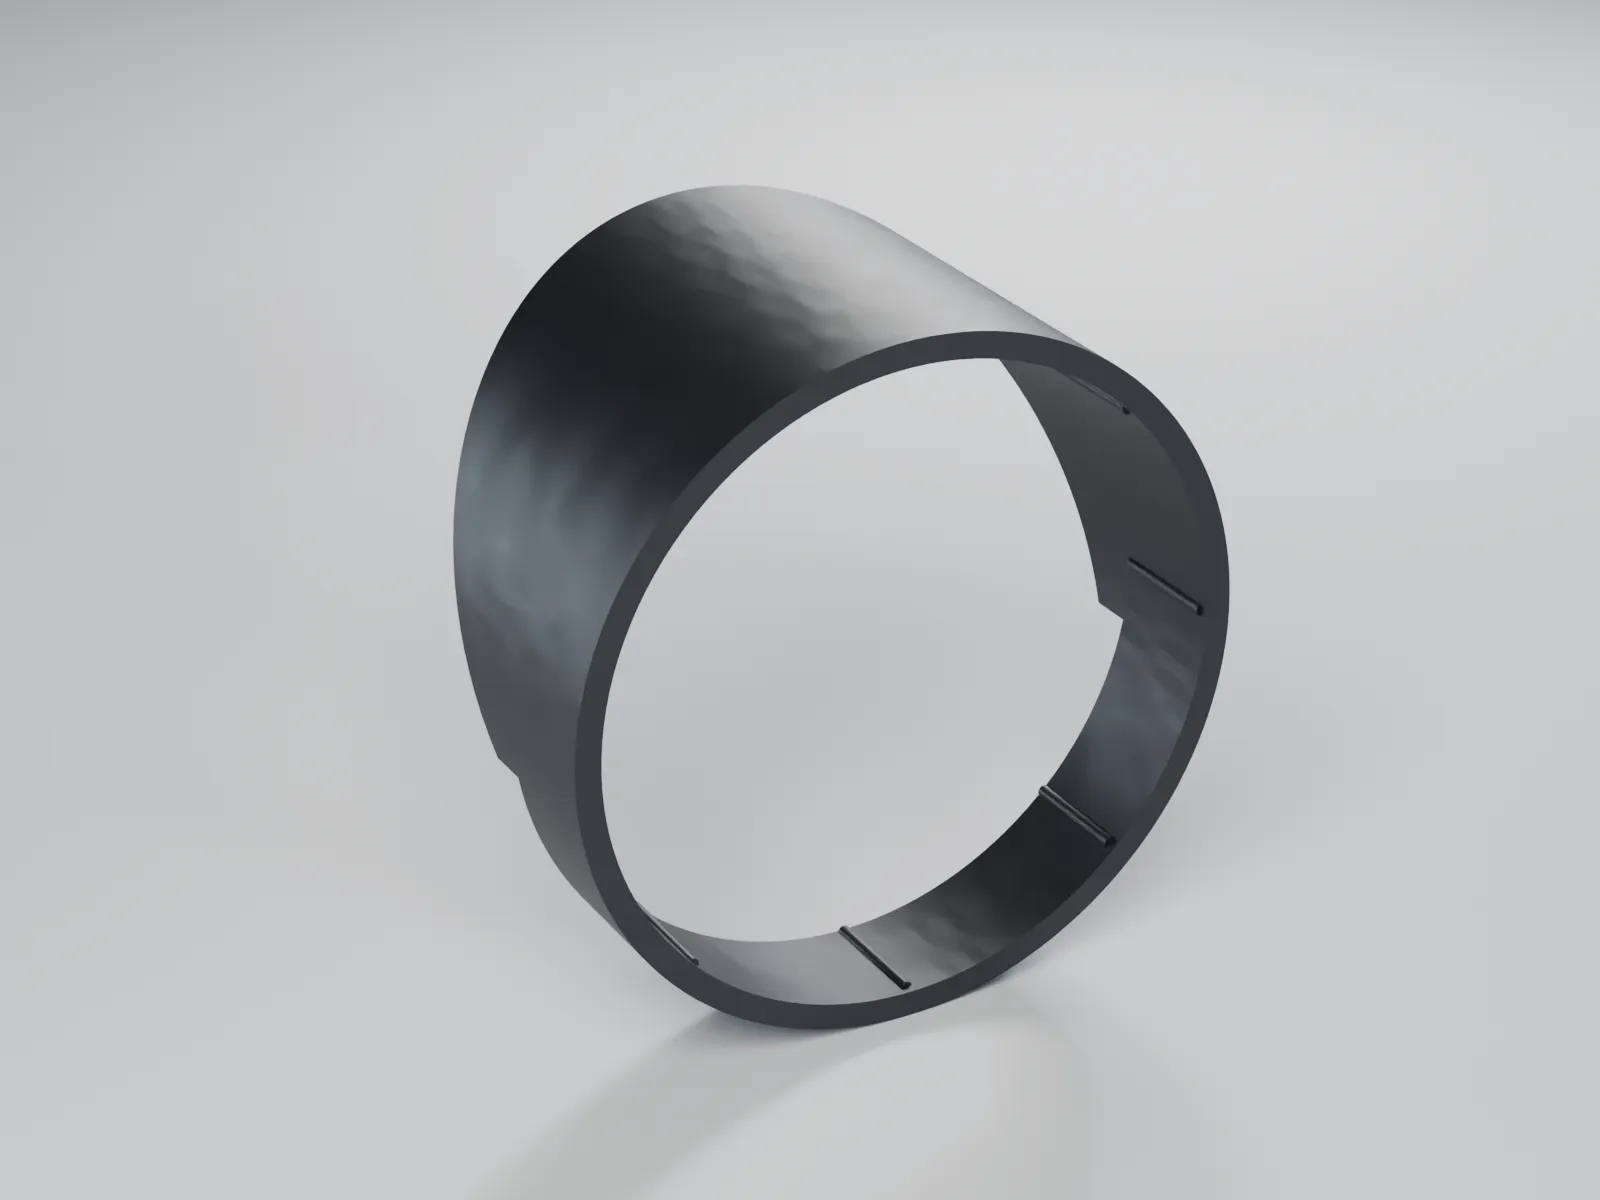
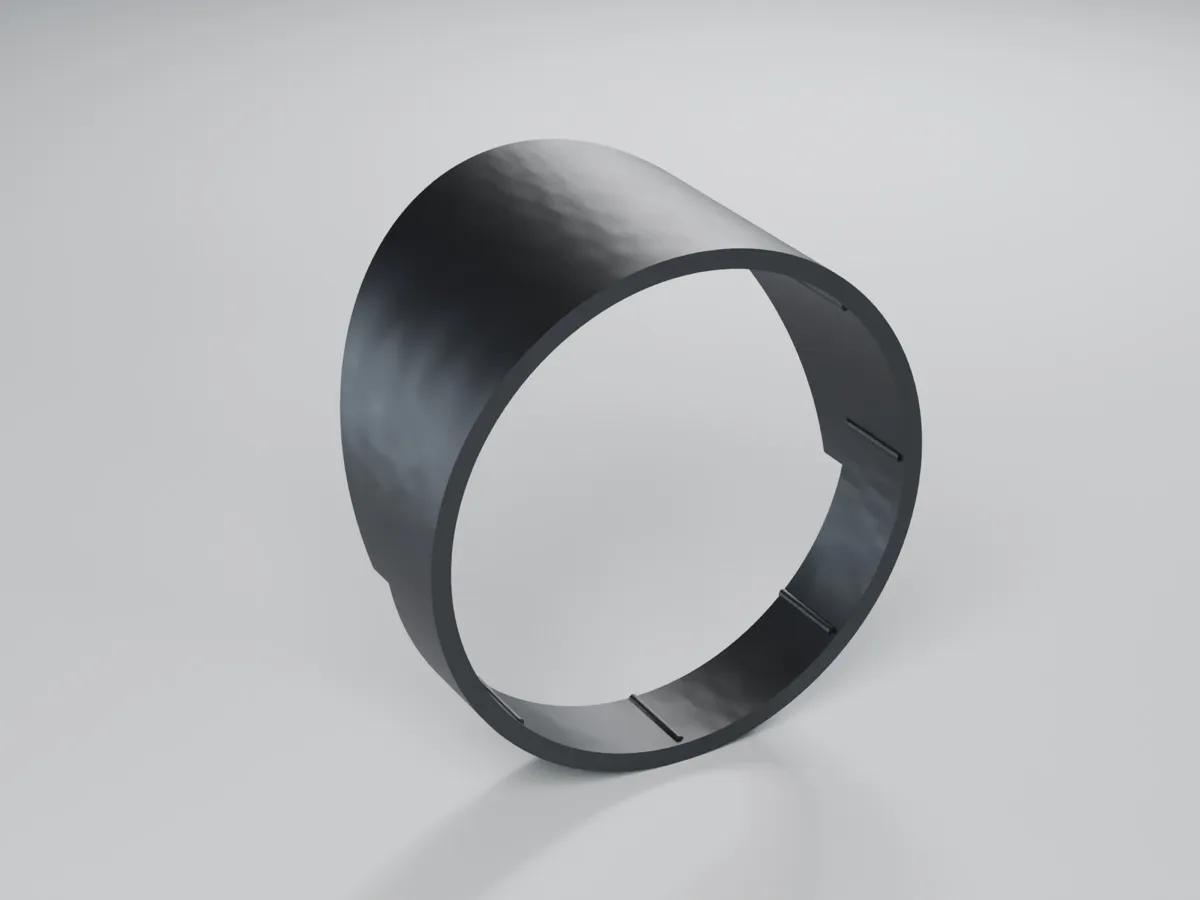
- Anti-glare visor: pushes onto the front of the cup and shades the dial from sun above (28 mm shell). Variants for cups Ø 57, 58.8, 61 and 63 mm – 58.8 mm fits our pods. Best printed in ASA.
- Back cover: a cap for the open back of a cup with 12 mm of space for terminals. The cable hole (Ø 9 mm) has a 4 mm slot, so the cap slides onto an already wired gauge. Turn the slot downward.
Both also fit other cups and bezels Ø 57–63 mm; measure the outer diameter first.
Not a round gauge?
For boost controller units, OBD displays or shift lights without their own mount there is a universal slide-in mount (60–100 mm wide, up to 14 or 22 mm thick) that sticks on with VHB tape. The same rules apply: not on airbag covers, not in the view through the windscreen, and ASA or ABS only on the dashboard.
Safety in short
- Knee airbag: nothing under the steering column or in front of the knees.
- Passenger airbag: nothing on or in front of the cover; dashboard pods on the driver’s side only.
- Curtain airbag: no universal A-pillar pods – see Gauge pods and airbags.
- Head strike: on the cage, not at head height of driver or passenger.
- Controls, warning lights and the forward view stay clear; check stuck-on and clipped pods before driving.
Sticking a gauge pod on with VHB tape (steering column, dashboard)
- Degrease the surface with isopropyl alcohol; on textured plastic apply adhesion promoter (e.g. 3M Primer 94).
- Feed the cable through the stand from the front, insert the gauge, tighten the M3 set screw hand-tight.
- Apply the VHB tape to the saddle or base, align the pod and press firmly for 30 seconds.
- Let it cure for 24 hours, then check it is secure before the first drive.
FAQ
Which location is best?
To start with, the cupholder: no glue, no tools, heavy gauges are fine. If you want the gauge right in view, use the steering column or dashboard. If you want it discreet and factory-like, use a round air vent.
Does my gauge fit (Defi, Prosport, VDO …)?
If it has a 52 mm body (nominal 52.39 mm), yes – whatever the brand. Our bore is 52.79 mm. Many 60 mm gauges only have a 60 mm bezel on a 52 mm body; the bezel then rests on the front. Gauges with a 60 mm body need a dedicated 60 mm version; the product page shows which pods have one. If in doubt, measure with calipers and print the tolerance test ring.
Which material should I use?
On top of the dashboard ASA or ABS only; it reaches about 89 °C there in summer. In the shade (cupholder, vent, steering column, cage) PETG is enough. PLA is unsuitable in a car.
What is the tolerance test ring?
A small print with three rings (+0.2, +0.4 and +0.6 mm clearance) that comes with every pod. The ring your gauge fits without force and without wobble tells you whether our bore suits your printer.
Can I put a pod on the A-pillar?
Only in cars without a curtain or A-pillar airbag, and then with a pod made for that exact model. That is why we do not offer a universal A-pillar pod.
My gauge is heavy – where should it go?
In the cupholder or dashboard pod. The vent clip is only meant for light gauges (typically 80–150 g).
How long does it take to print?
With our settings (0.2 mm layers) from about 1 hour (visor) to just over 13 hours (triple dashboard pod). Single pods mostly take 2.5 to 8 hours. The exact time is on each product page.
Updated: 31 October 2026