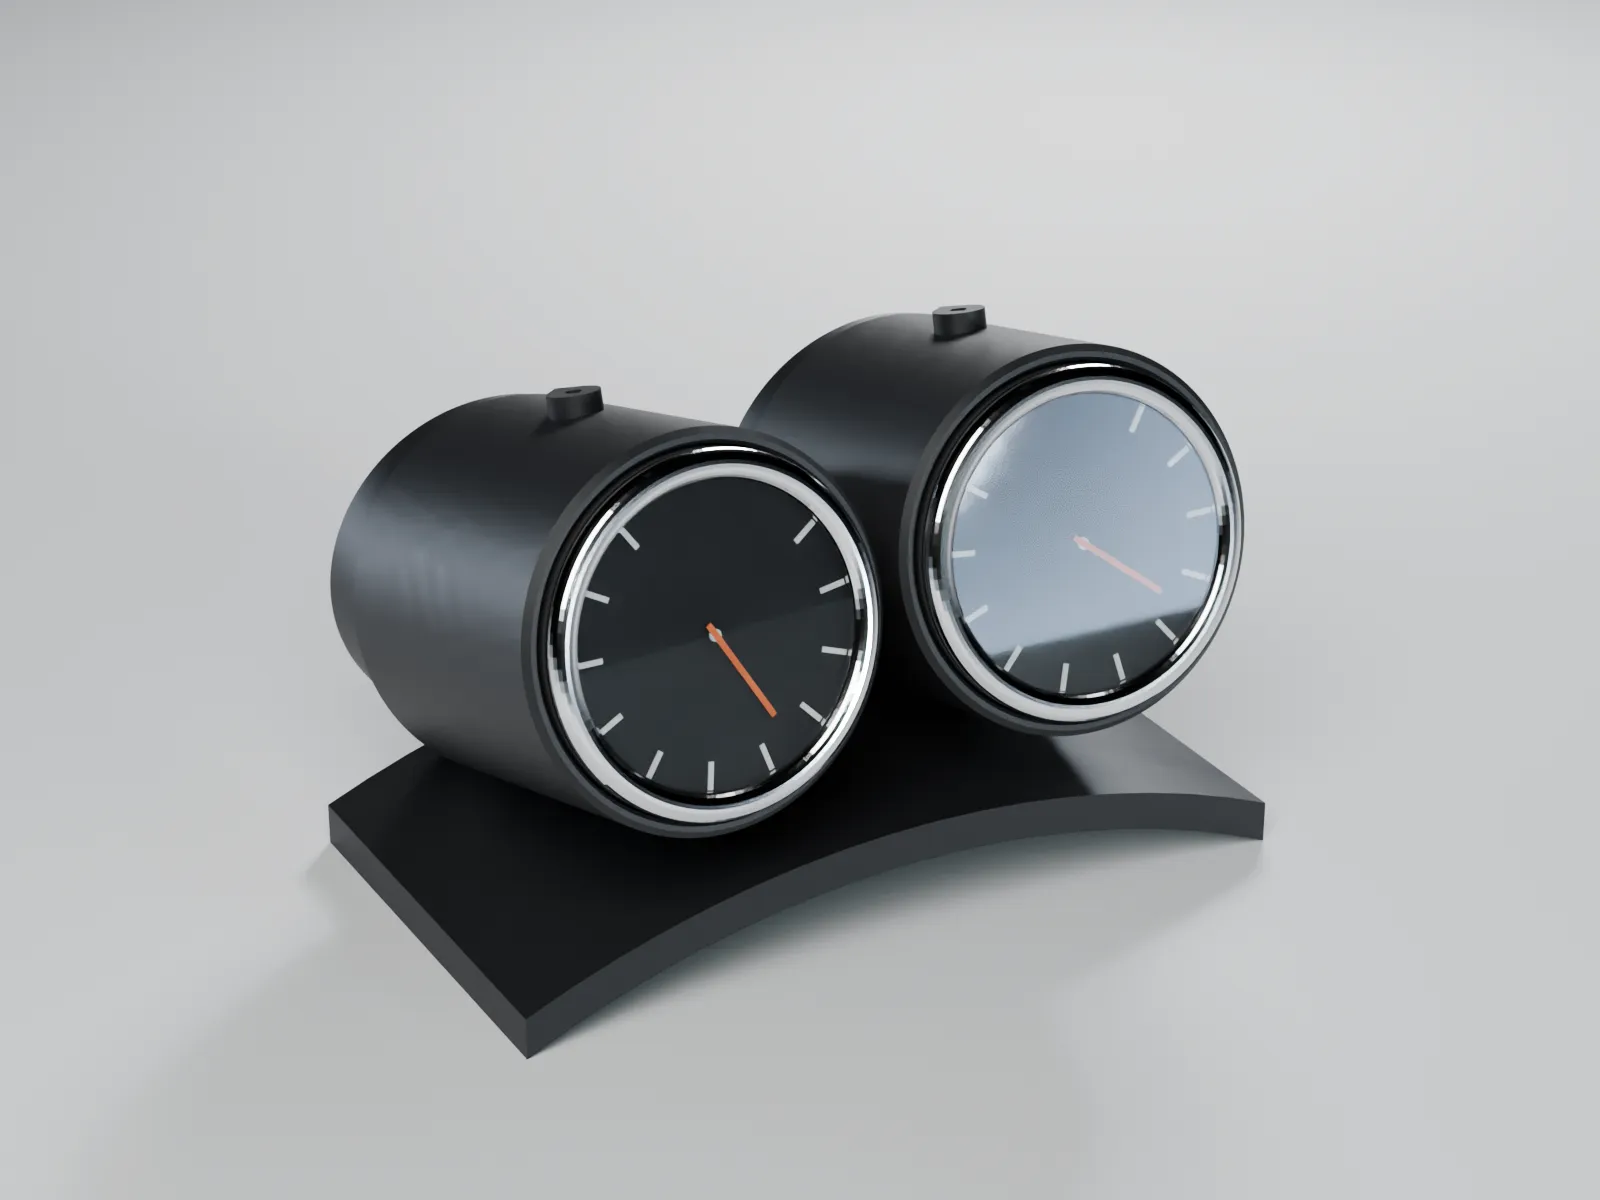
Universal – fits any car
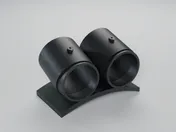
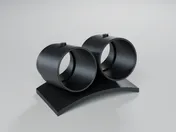
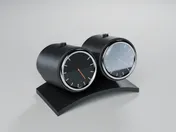
Dual 52 mm gauge pod for the steering column – universal, stick-on
Two 52 mm gauges on the steering column shroud, tilted 75° toward the driver. VHB stick-on, for radii 100–250 mm.
Description
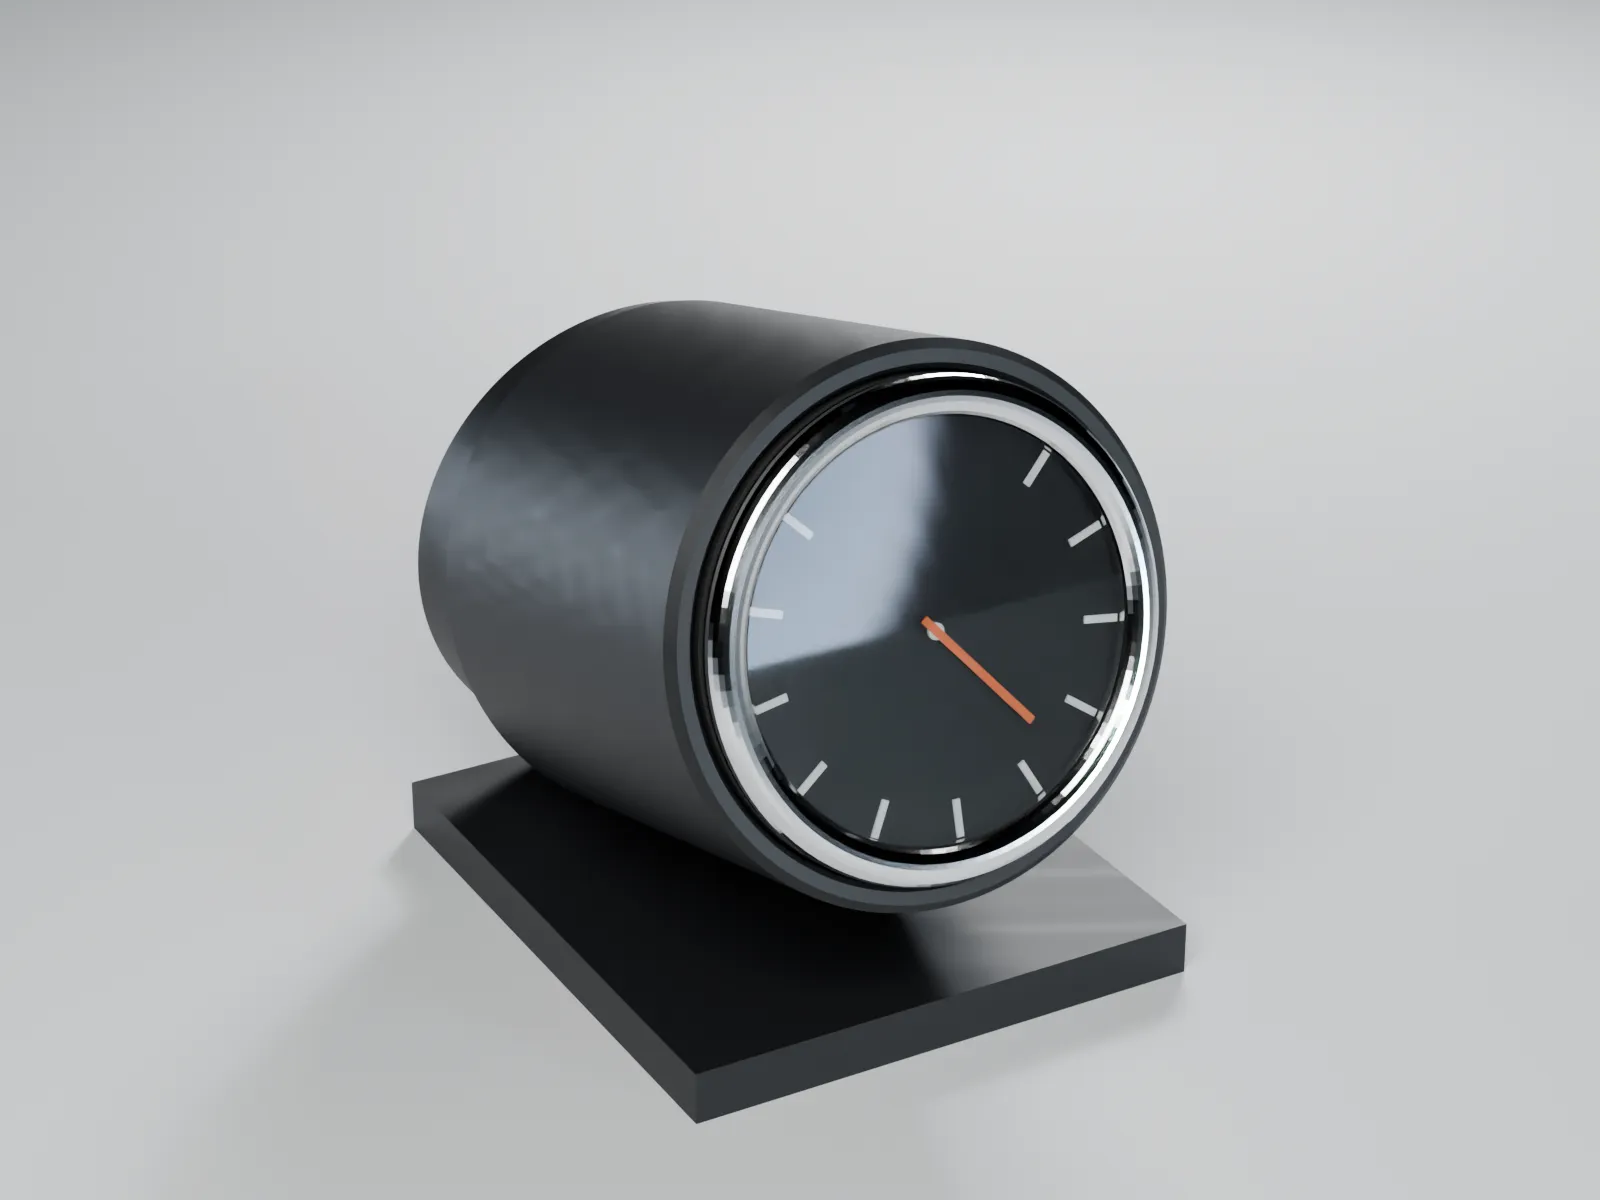
The pod sits on the steering column shroud behind the wheel and holds two 52 mm gauges side by side, tilted 75° toward the driver and turned 6° each toward the middle.
- The saddle is a 6 mm shell that follows the curve of the shroud. Variants for 100, 150 and 250 mm radius.
- The bonding area is about 120 × 70 mm for double-sided VHB tape. Nothing is drilled.
- One M3 set screw on top per gauge secures them.
- The cables run through the hollow stands toward the dashboard.
- Prints without supports: the front face lies on the bed.
Suits flatter, wide shrouds. If yours is narrower than 120 mm or more curved, take the single pod. Measuring the radius: hold card against the shroud, trace the curve, compare.
VHB tape (1.1 mm) absorbs small radius differences; bore +0.4 mm, verify with the test ring.
Dimensions
| Width | 126 mm |
|---|---|
| Height | 72 mm |
| Depth | 84 mm |
| Bore | 52.79 mm |
| Weight (printed) | 117 g |
| Layer height | 0.2 mm |
| Walls | 4 |
| Infill | 20 % |
Dimensions of the default variant in print orientation.
Material and temperature
Shaded location: PETG is sufficient, ASA is the more robust choice. PLA is unsuitable in a car – it starts to soften at about 55–60 °C.
Print orientation: Front face (toward the dashboard) on the bed, cup pointing up.
Safety notice
Stick it on top of the column shroud only, never underneath (knee airbag zone). Two gauges cover more: the speedometer, warning lights and indicators must stay visible and the wheel adjustment free. Check it is secure before driving. Install at your own risk. Never mount in an airbag deployment zone, never cover controls, never restrict the view. Follow the material and temperature advice. Add-ons may affect the type approval of the vehicle (§ 19 StVZO in Germany); keep edges in the head and knee area rounded (UN Regulation No. 21).
Not an original part. No affiliation with the vehicle manufacturers named; make and model names only indicate fitment.
What's included
toleranz-testring-52mm.stl– Tolerance test ringlenksaeulen-gauge-pod-doppelt-52mm-60mm_radius100_gauge52.stl– STL – print-ready meshlenksaeulen-gauge-pod-doppelt-52mm-60mm_radius100_gauge52.3mf– 3MF – with print profilelenksaeulen-gauge-pod-doppelt-52mm-60mm_radius100_gauge52.step– STEP – editable in CADlenksaeulen-gauge-pod-doppelt-52mm-60mm_radius150_gauge52.stl– STL – print-ready meshlenksaeulen-gauge-pod-doppelt-52mm-60mm_radius150_gauge52.3mf– 3MF – with print profilelenksaeulen-gauge-pod-doppelt-52mm-60mm_radius150_gauge52.step– STEP – editable in CADlenksaeulen-gauge-pod-doppelt-52mm-60mm_radius250_gauge52.stl– STL – print-ready meshlenksaeulen-gauge-pod-doppelt-52mm-60mm_radius250_gauge52.3mf– 3MF – with print profilelenksaeulen-gauge-pod-doppelt-52mm-60mm_radius250_gauge52.step– STEP – editable in CADlenksaeulen-gauge-pod-doppelt-52mm-60mm_radius100_gauge60.stl– STL – print-ready meshlenksaeulen-gauge-pod-doppelt-52mm-60mm_radius100_gauge60.3mf– 3MF – with print profilelenksaeulen-gauge-pod-doppelt-52mm-60mm_radius100_gauge60.step– STEP – editable in CADlenksaeulen-gauge-pod-doppelt-52mm-60mm_radius150_gauge60.stl– STL – print-ready meshlenksaeulen-gauge-pod-doppelt-52mm-60mm_radius150_gauge60.3mf– 3MF – with print profilelenksaeulen-gauge-pod-doppelt-52mm-60mm_radius150_gauge60.step– STEP – editable in CADlenksaeulen-gauge-pod-doppelt-52mm-60mm_radius250_gauge60.stl– STL – print-ready meshlenksaeulen-gauge-pod-doppelt-52mm-60mm_radius250_gauge60.3mf– 3MF – with print profilelenksaeulen-gauge-pod-doppelt-52mm-60mm_radius250_gauge60.step– STEP – editable in CAD
| Version | Contains | Price |
|---|---|---|
| Shroud radius 100 mm · 52 mm gauge | toleranz-testring-52mm.stl, lenksaeulen-gauge-pod-doppelt-52mm-60mm_radius100_gauge52.stl, lenksaeulen-gauge-pod-doppelt-52mm-60mm_radius100_gauge52.3mf, lenksaeulen-gauge-pod-doppelt-52mm-60mm_radius100_gauge52.step | €5.99 |
| Shroud radius 150 mm · 52 mm gauge | toleranz-testring-52mm.stl, lenksaeulen-gauge-pod-doppelt-52mm-60mm_radius150_gauge52.stl, lenksaeulen-gauge-pod-doppelt-52mm-60mm_radius150_gauge52.3mf, lenksaeulen-gauge-pod-doppelt-52mm-60mm_radius150_gauge52.step | €5.99 |
| Shroud radius 250 mm · 52 mm gauge | toleranz-testring-52mm.stl, lenksaeulen-gauge-pod-doppelt-52mm-60mm_radius250_gauge52.stl, lenksaeulen-gauge-pod-doppelt-52mm-60mm_radius250_gauge52.3mf, lenksaeulen-gauge-pod-doppelt-52mm-60mm_radius250_gauge52.step | €5.99 |
| Shroud radius 100 mm · 60 mm gauge | toleranz-testring-52mm.stl, lenksaeulen-gauge-pod-doppelt-52mm-60mm_radius100_gauge60.stl, lenksaeulen-gauge-pod-doppelt-52mm-60mm_radius100_gauge60.3mf, lenksaeulen-gauge-pod-doppelt-52mm-60mm_radius100_gauge60.step | €5.99 |
| Shroud radius 150 mm · 60 mm gauge | toleranz-testring-52mm.stl, lenksaeulen-gauge-pod-doppelt-52mm-60mm_radius150_gauge60.stl, lenksaeulen-gauge-pod-doppelt-52mm-60mm_radius150_gauge60.3mf, lenksaeulen-gauge-pod-doppelt-52mm-60mm_radius150_gauge60.step | €5.99 |
| Shroud radius 250 mm · 60 mm gauge | toleranz-testring-52mm.stl, lenksaeulen-gauge-pod-doppelt-52mm-60mm_radius250_gauge60.stl, lenksaeulen-gauge-pod-doppelt-52mm-60mm_radius250_gauge60.3mf, lenksaeulen-gauge-pod-doppelt-52mm-60mm_radius250_gauge60.step | €5.99 |
You will also need
- 1 × VHB tape 3M 5952 or similar, about 120 × 70 mm
- 2 × M3 set screw or self-tapping M3 screw, 8–10 mm
Printing
- Print the tolerance test ring first and test-fit the gauge.
- Print in PETG or ASA, 0.2 mm layers, 4 walls, 20 % infill, no supports. No PLA.
Installation
- Degrease the shroud with isopropyl alcohol; on textured plastic apply adhesion promoter (3M Primer 94).
- Feed the cable through the stand from the front, insert the gauge, tighten the set screw hand-tight.
- Apply the VHB tape to the saddle, place the pod centred and press firmly for 30 s. Let it cure for 24 h.
Guides for this part
FAQ
Which material should I use for this gauge pod?
Recommended: PETG (alternatively ASA, ABS). Shaded location: PETG is sufficient, ASA is the more robust choice. PLA is unsuitable in a car – it starts to soften at about 55–60 °C.
Do I receive a printed part?
No. You get the print files and print the part yourself or use a print service. You get the download link right after payment.
Does a 60 mm gauge fit?
Yes, in the “60 mm” variants: 60.4 mm bore for gauges with a 60 mm housing (e.g. Defi 60); the front ring rests on the cup rim. Gauges with a 52 mm housing take the 52 mm variant.
How large may the gauges' front ring be?
At most Ø 60.5 mm per gauge (52 mm variant): that is the spacing between the gauges. A Defi 52 with its 58.3 mm ring just fits side by side.
Version 2.0.0, updated 2 November 2026 · SKU GP-UNI-COL-2X52
Gauge pods for other cars
All gauge pods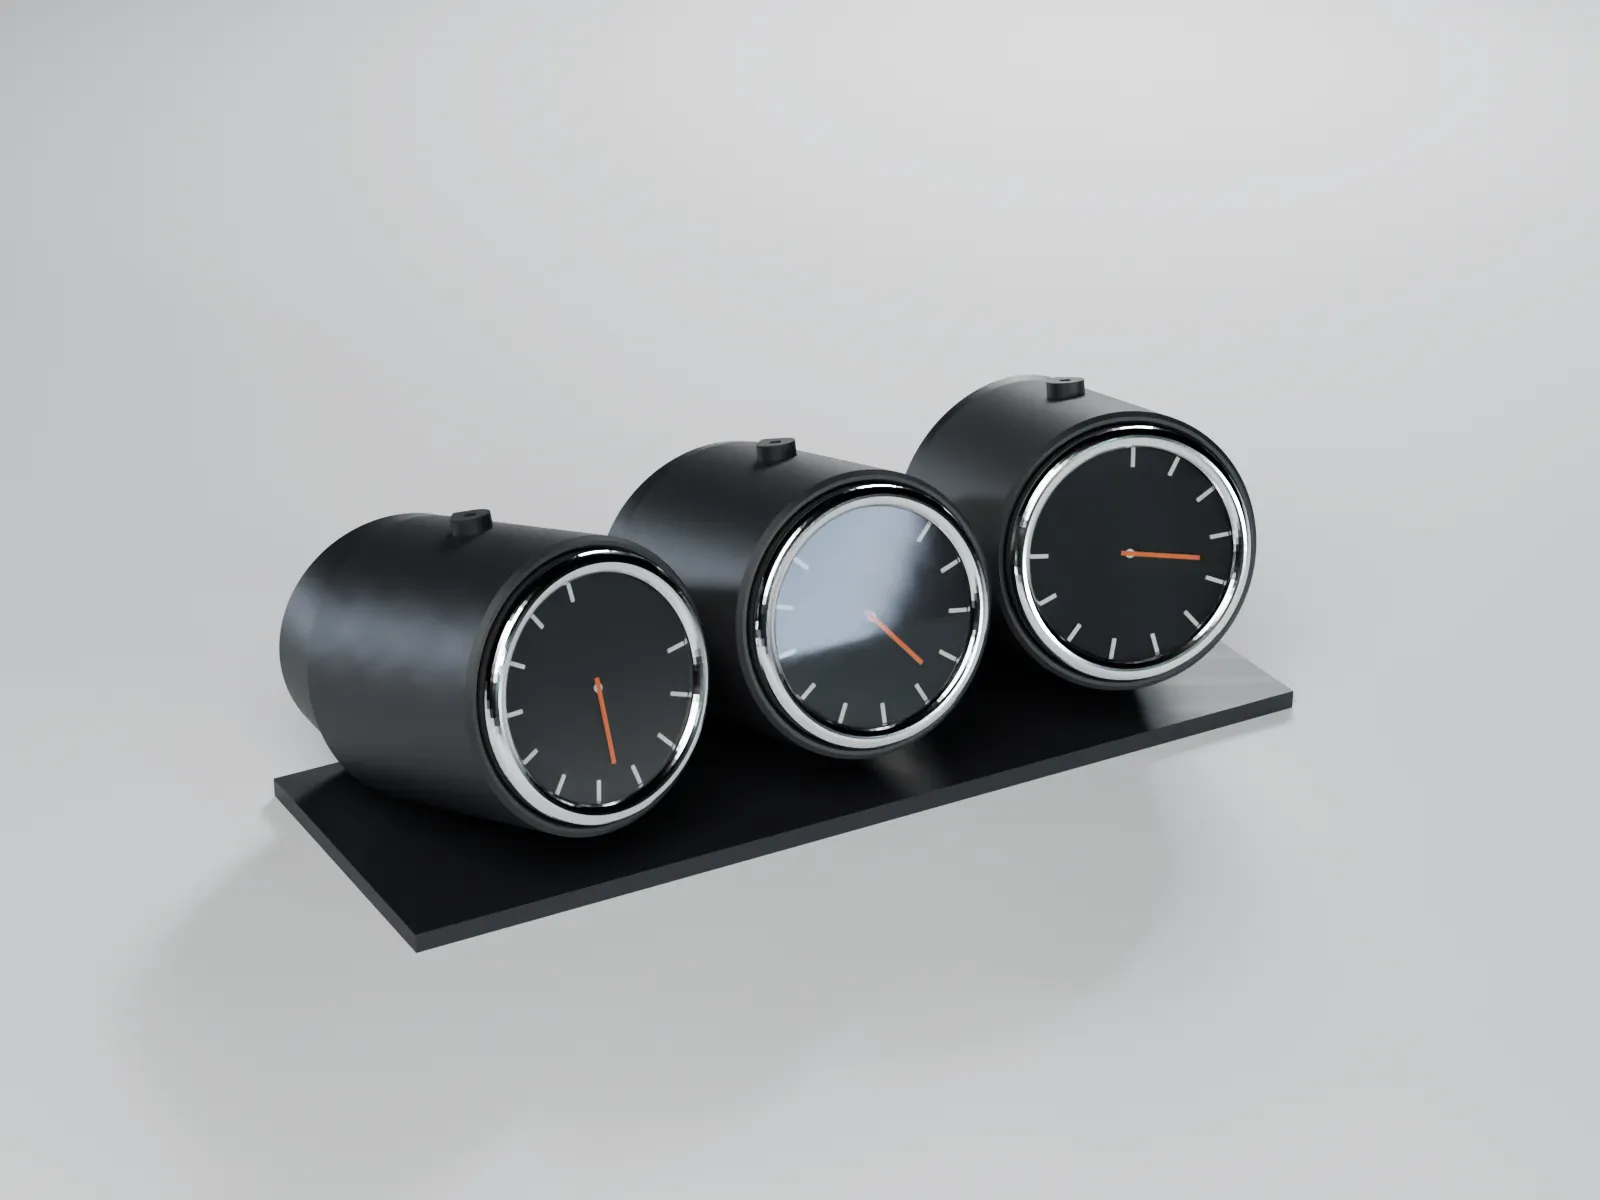
Triple 52 mm gauge pod for the dashboard – angled toward the driver, stick-on
Universal – fits any car
from€6.99
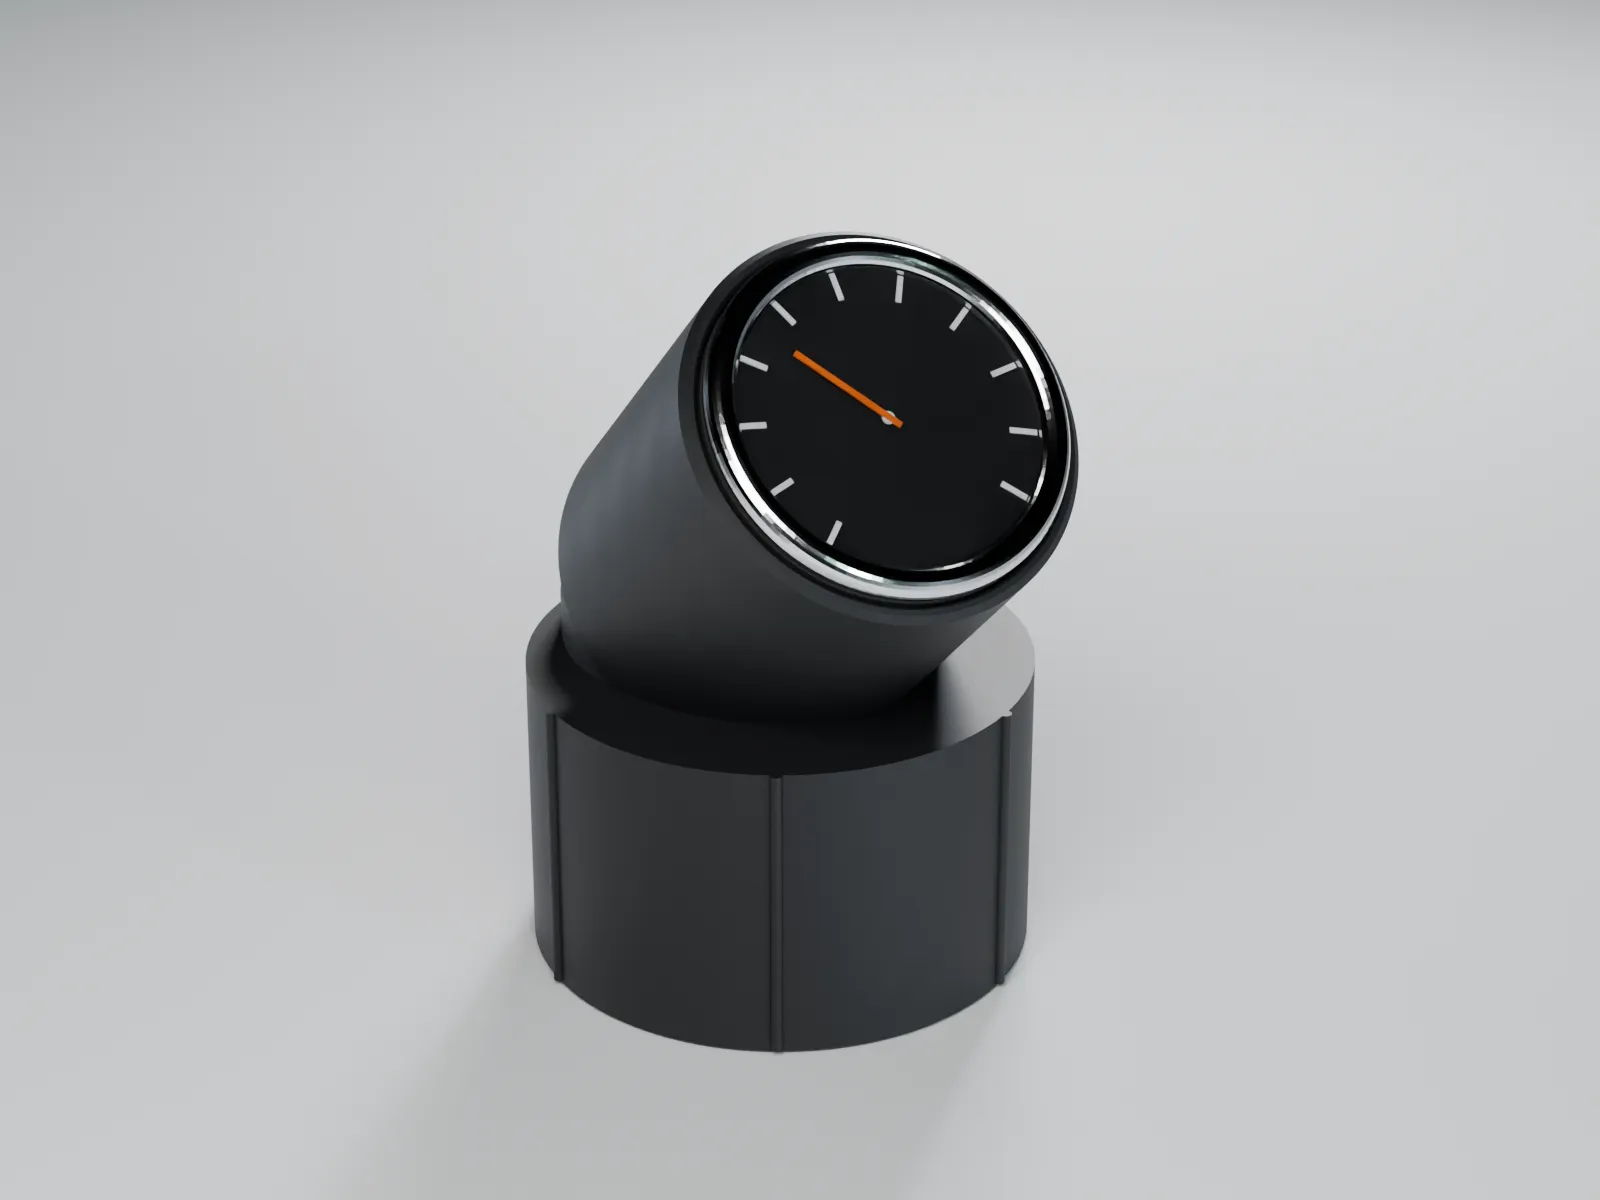
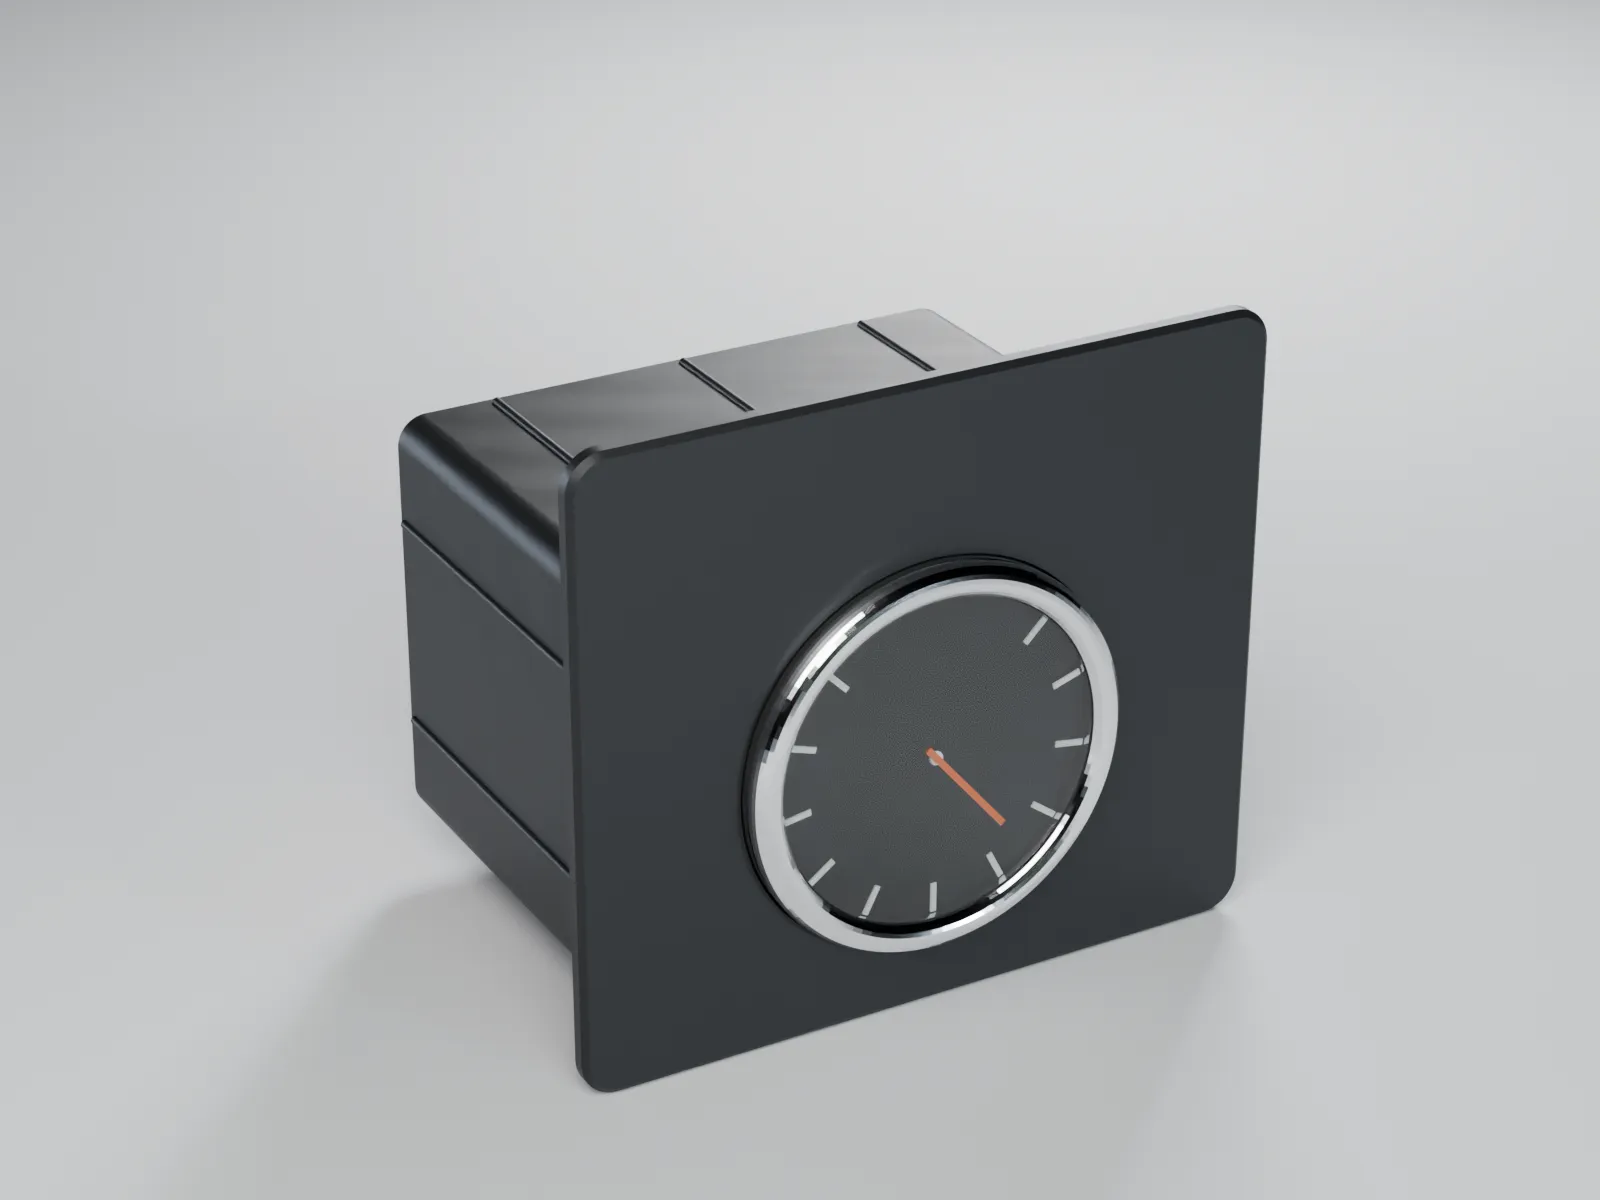
Chevrolet Silverado / GMC Sierra GMT800 (2003–2007): flush 52 mm gauge replacing the dash cubby – no drilling
Fits Chevrolet Silverado (GMT800) (2003–2007)
from€9.99
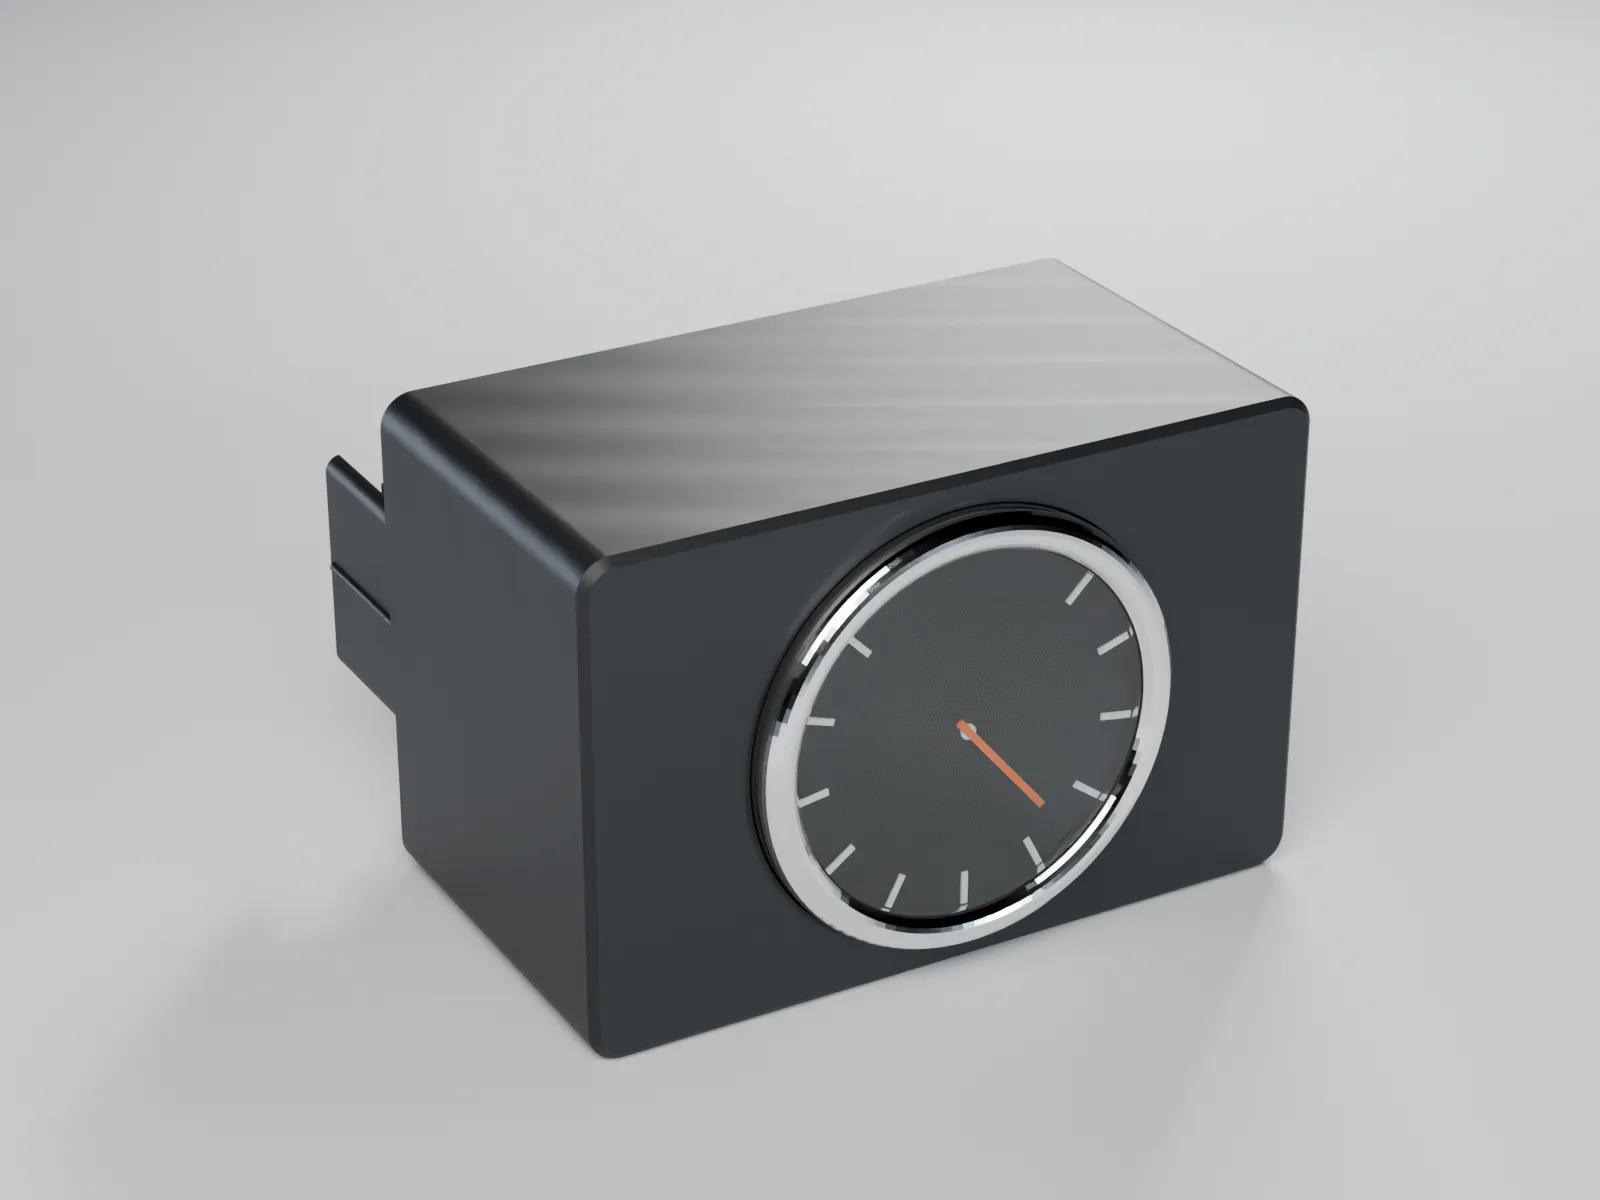
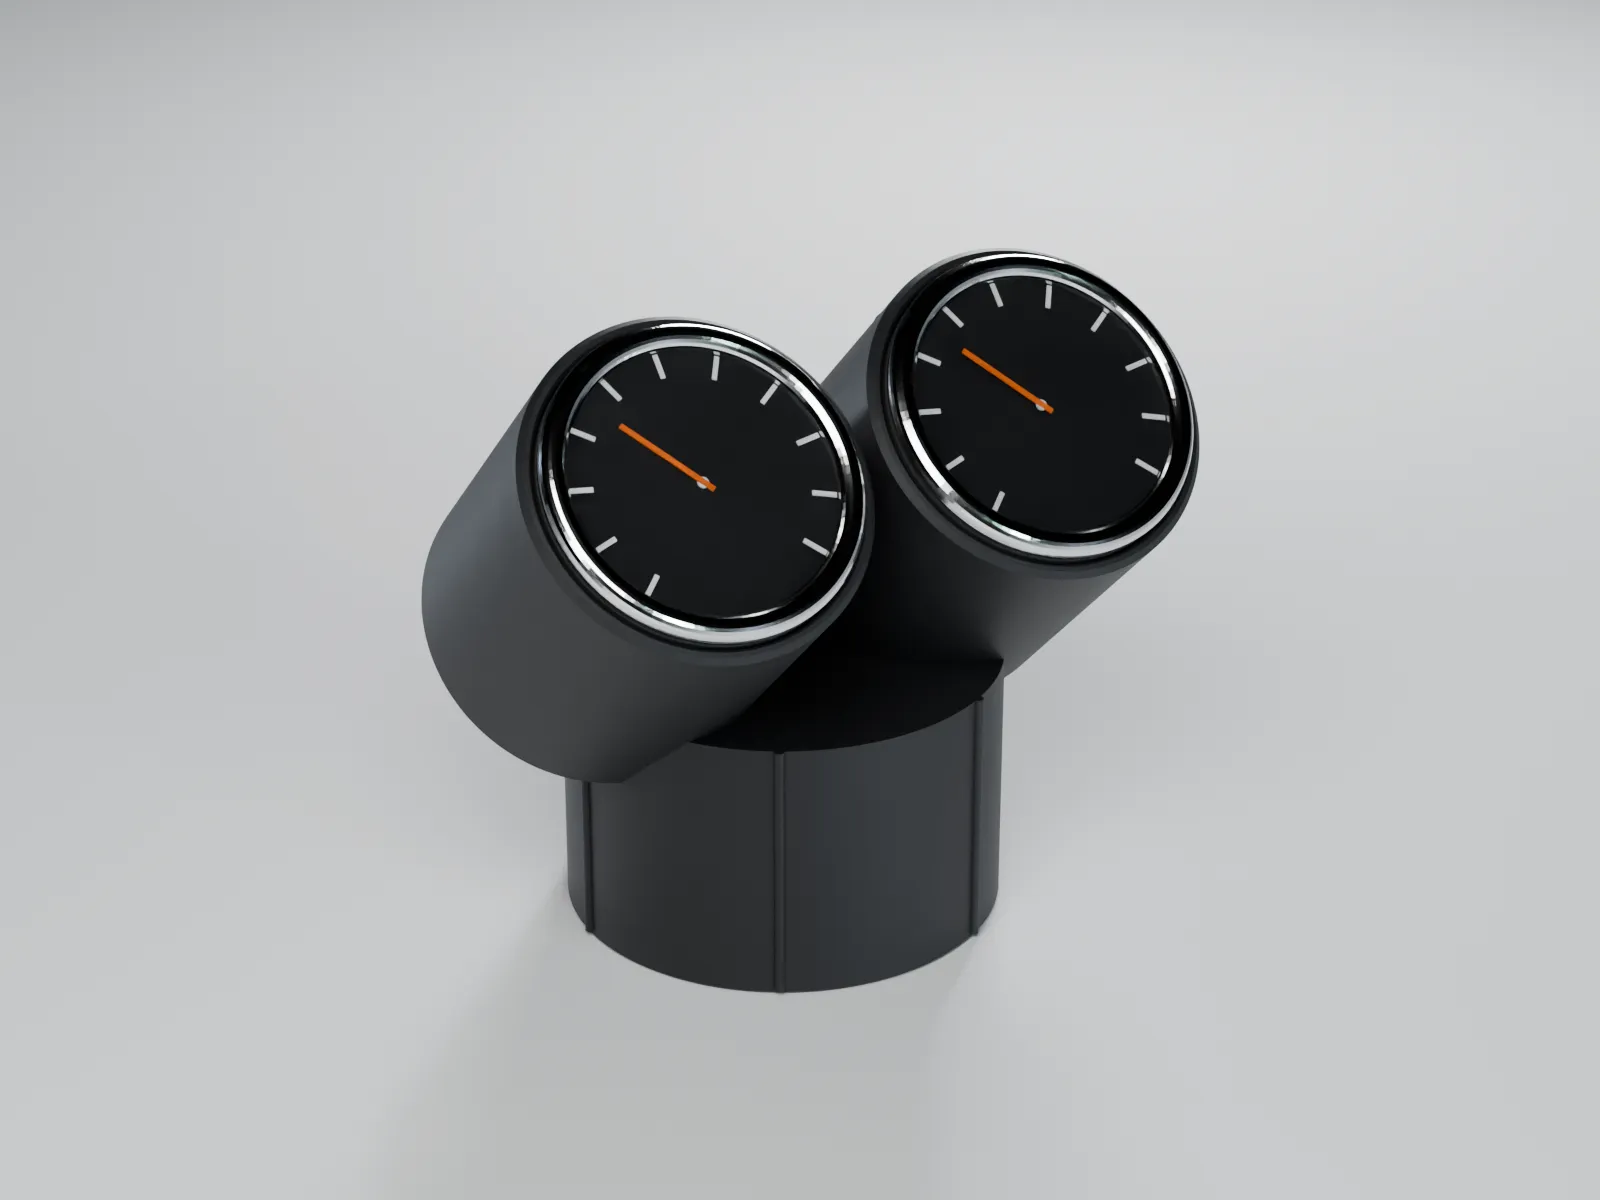
Classic Mini: 52 mm gauge block for the ashtray opening in the crash pad – no drilling
Fits Mini Classic Mini (1959–2000)
from€11.99