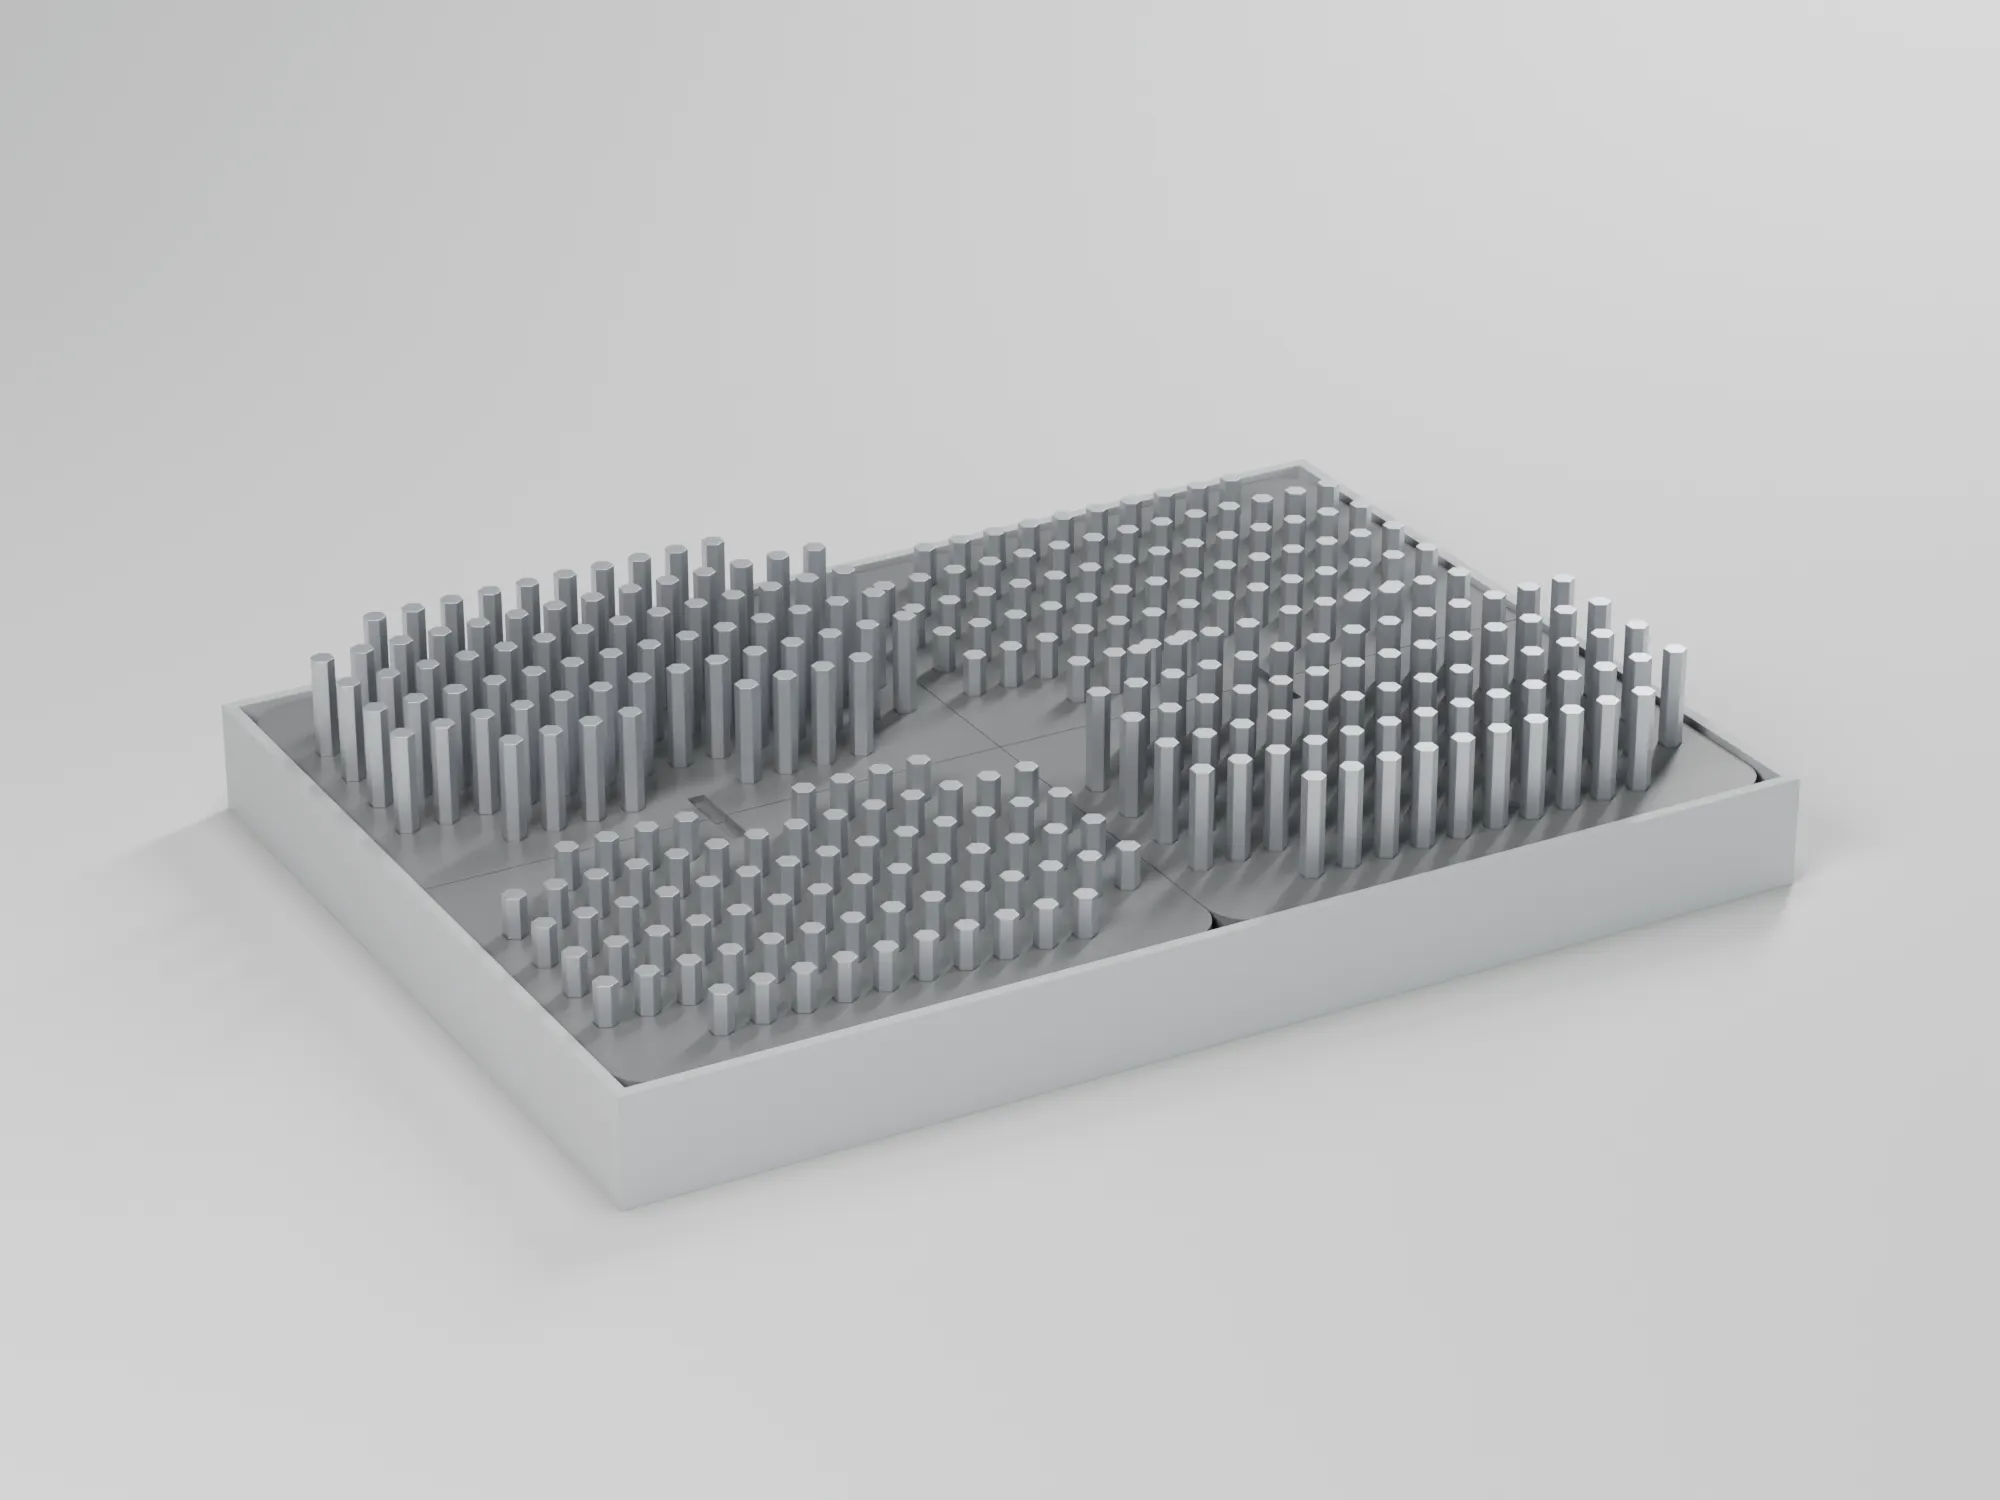
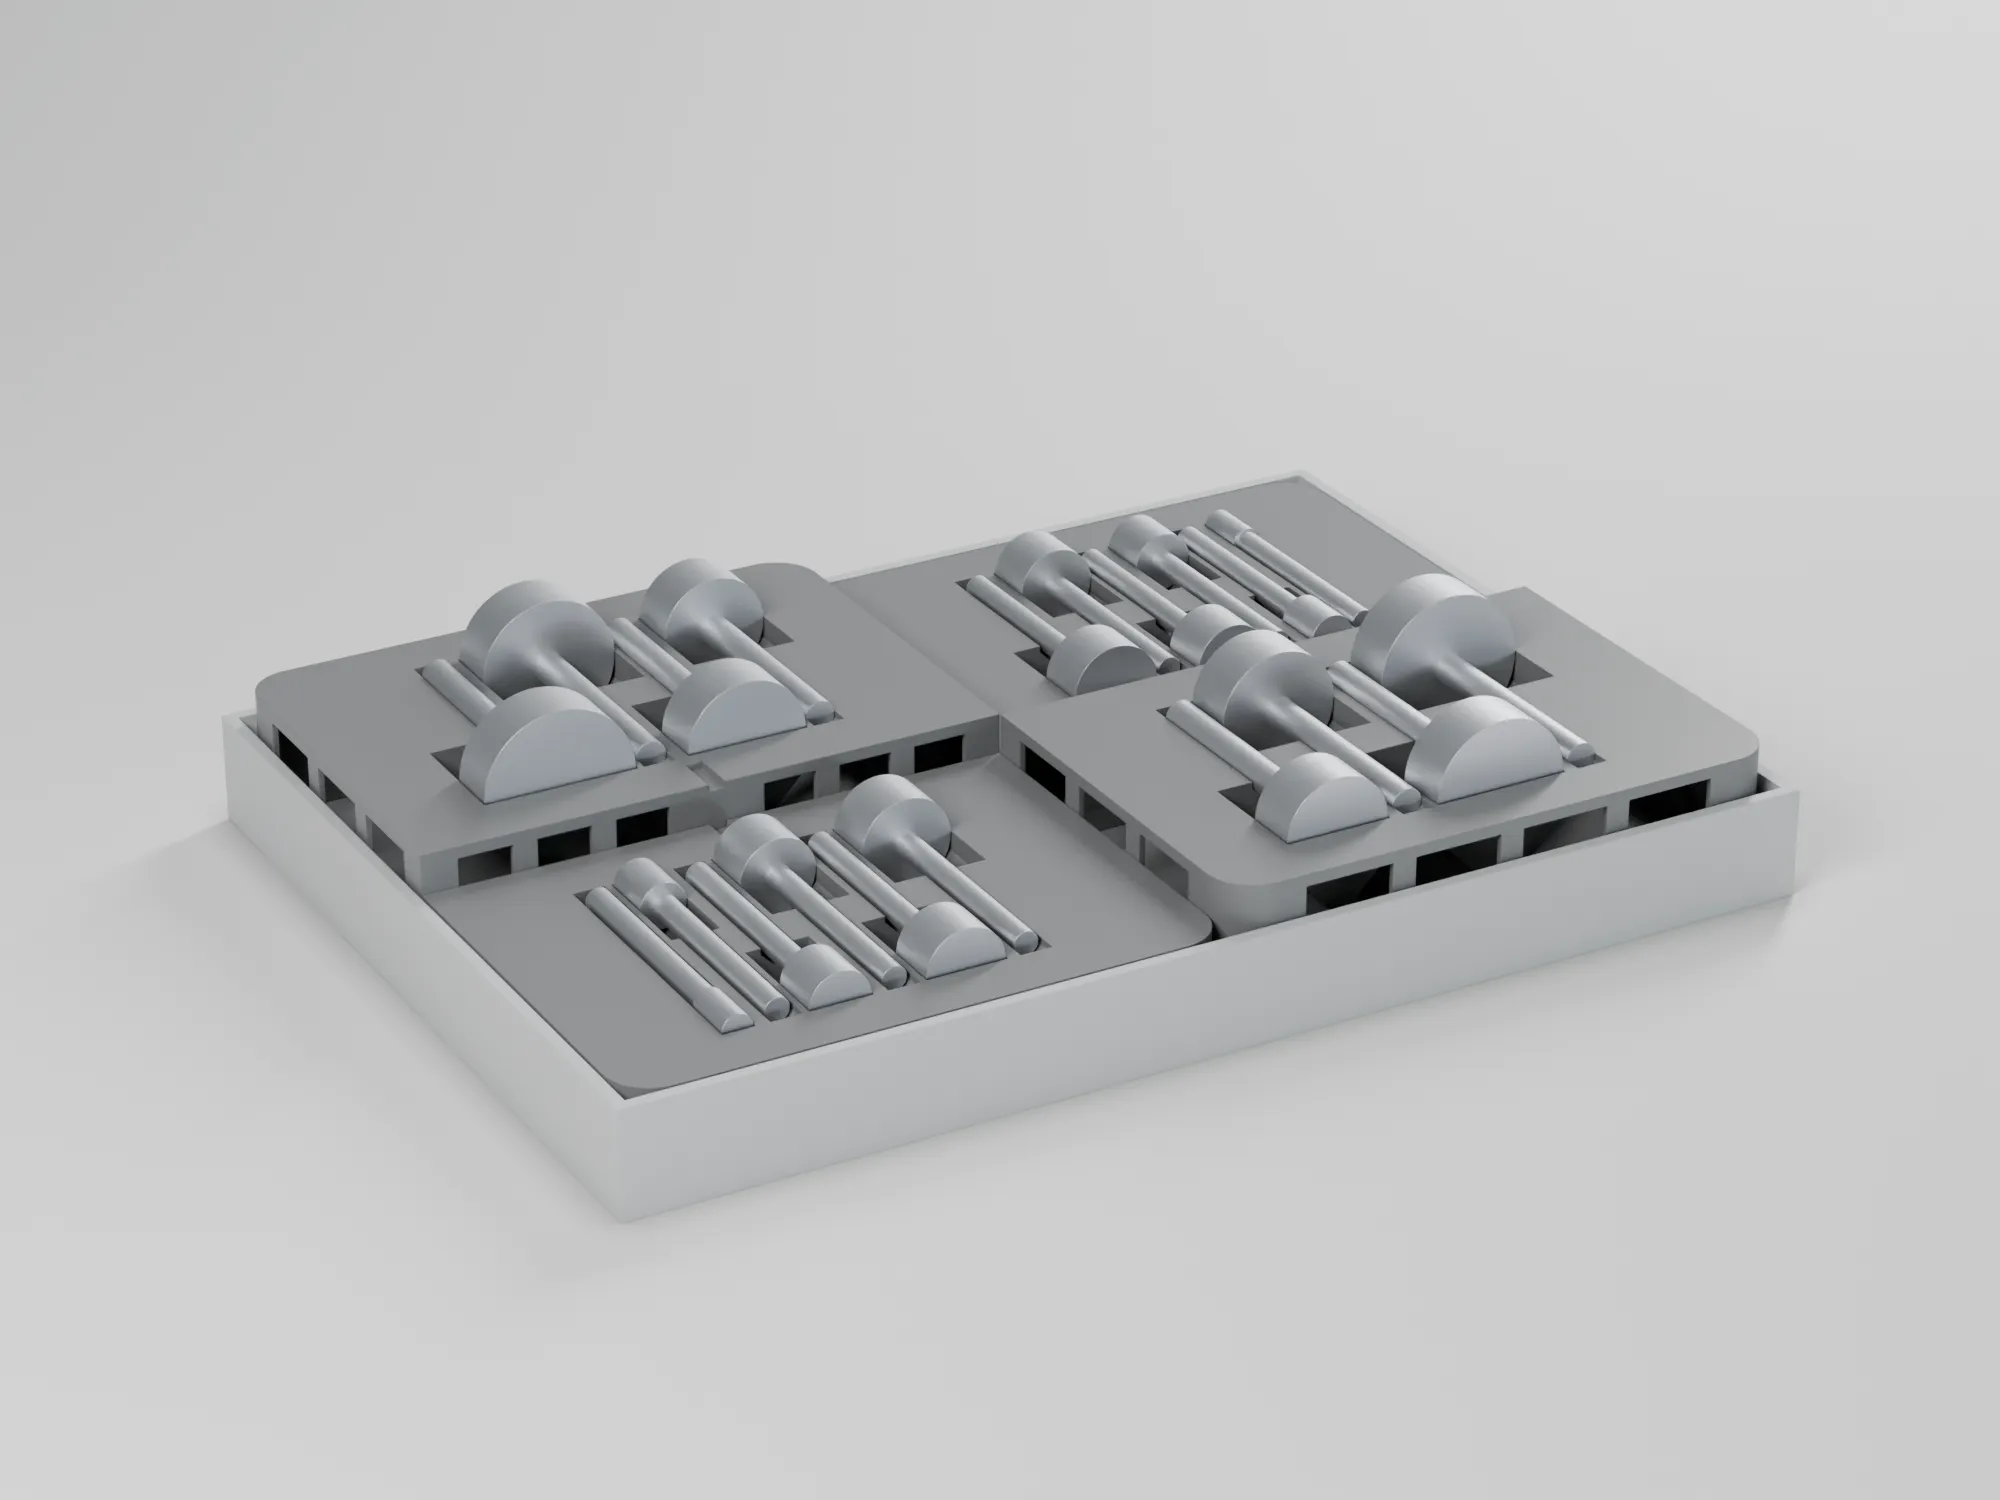
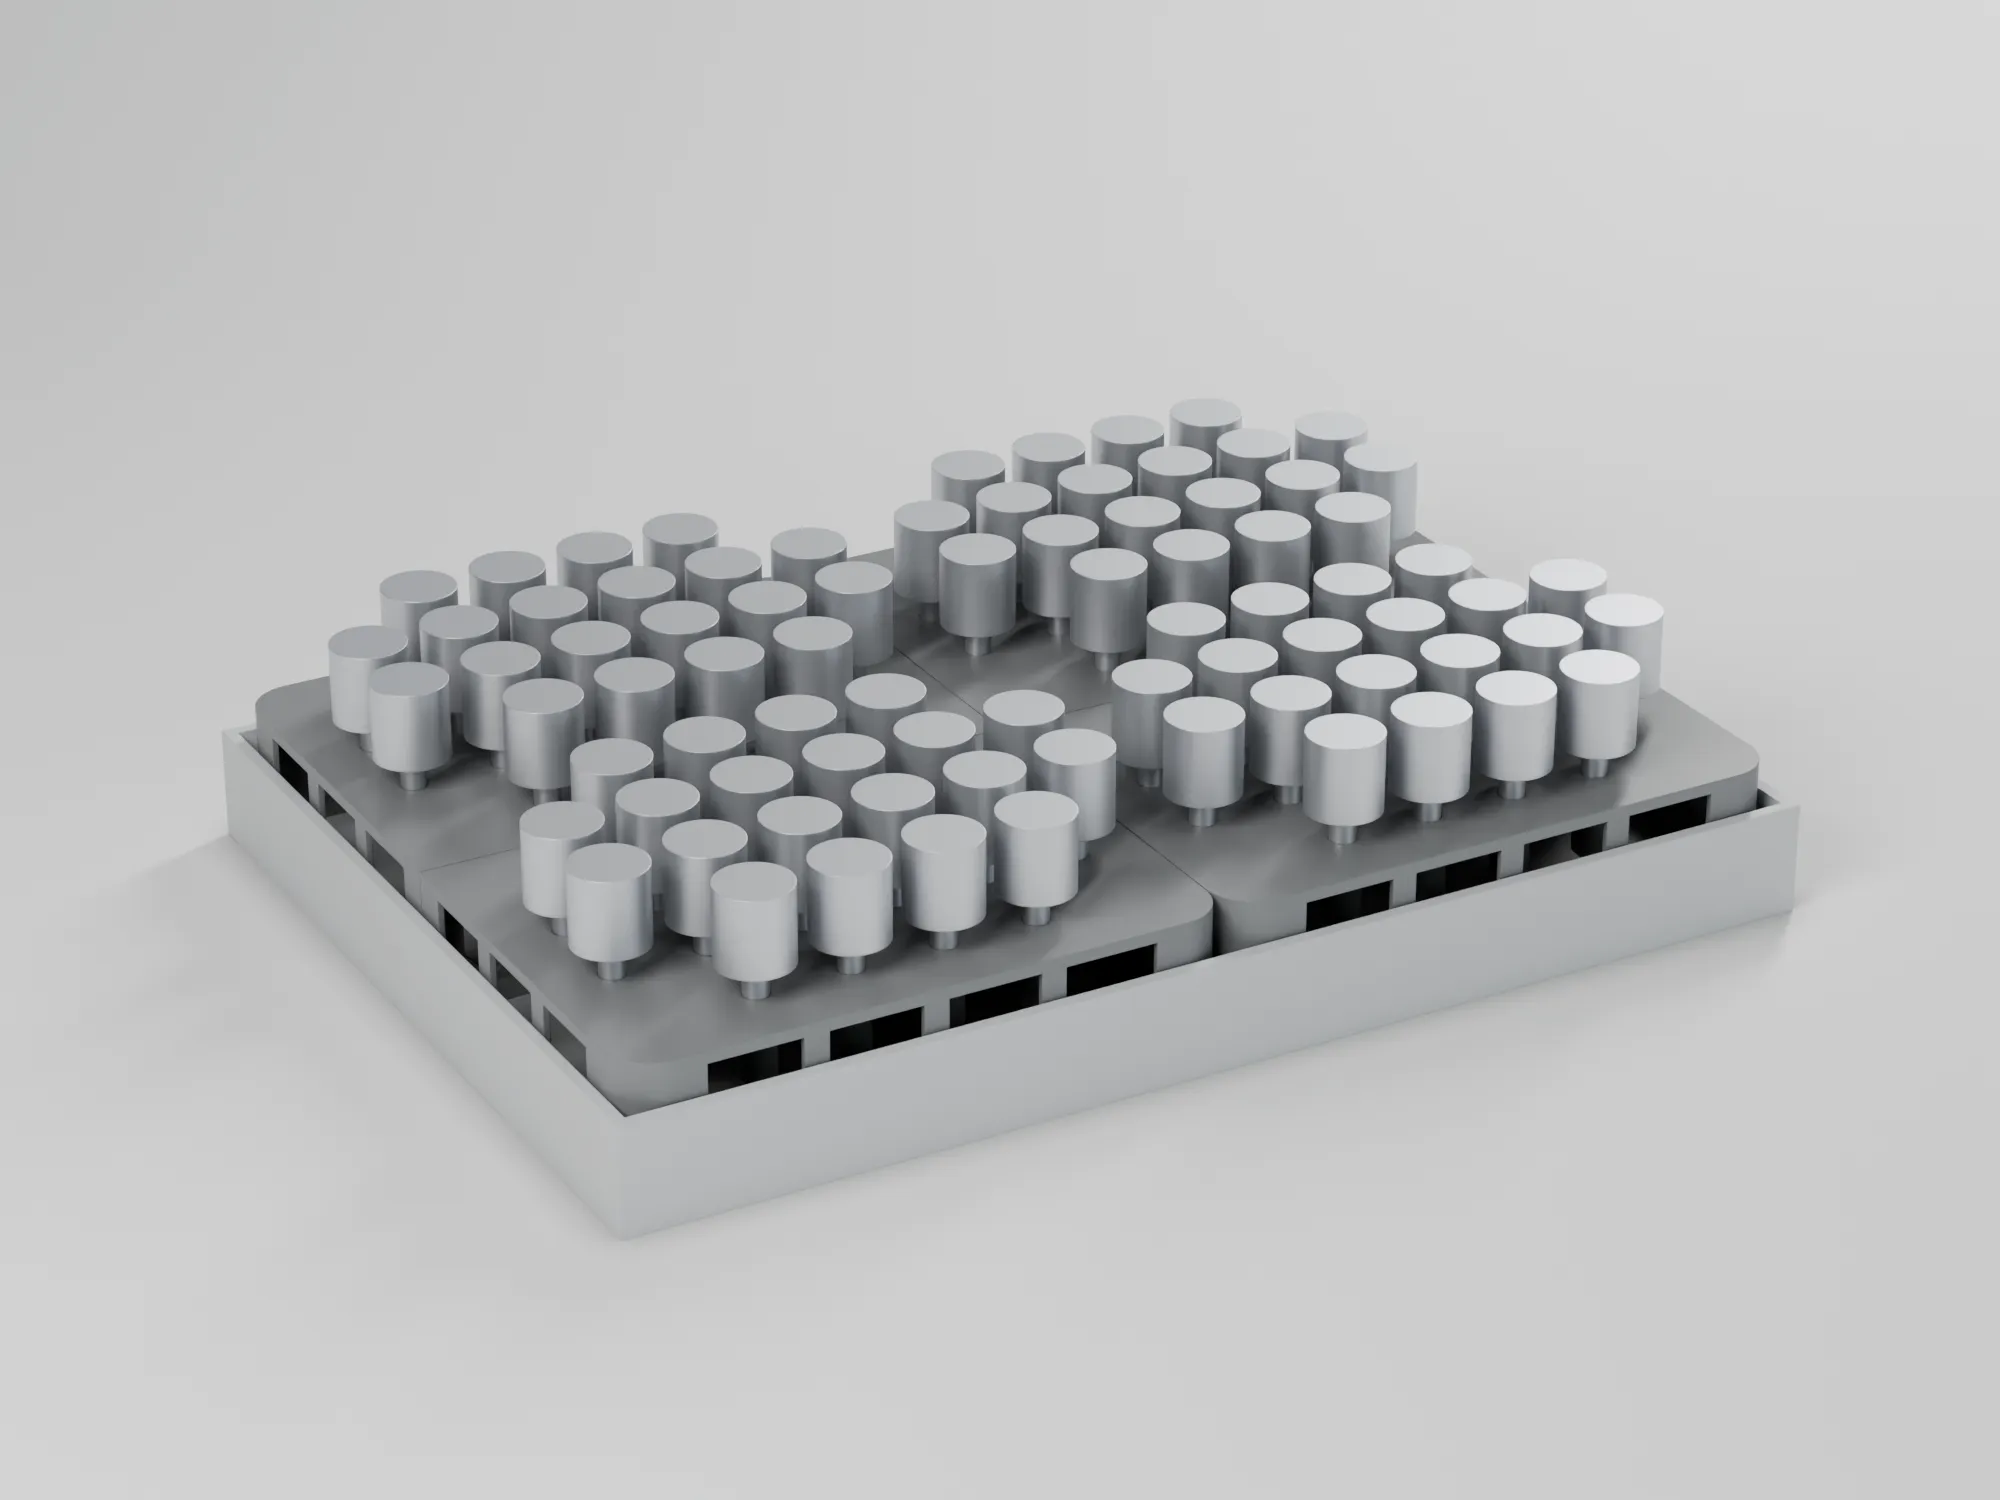
1/4″ bit holder to ISO 1173 to fit Systainer³ M and L – tiles for 25 and 50 mm bits
Tool case inserts
from€2.90
Tool case inserts
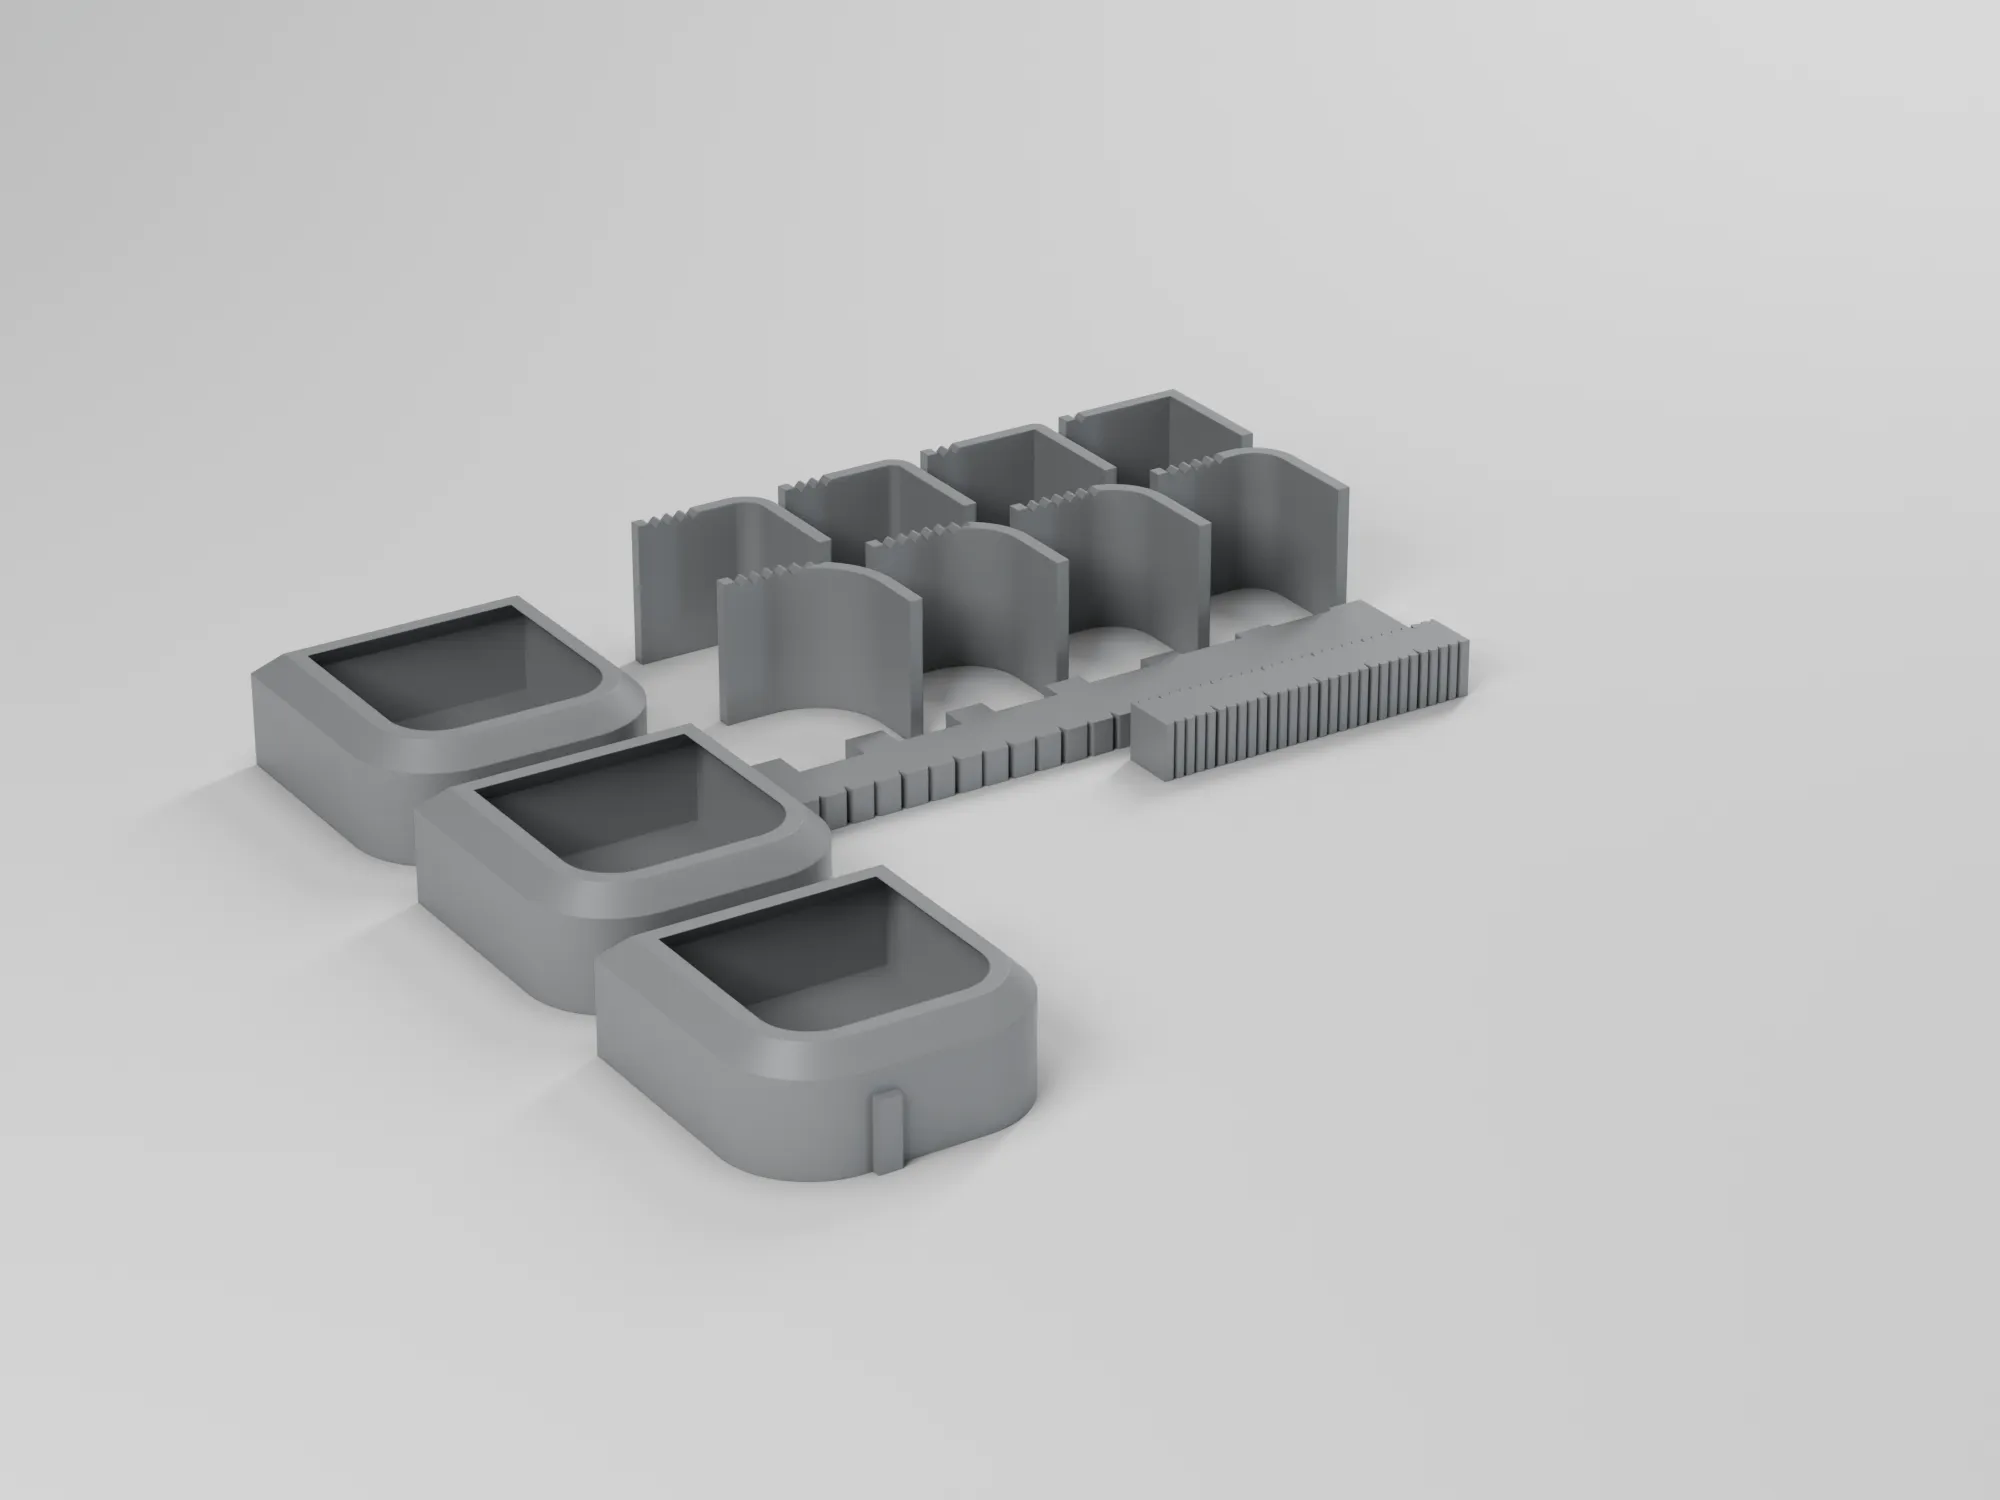
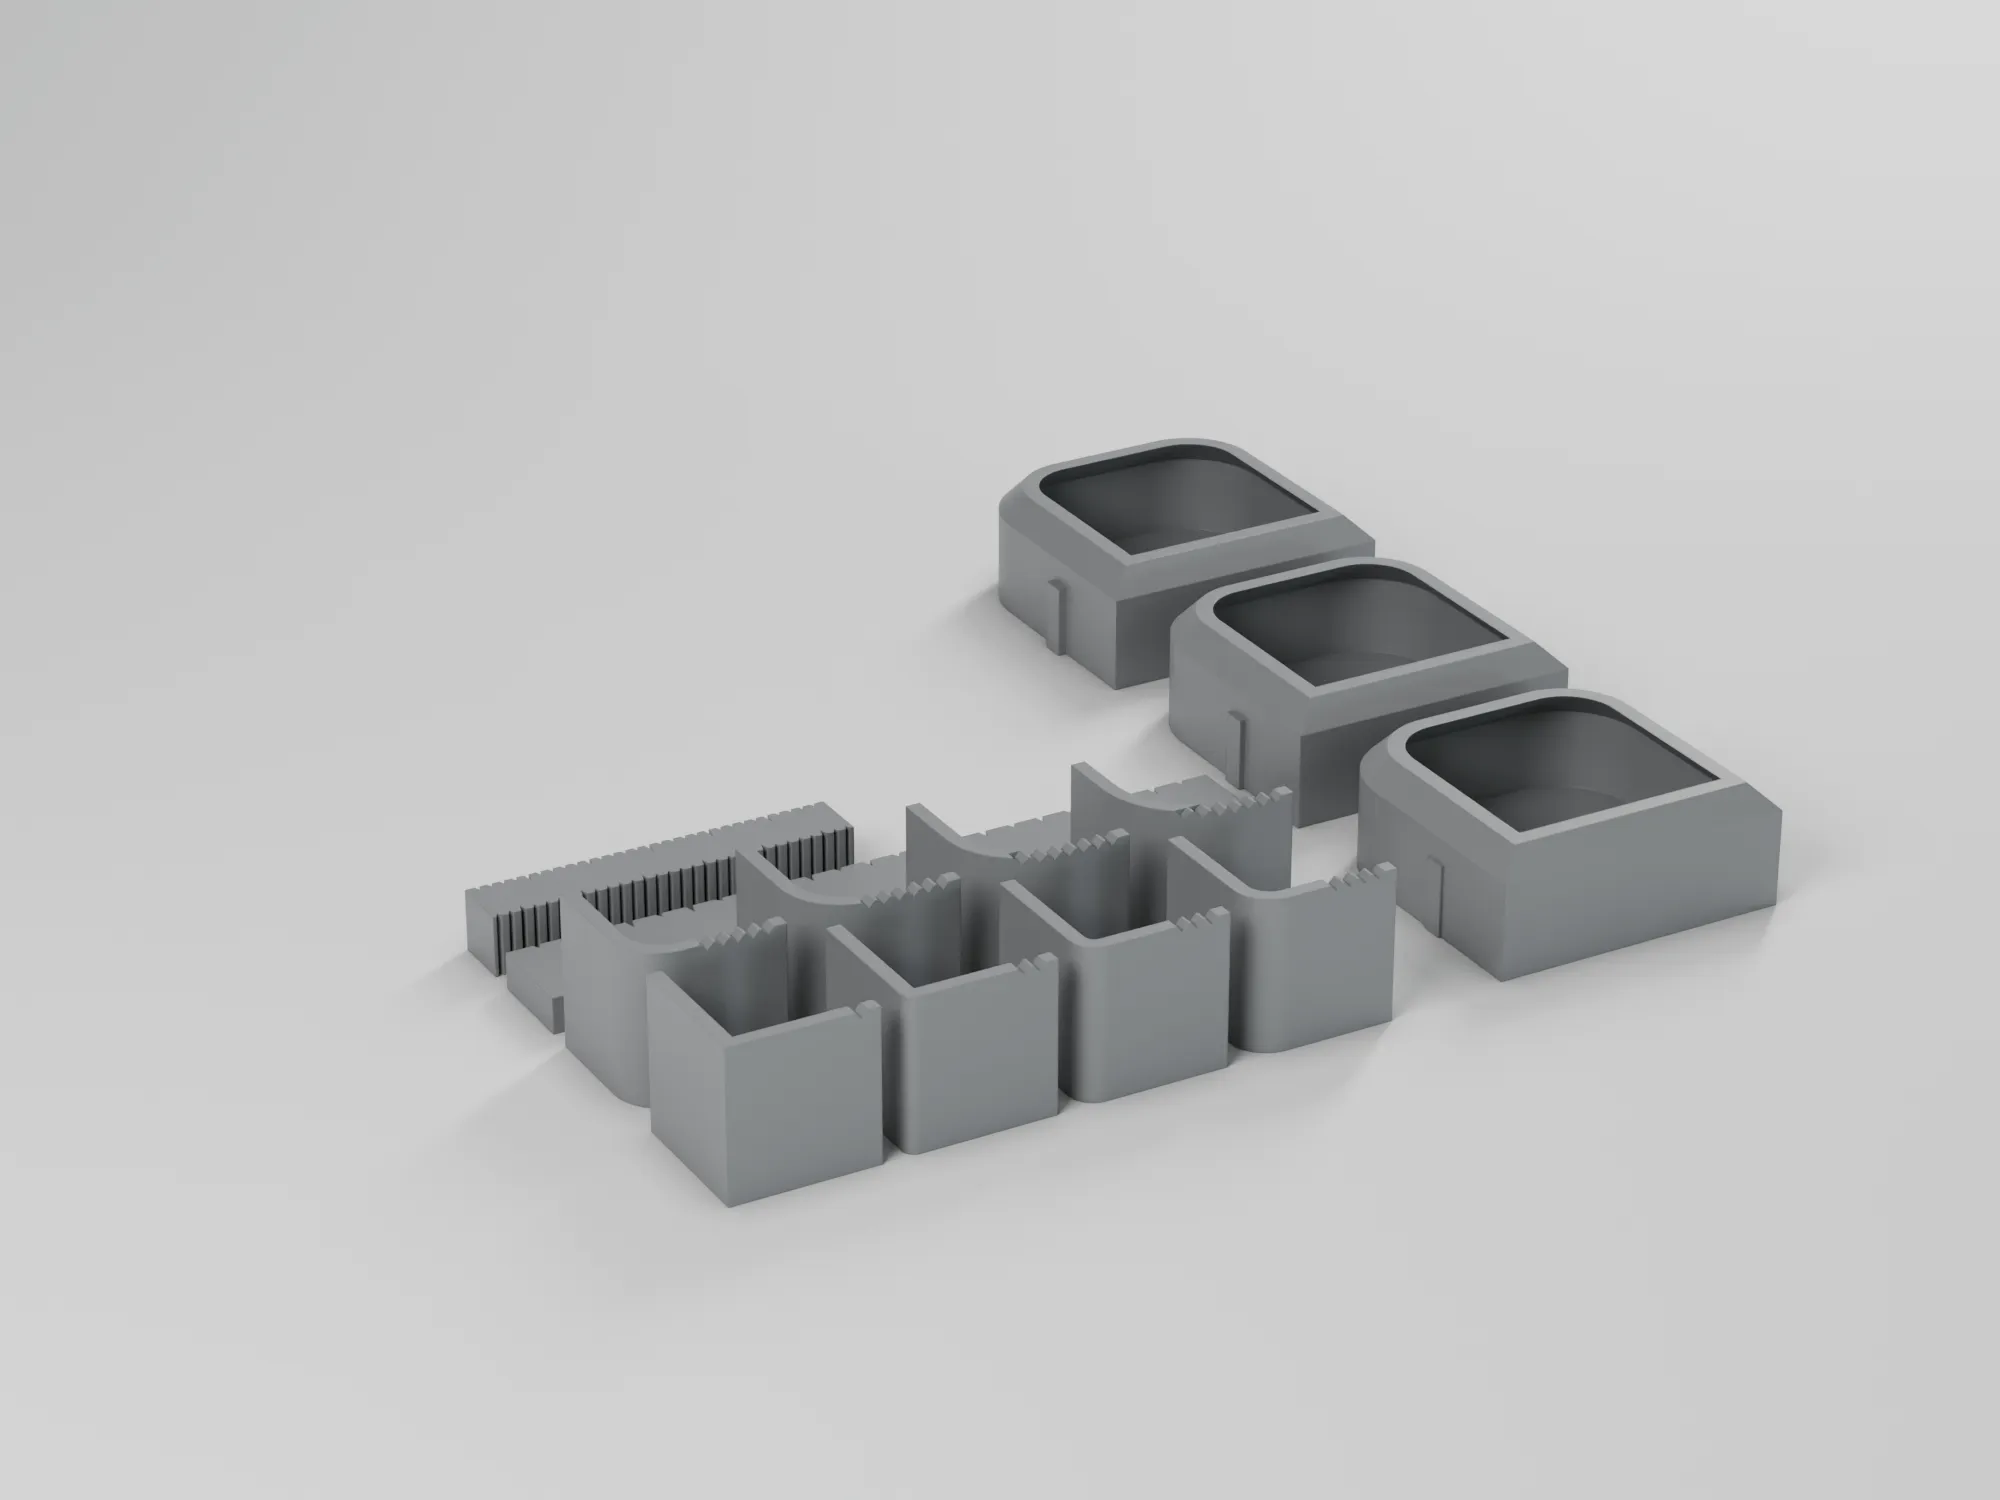
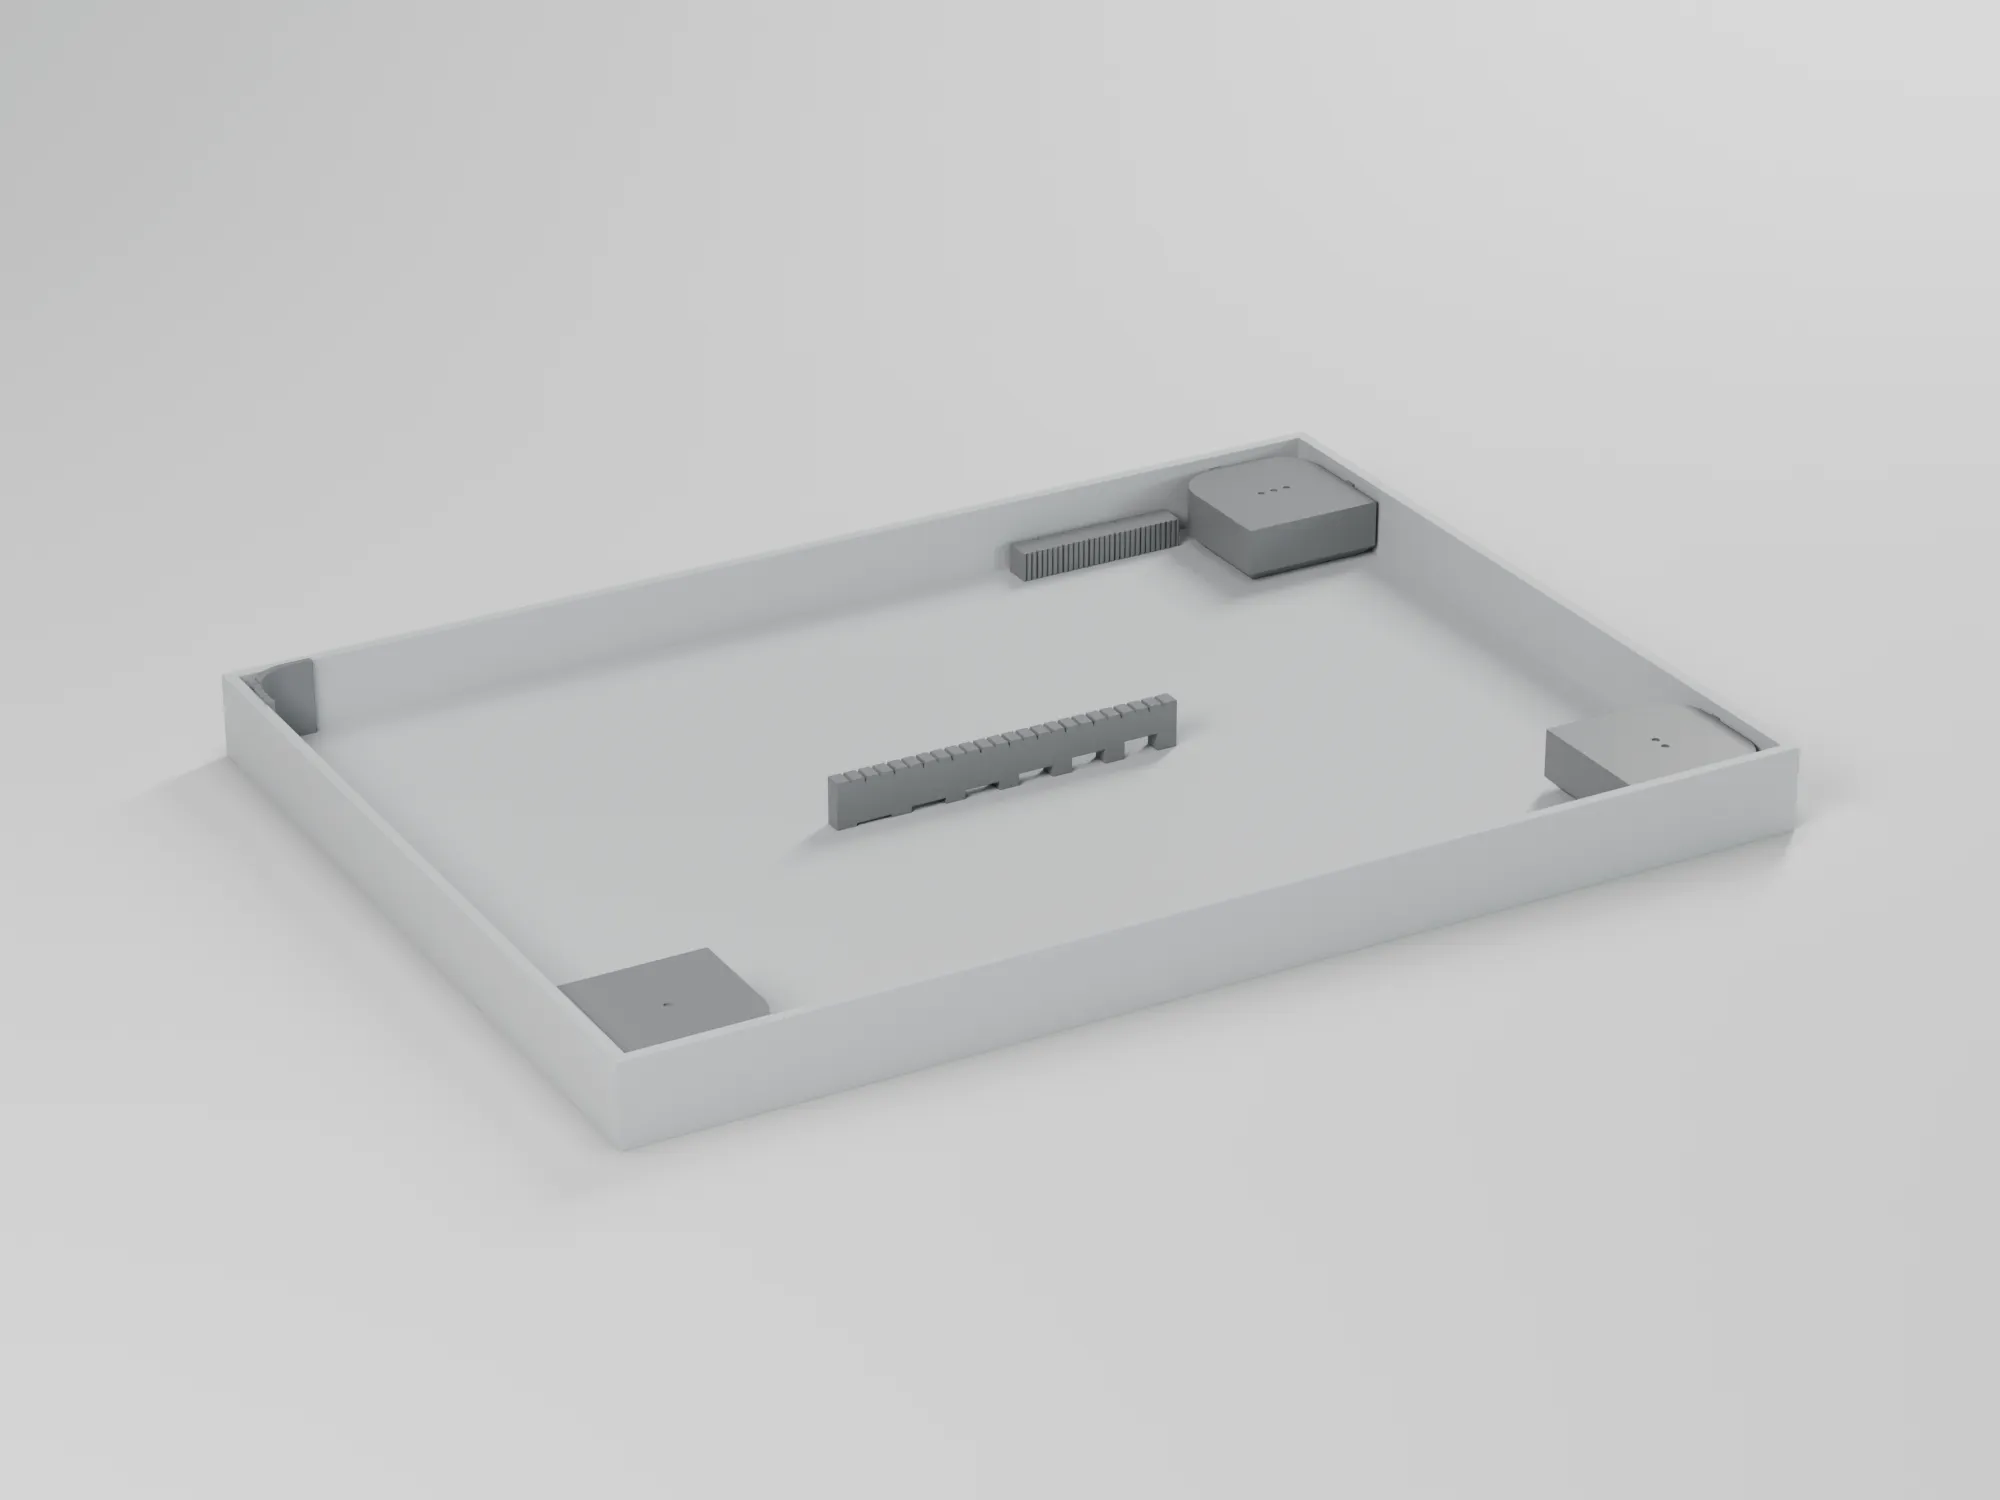
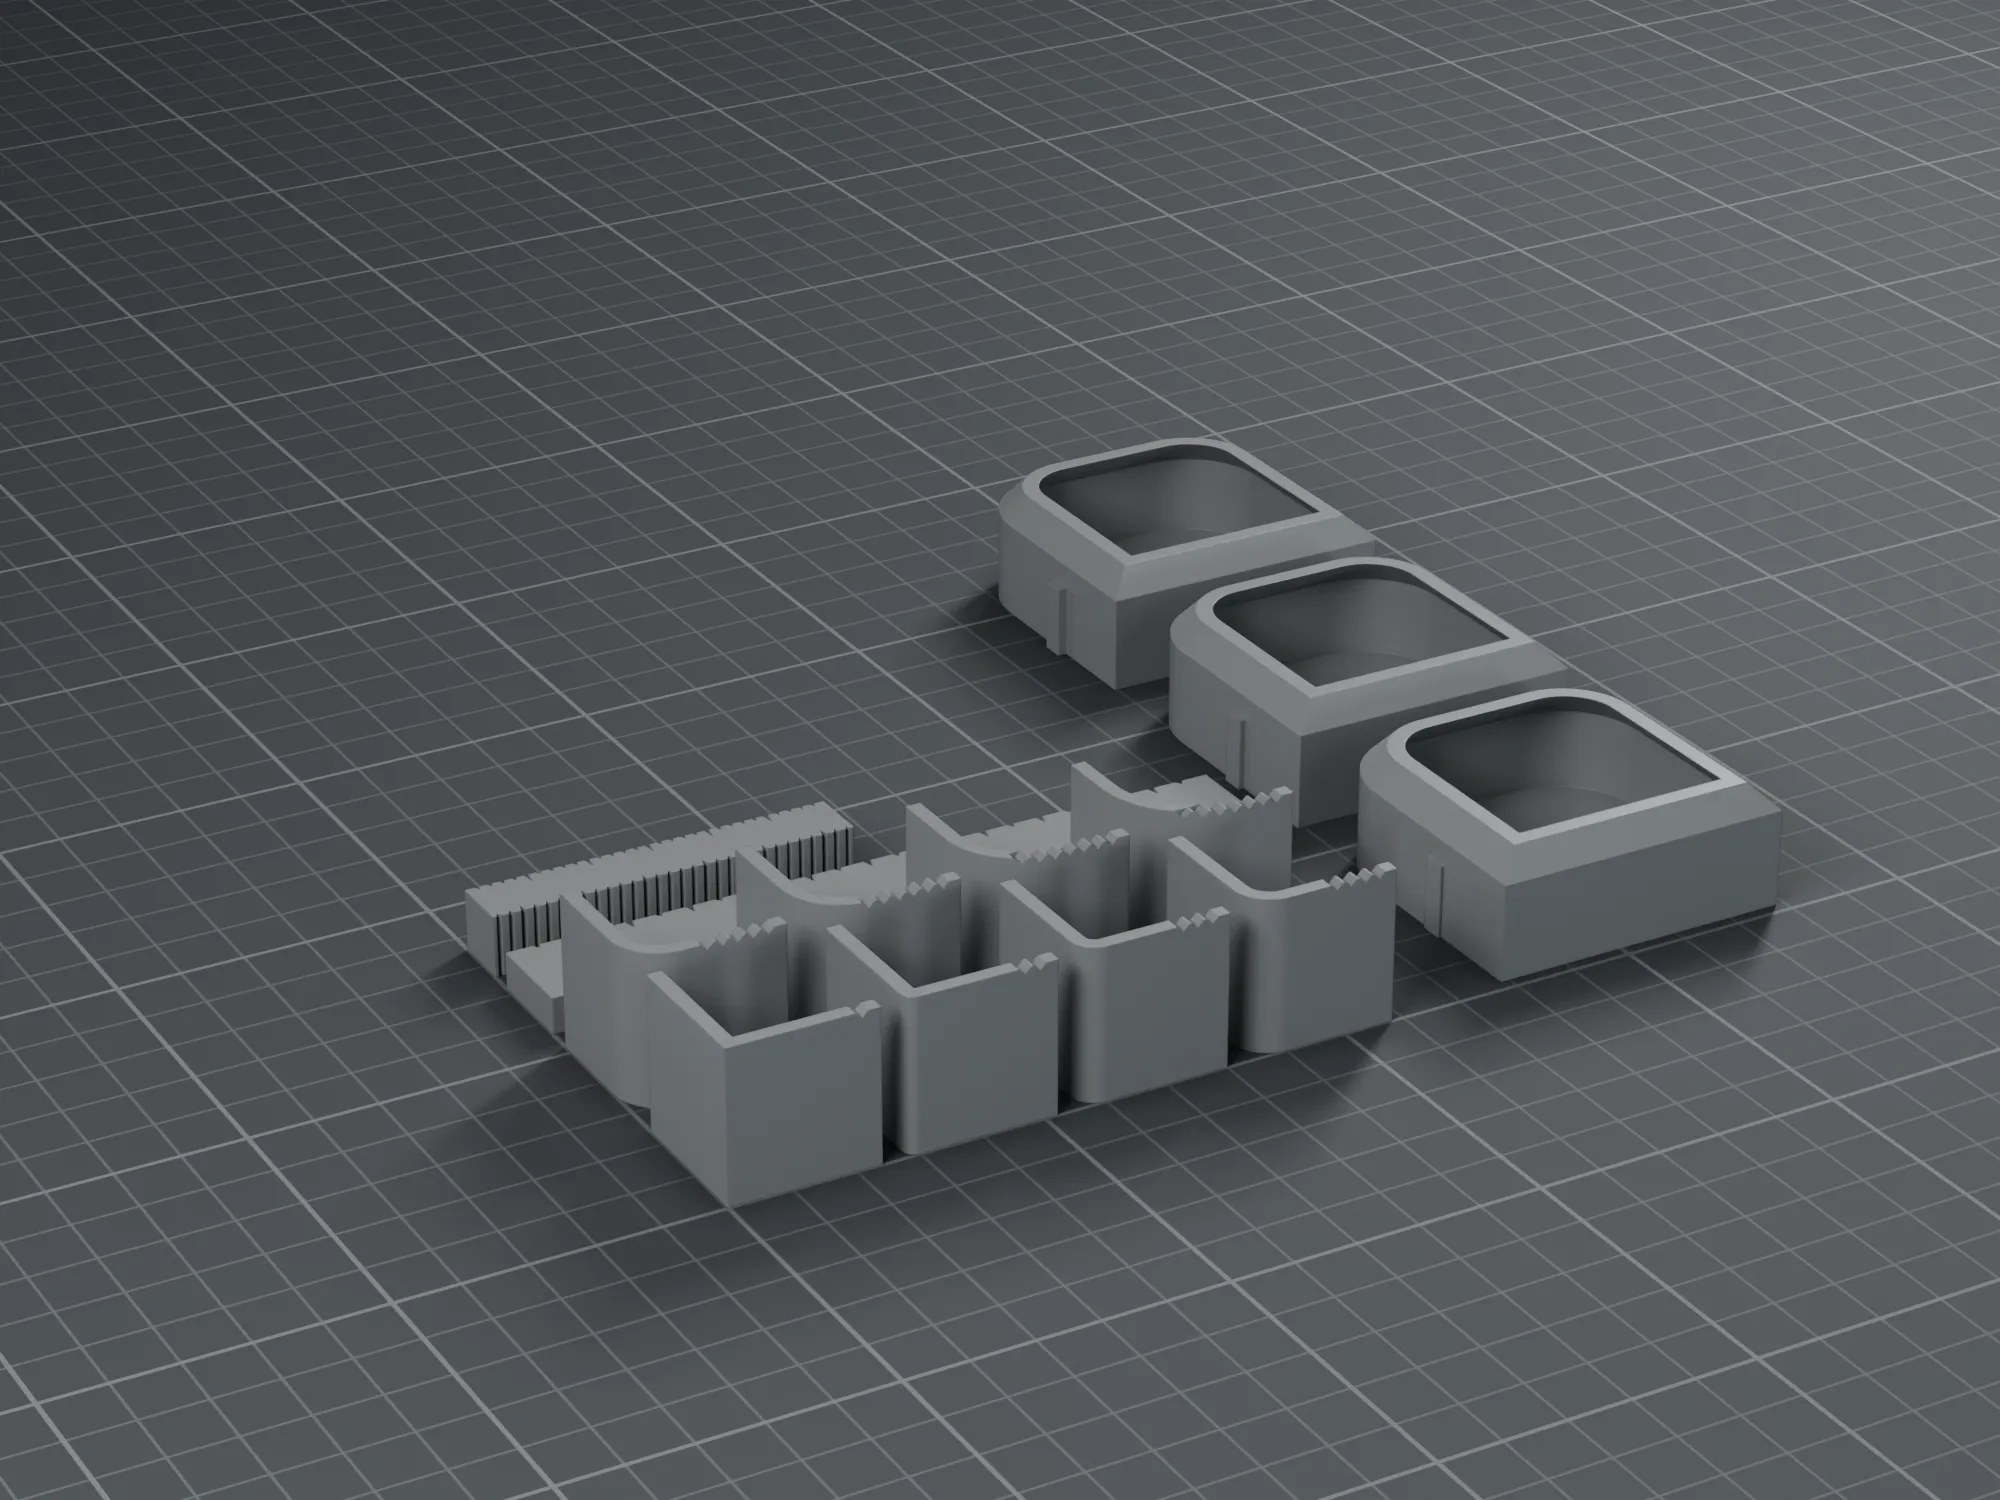
Measures on your own case what the maker does not publish: corner radius, floor edge, floor cross, rim height and the clearance of our tiles.
The inside dimensions of the cases are in the maker's price list, but corner radius, floor profile and rim height are not. Print this free set first: within a few minutes you can read on your own case whether our tiles with R 15 in the corner, a 4 mm chamfer and 1.0 mm clearance fit.
Variants and installation: One set on one collection plate (all parts also as single files). Works for Systainer³ M, L and XXL and the Sortainer³ drawers. How to read it: (1) Corner radius: hold the angles upright in a case corner, from the smallest radius up; the first one whose two legs sit flush against both walls gives the corner radius (± 1 mm). (2) Floor edge: push the same angles lying against a wall; the first that lies flat on the floor and flush against the wall gives the radius between floor and wall. (3) Clearance: push the corner samples 0.5 / 1.0 / 1.5 mm into the corner until the ribs touch both walls; the smallest that then sits flat without rocking shows the clearance your case needs (our tiles: 1.0 mm). Height of the floor cross: the lowest notch of the strip that passes over it without lifting.
Dimensions: Inside dimensions taken from the TANOS price list 2026; our part has not been tested in the case yet. Systainer³ M: 2 × 2 tiles of 193.6 × 136.3 mm (inside 389.5 × 275 mm), 2 connector bars; Systainer³ L: 3 × 2 tiles of 166.3 × 136.4 mm (inside 501.5 × 275.2 mm), 3 connector bars; Systainer³ XXL: 4 × 2 tiles of 195.8 × 138.4 mm (inside 786.1 × 279.1 mm), 4 connector bars. The samples themselves need no case dimensions: radii, notches and ribs are our own design. The corner samples are 50 × 50 × 20 mm and built like our tiles. The corner radius, floor profile (floor cross, radius between floor and wall) and wall draft of the cases are not published. That is why we relieve generously: R 15 in the case corner, a 4 mm chamfer at the bottom edge, a hollow underside with a rim (a floor cross up to 5 mm high stays clear) and 1.0 mm clearance per side to the case, 0.3 mm between tiles.
Material: PETG recommended, because a tool case quickly ends up in a car or in the sun. PLA works too, but it deforms in a hot car or in the sun.
Brands: Made to fit Systainer³/Sortainer³, not an accessory by TANOS or Festool, no affiliation with them. No logos and no lettering on the parts.
If only the 1.5 mm sample fits, scale the tiles down by 0.5 mm per side in the slicer (for M about 99.5 % in length and 99.3 % in width).
| Width | 180 mm |
|---|---|
| Height | 25 mm |
| Depth | 168 mm |
| Weight (printed) | 78 g |
| Layer height | 0.2 mm |
| Walls | 3 |
| Infill | 15 % |
Dimensions of the default variant in print orientation.
PETG recommended, because a tool case quickly ends up in a car or in the sun. PLA works too, but it deforms in a hot car or in the sun.
Print orientation: As the collection plate is laid out, no supports.
Organiser insert, nothing load-bearing. Made to fit Systainer³ and Sortainer³ (inside dimensions per the manufacturer's price list); not an accessory of TANOS or Festool, no affiliation with them. Organiser insert, nothing load-bearing. Made to fit Systainer³ and Sortainer³ (inside dimensions per the manufacturer's price list); not an accessory of TANOS or Festool, no affiliation with them.
Not an original part. No affiliation with the manufacturers named; brand and model names only indicate fitment.
You get one ZIP with:
Recommended: PETG (alternatively PLA). PETG recommended, because a tool case quickly ends up in a car or in the sun. PLA works too, but it deforms in a hot car or in the sun.
No. You get the print files and print the part yourself or use a print service. We email you the download link.
Push the sample into a case corner until its ribs touch both walls. If it sits flat and does not rock, corner and floor edge are clear at that clearance. Our tiles are designed for 1.0 mm (two dots).
They give the real values (radius, height of the floor cross, rim height). Those allow exact baseplates later; for our tiles the corner sample is enough.
Not yet. That is exactly what the set is for: it is the first thing you print, and it shows on your own case which corner radius, floor edge and clearance fit.
No. The parts are made to fit Systainer³/Sortainer³, not an accessory by TANOS or Festool, no affiliation with them. We name products only to describe the fit.
PETG recommended, because a tool case quickly ends up in a car or in the sun. PLA works too, but it deforms in a hot car or in the sun.
No reviews yet.
How we check reviews: only people who bought or downloaded the file for free in our shop can review, via the personal link from the download email; once per order and file. Anyone who received the files in return for something (cooperations, gifts, 100% codes) cannot review. We publish all reviews, negative ones too, and only remove unlawful content or spam. There is no reward for reviews.
Version 2.0.0, updated 5 November 2026 · SKU F2-SY-TEST-SET
Tool case inserts
from€2.90
Tool case inserts
from€1.49
Tool case inserts
from€3.90
Tool case inserts
from€2.90
Tool case inserts
from€2.90