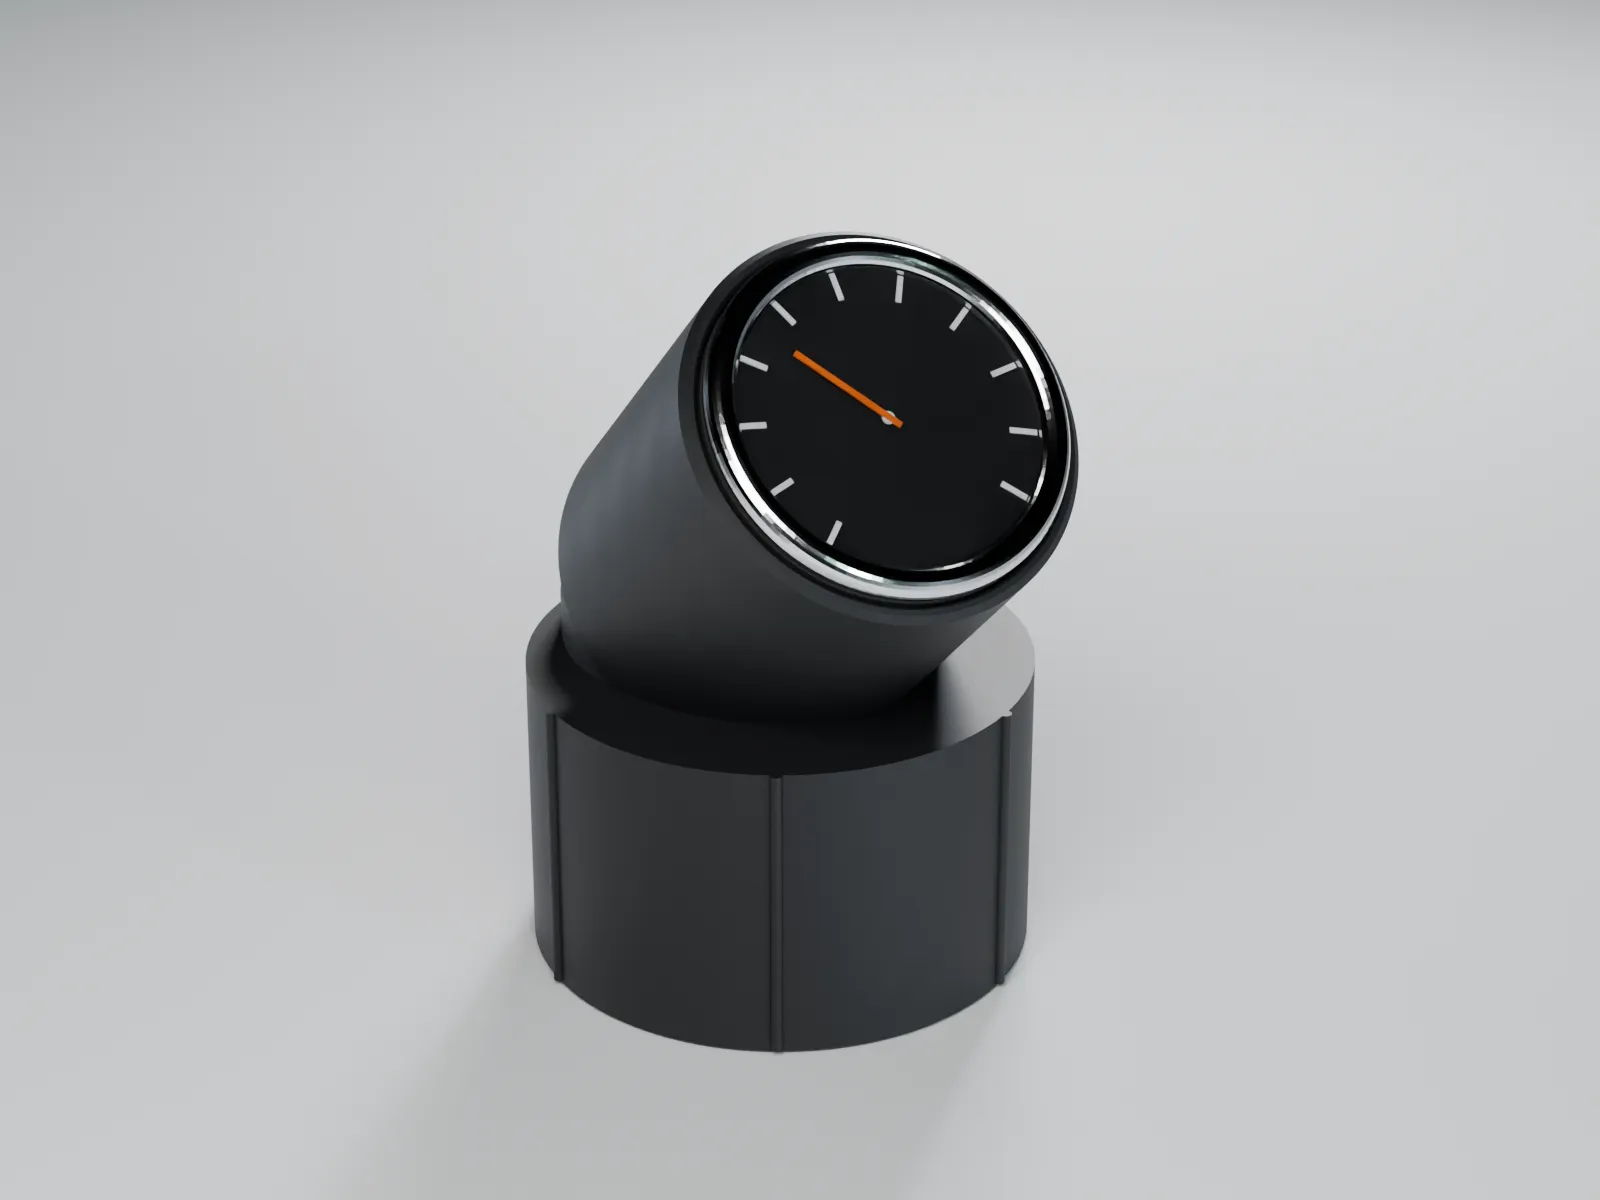
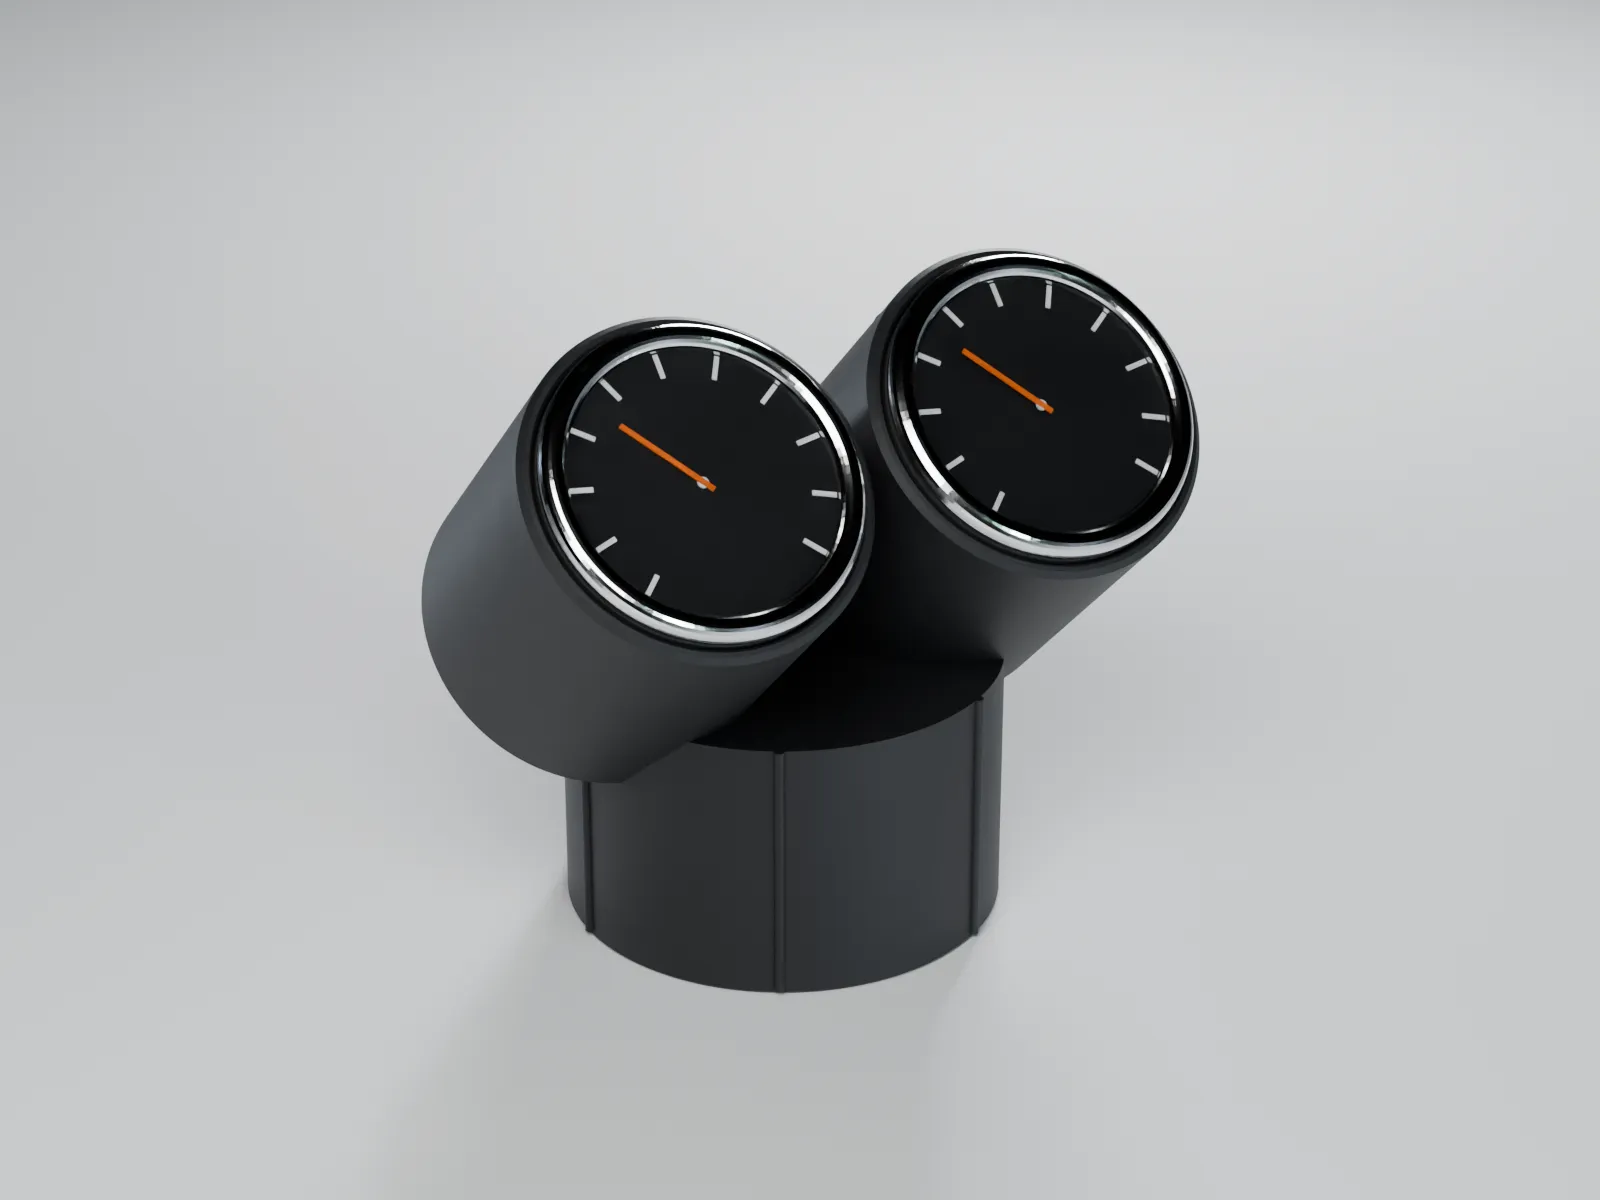
VW Polo 6R / 6C: an extra gauge in a blank switch position, no drilling
Where can I fit an extra gauge in a VW Polo 6R without drilling?
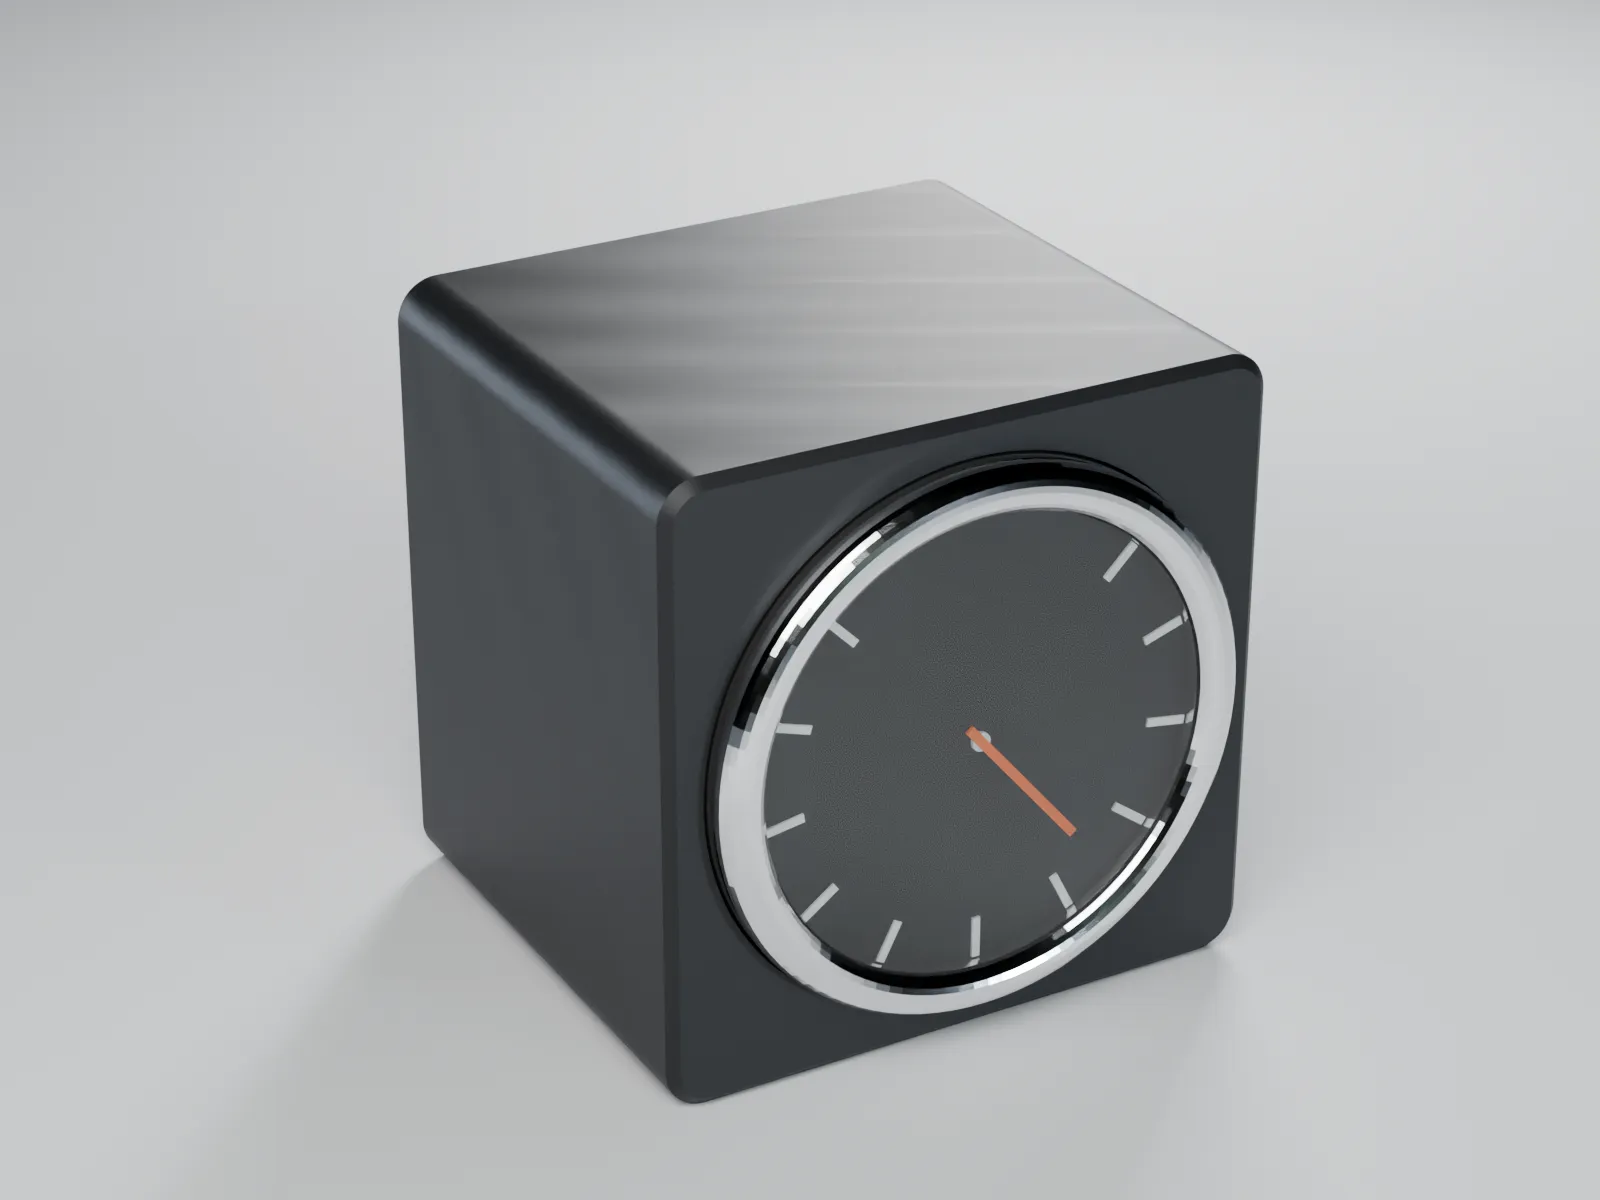
In the switch strip below the centre vent, in place of a blank cap. A pod plugs in there with a foot with crush ribs and holds one 52 mm gauge flush – on the GTI usually boost. Because the pod is 60 mm wide and covers both neighbouring positions, it only fits where three blank caps sit side by side. You need to check that on your Polo; which trim has it is not sourced.
- Car
- VW Polo 5: 6R (2009–2014) and 6C facelift (2014–2017), incl. GTI 1.4 TSI and 1.8 TSI
- Condition
- three blank caps side by side in the switch strip (the chosen position and both neighbours)
- Gauge
- 1 × 52 mm flush in a 60 × 60 mm pod, variants for 45, 50 and 55 mm gauge depth
- Mounting
- foot approx. 23 × 18 mm, 11.5 mm deep, with crush ribs; friction fit only
- Material
- PETG, ASA or ABS; no supports
- Fit
- not tested in a car; dimensions taken from a freely published third-party model
How the pod sits
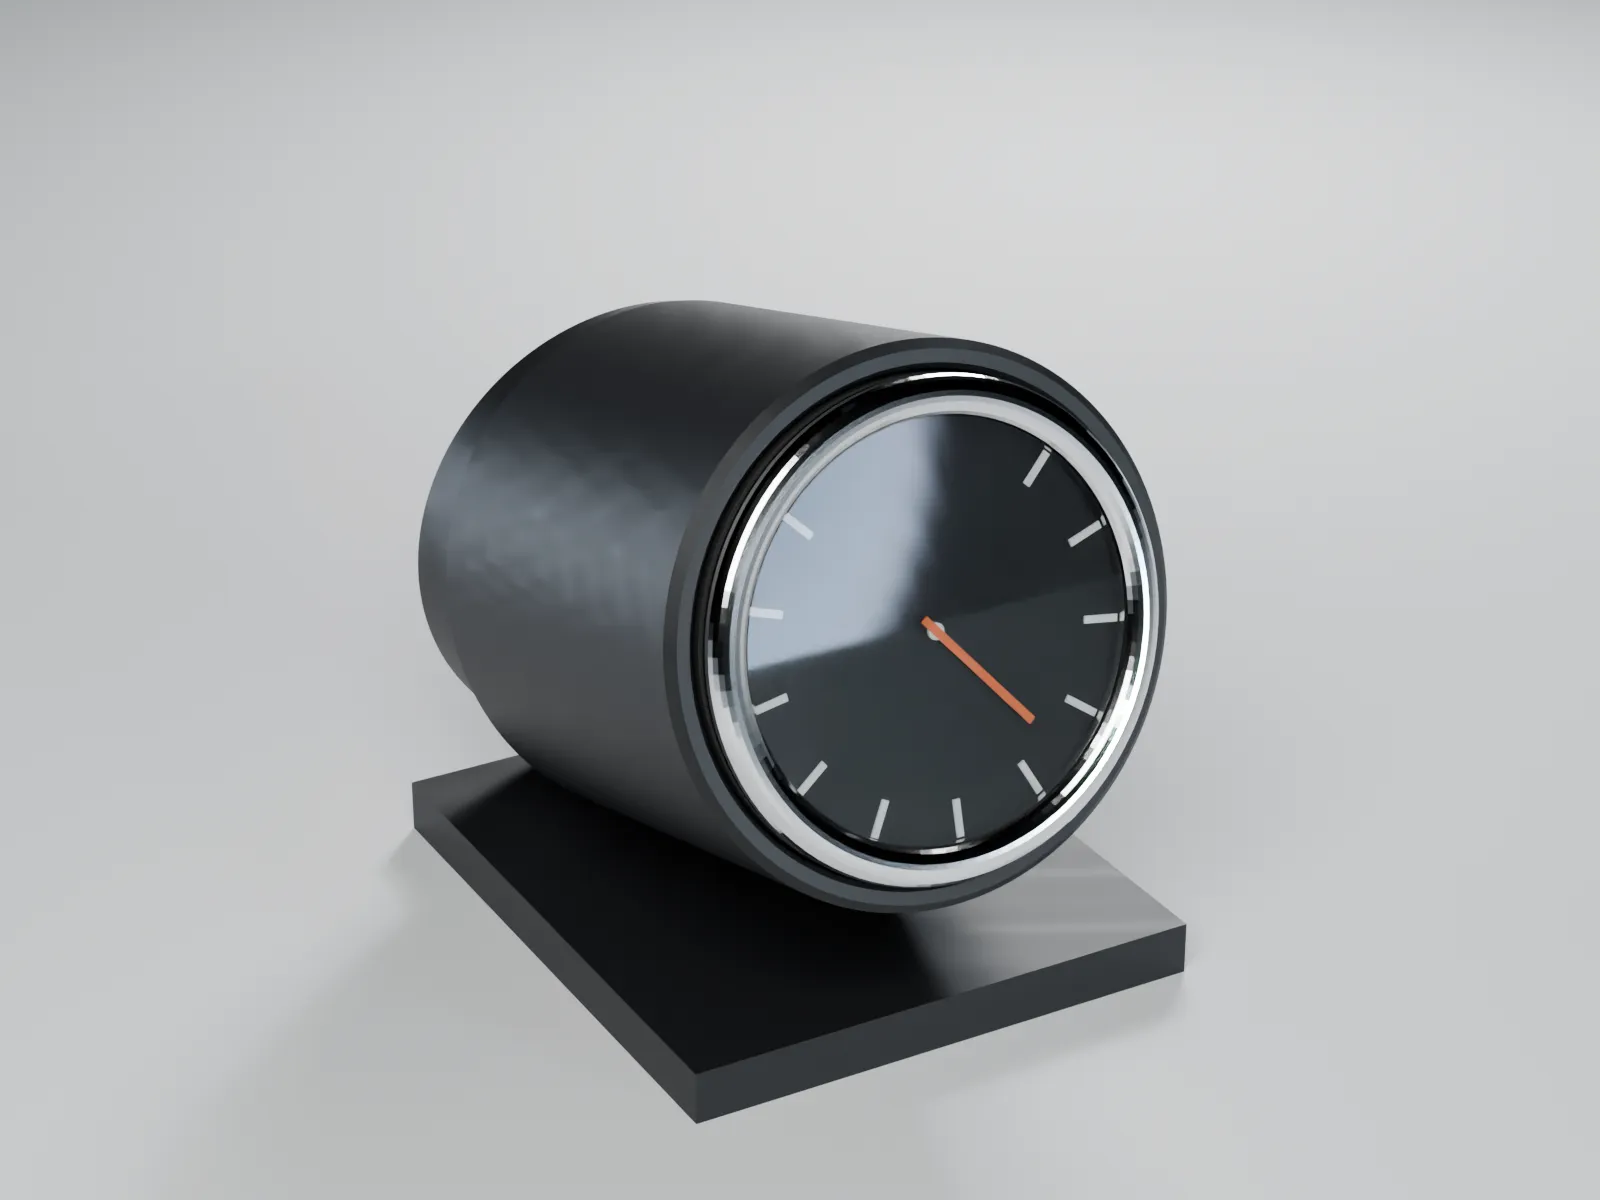
Below the Polo 6R’s centre vent there is a switch strip. Positions without a switch are closed with blank caps. In place of a blank cap goes a foot with crush ribs, and in front of it sits a 60 × 60 mm pod with one 52 mm gauge flush. Crush ribs hold the gauge without screws, and the cable runs through the foot behind the switch strip.
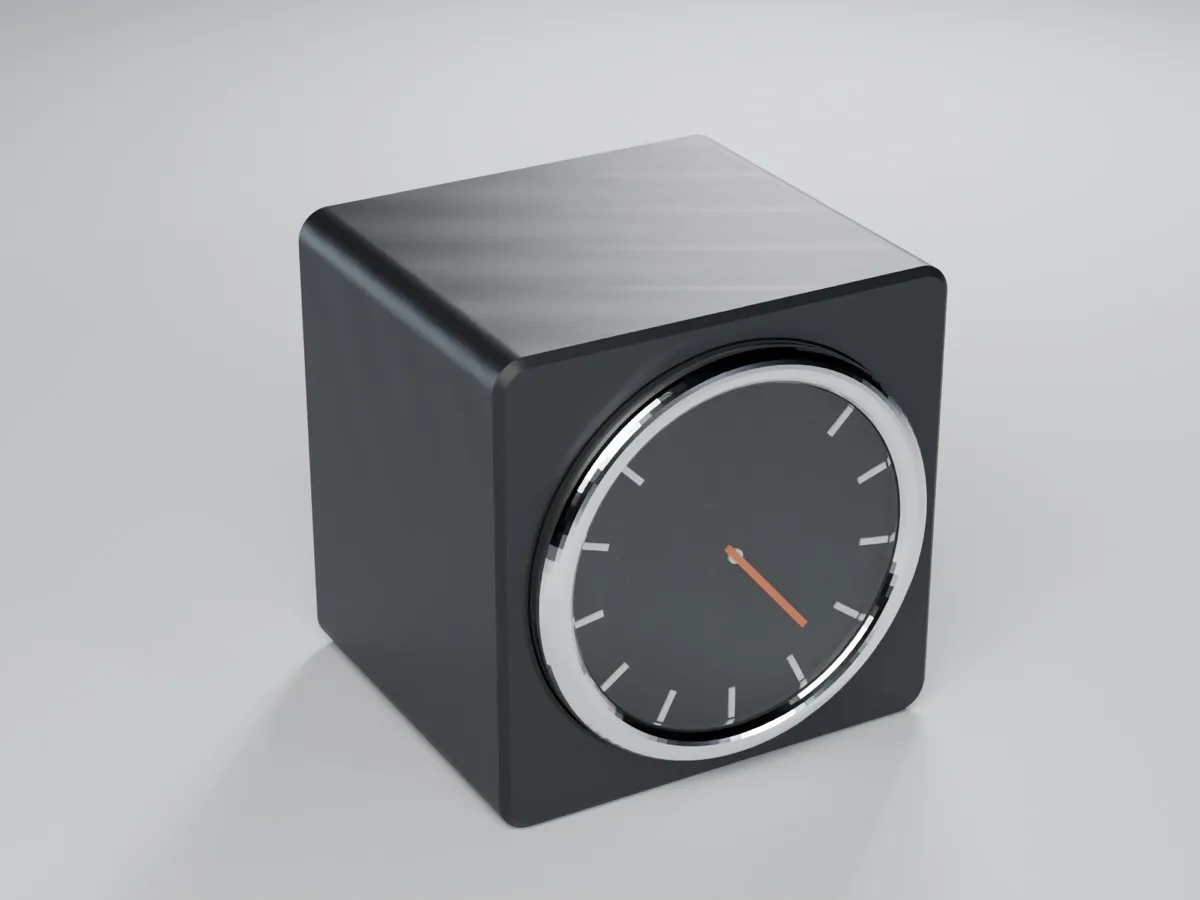
The foot is only 11.5 mm deep, so the pod sits in front of the switch strip and protrudes by the depth of the gauge. Pick the variant by gauge depth (45, 50 or 55 mm).
Check first: three blank caps side by side
The pod is 60 mm wide and covers both neighbouring positions. It may therefore only go on a position whose two neighbours are blank caps too – never over a fitted switch such as ESP off, seat heating or start-stop. We don’t know which trim has three free positions side by side. Look at your switch strip before you print.
Which Polos fit
- Designed for: Polo 5 – 6R (2009–2014) and 6C facelift (2014–2017), including GTI 1.4 TSI and GTI 1.8 TSI, Comfortline and Highline – as long as three blank caps sit side by side.
- Don’t mix up: for the older Polo 9N there is a separate ashtray panel.
What is tested and what isn’t
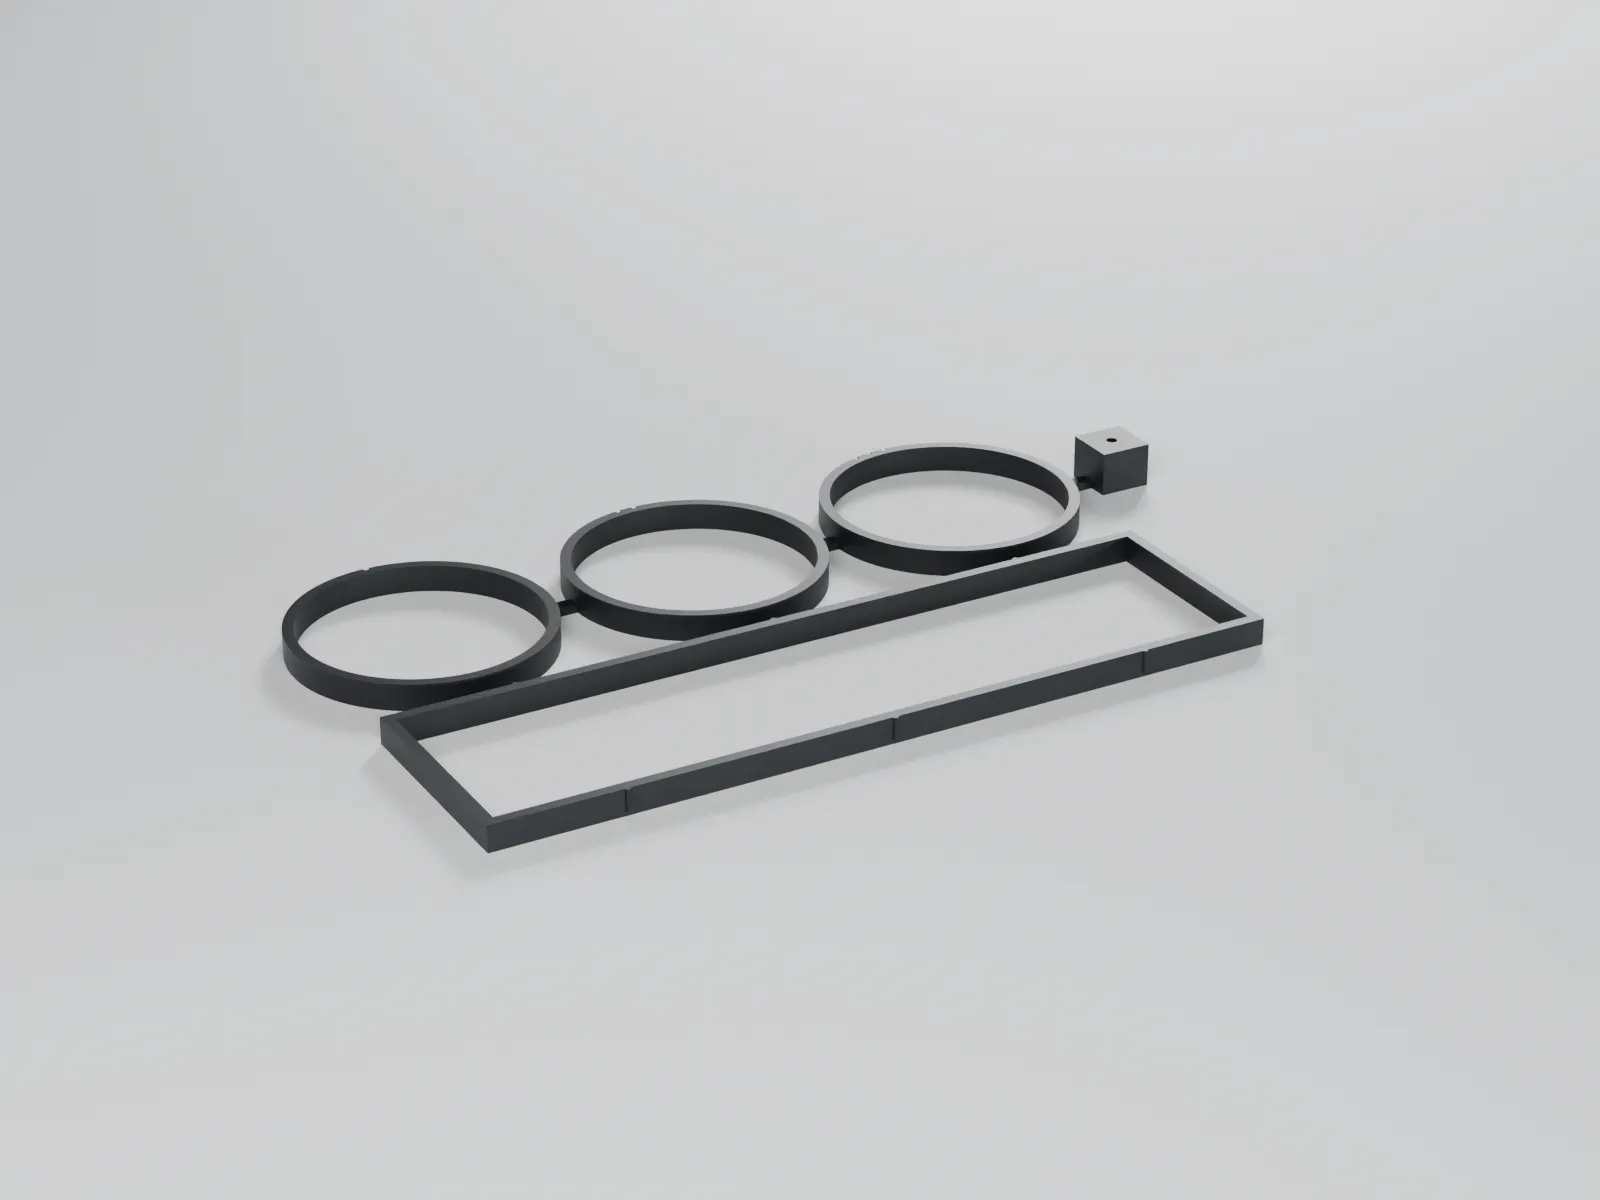
Our pod has not yet been tested in a Polo. The blank cap dimensions (clip legs 23.2 × 18.2 mm, 11.5 mm deep) come from a freely published model that, according to its maker, fits the 6R and 6C (jonasgddfr, Printables 267825, GPL v3); only the dimensions were taken over. The pod is held by friction only. If the foot is too tight, file the crush ribs a little; if it is too loose, add thin felt tape. The tolerance test ring shows whether your printer hits the 52.79 mm gauge bore.
Safety
The pod sits below the centre vent, clear of the passenger airbag flap. It must not reach up toward the airbag flap and must not cover the hazard switch or the vent wheel. Check it is secure before driving and always use a fused power supply.
Printing
The pod prints face down on the bed, so the visible side comes out smooth and no supports are needed. PETG is enough here, ASA or ABS also work, PLA does not (PETG or ASA in a car). It weighs 64 g and takes just under 5 hours.
Fitting the gauge pod in a Polo 6R blank switch position
- Check on the switch strip that the chosen position and both neighbours are blank caps.
- Print the tolerance test ring or fit test set in the final material and test-fit the gauge.
- Print the pod in PETG or ASA (face down on the bed, no supports).
- Carefully lever out the middle blank cap and keep it.
- Feed the cable through the foot behind the switch strip, press the gauge in from the front, push the pod straight in and check it is secure.
FAQ
Which blank position is free on my car?
That depends on the trim: ESP off, seat heating, start-stop, parking sensors and other switches take positions depending on the car. The pod may only go on a blank cap whose left and right neighbours are blank caps too, because it covers both. Which trim has three free positions side by side is not sourced – please look at your own switch strip.
Will it hold on cobblestones?
Not tested. The pod is held only by friction in the blank switch position, like phone mounts made for the same spot. It is meant for light electric gauges; check it is secure before driving.
Which gauge makes sense on the GTI?
Usually boost. Any gauge with a 52 mm body fits, as long as its depth matches the chosen variant. Which sender and connection you need is in the gauge maker's instructions.
Is the position safe with regard to airbags?
The pod sits below the centre vent, clear of the passenger airbag flap; the curtain airbags (depending on trim) do not affect this position. The pod must still not reach up toward the airbag flap or cover the hazard switch or the vent wheel.
Updated: 1 November 2026