Homelab & Rack
Rack fit test 1U for 10″ and 19″ racks – ear, M3 joint and tolerance comb
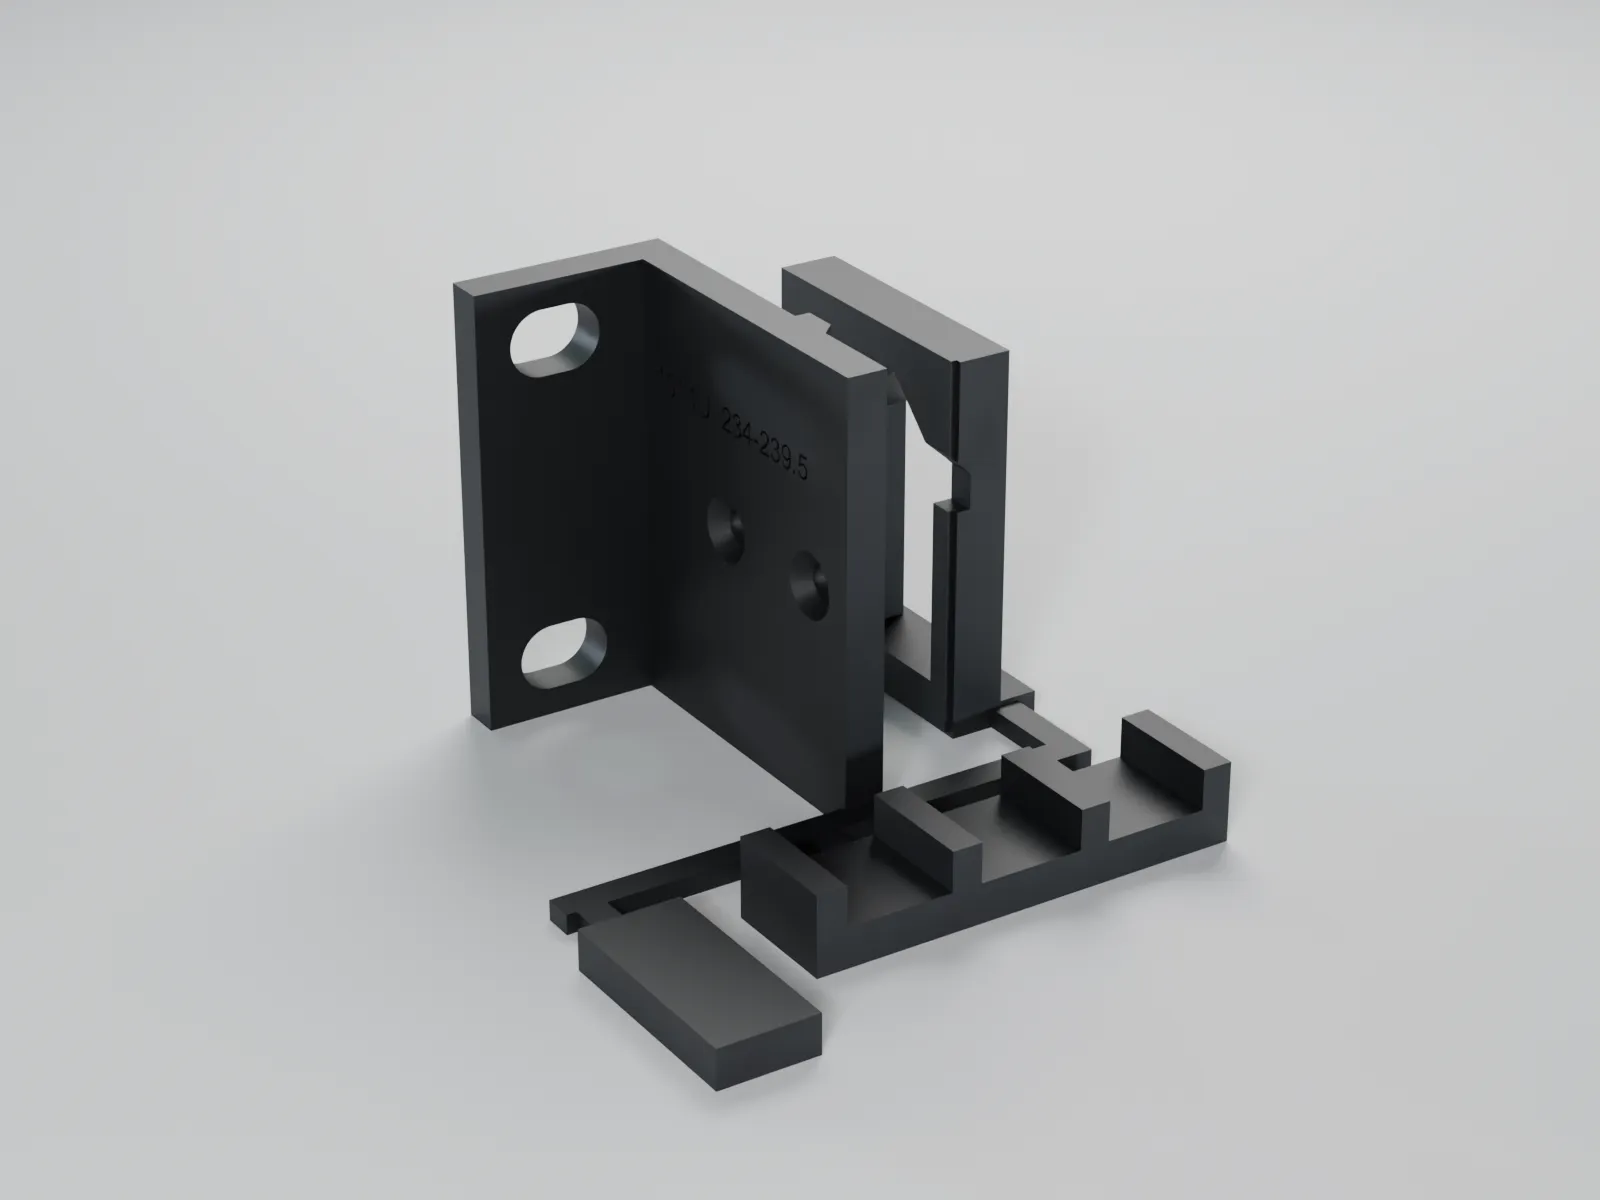
A real 1U rack ear, a piece of device carrier with the M3 joint and a tolerance comb: check rack and printer before printing the full insert.
Description
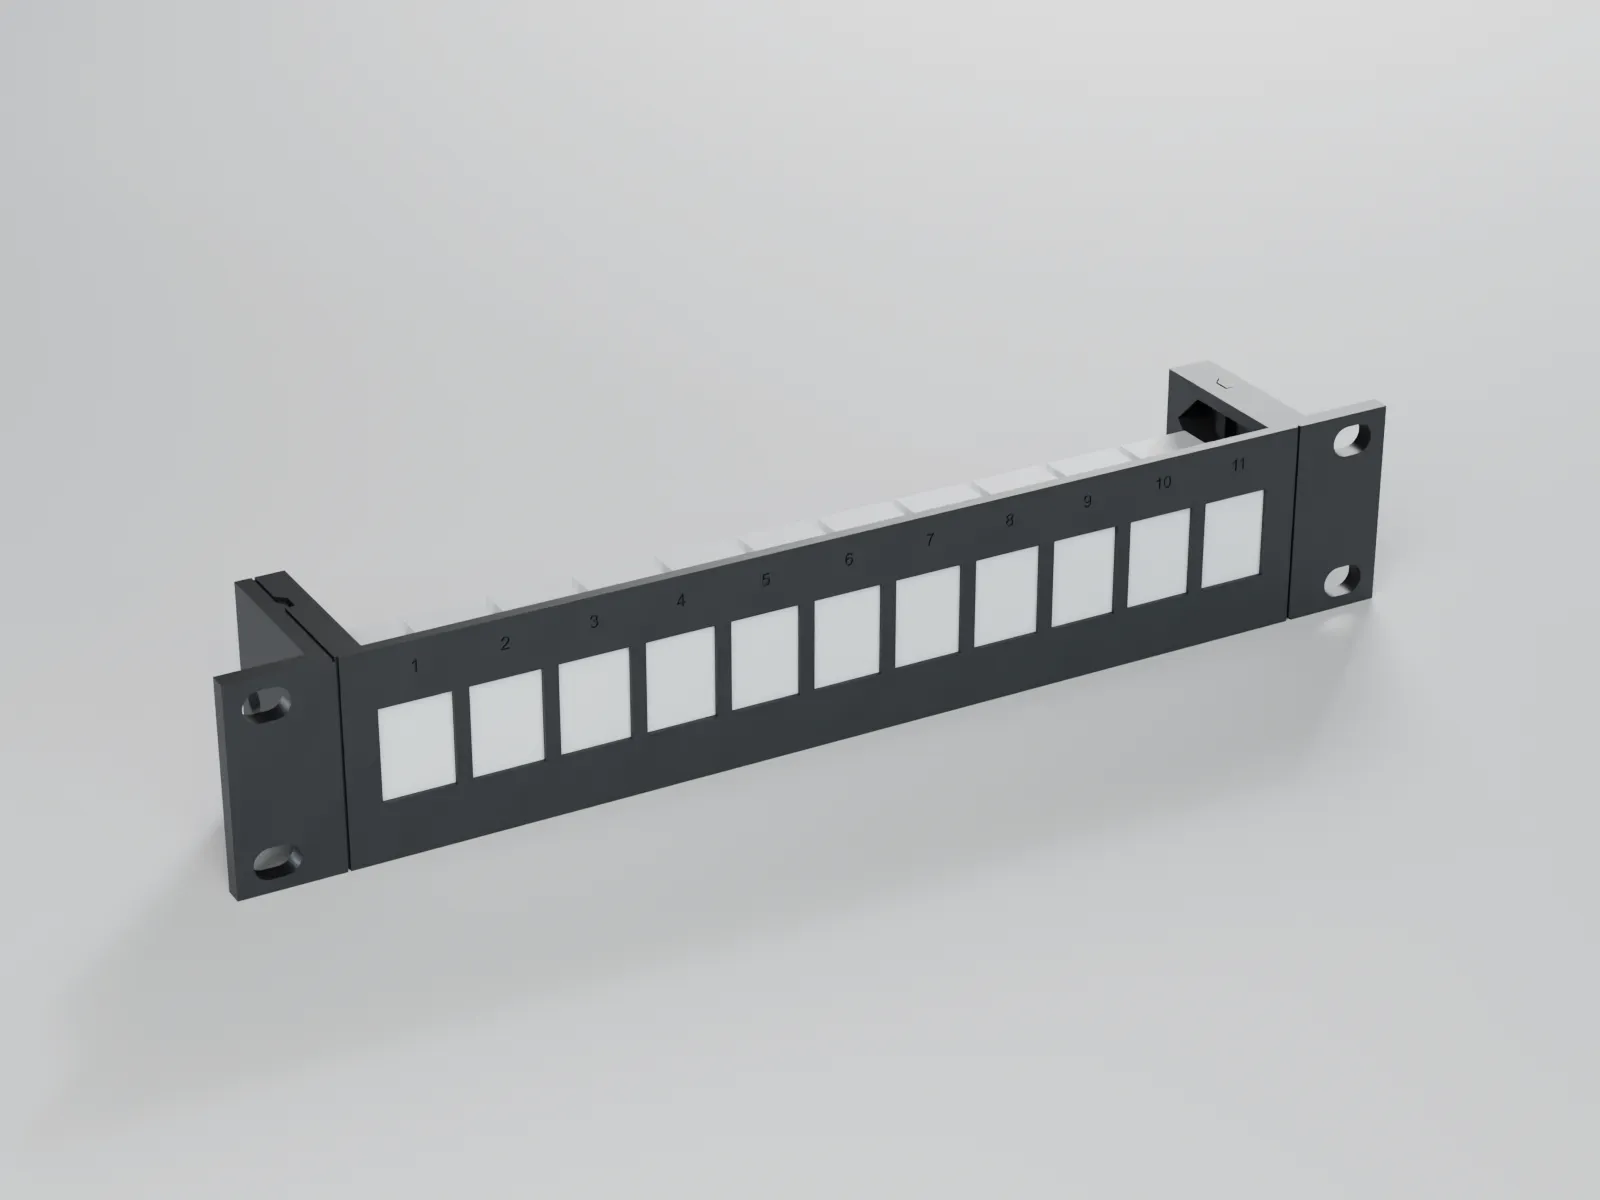
Our rack inserts consist of a device carrier and two rack ears. This free part contains exactly that joint in a small format, so you can check before the big print:
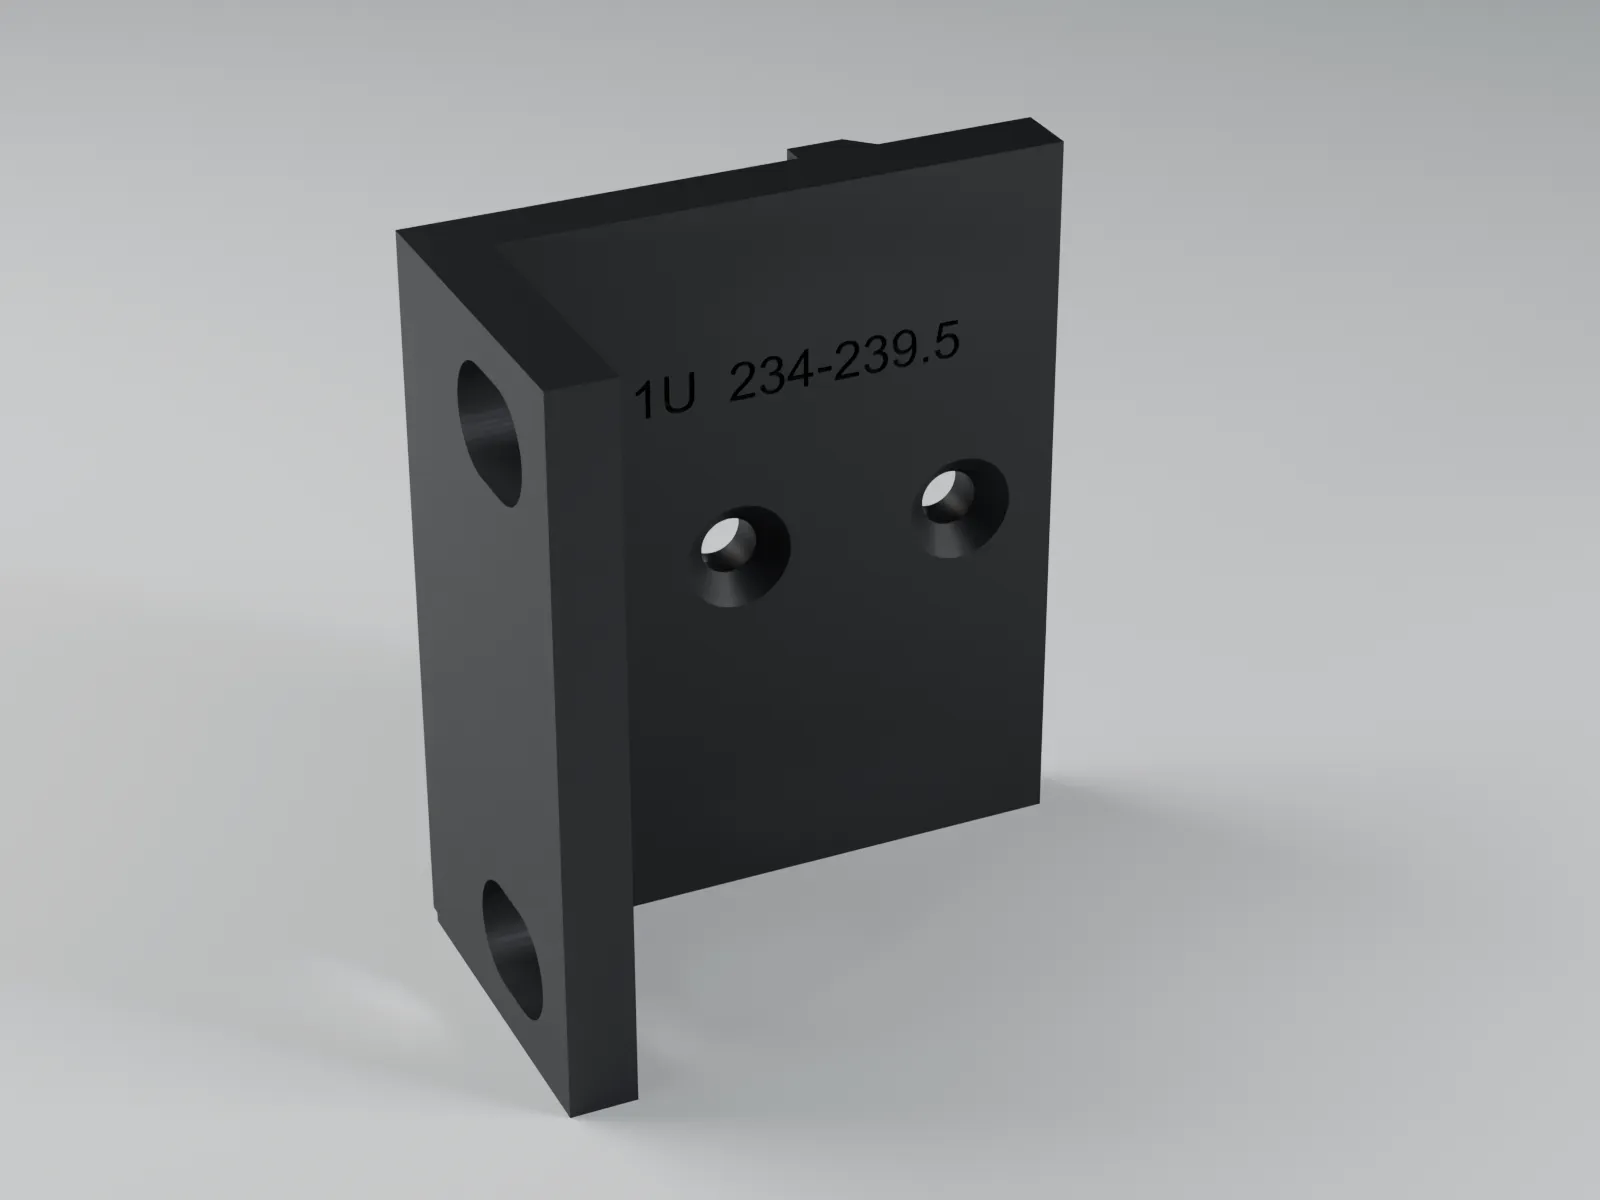
- 1U ear with slot (6.5 mm high): screw it to a rail. Does your screw fit (#10-32, M5 or M6), does the plate sit within one unit without touching the next one?
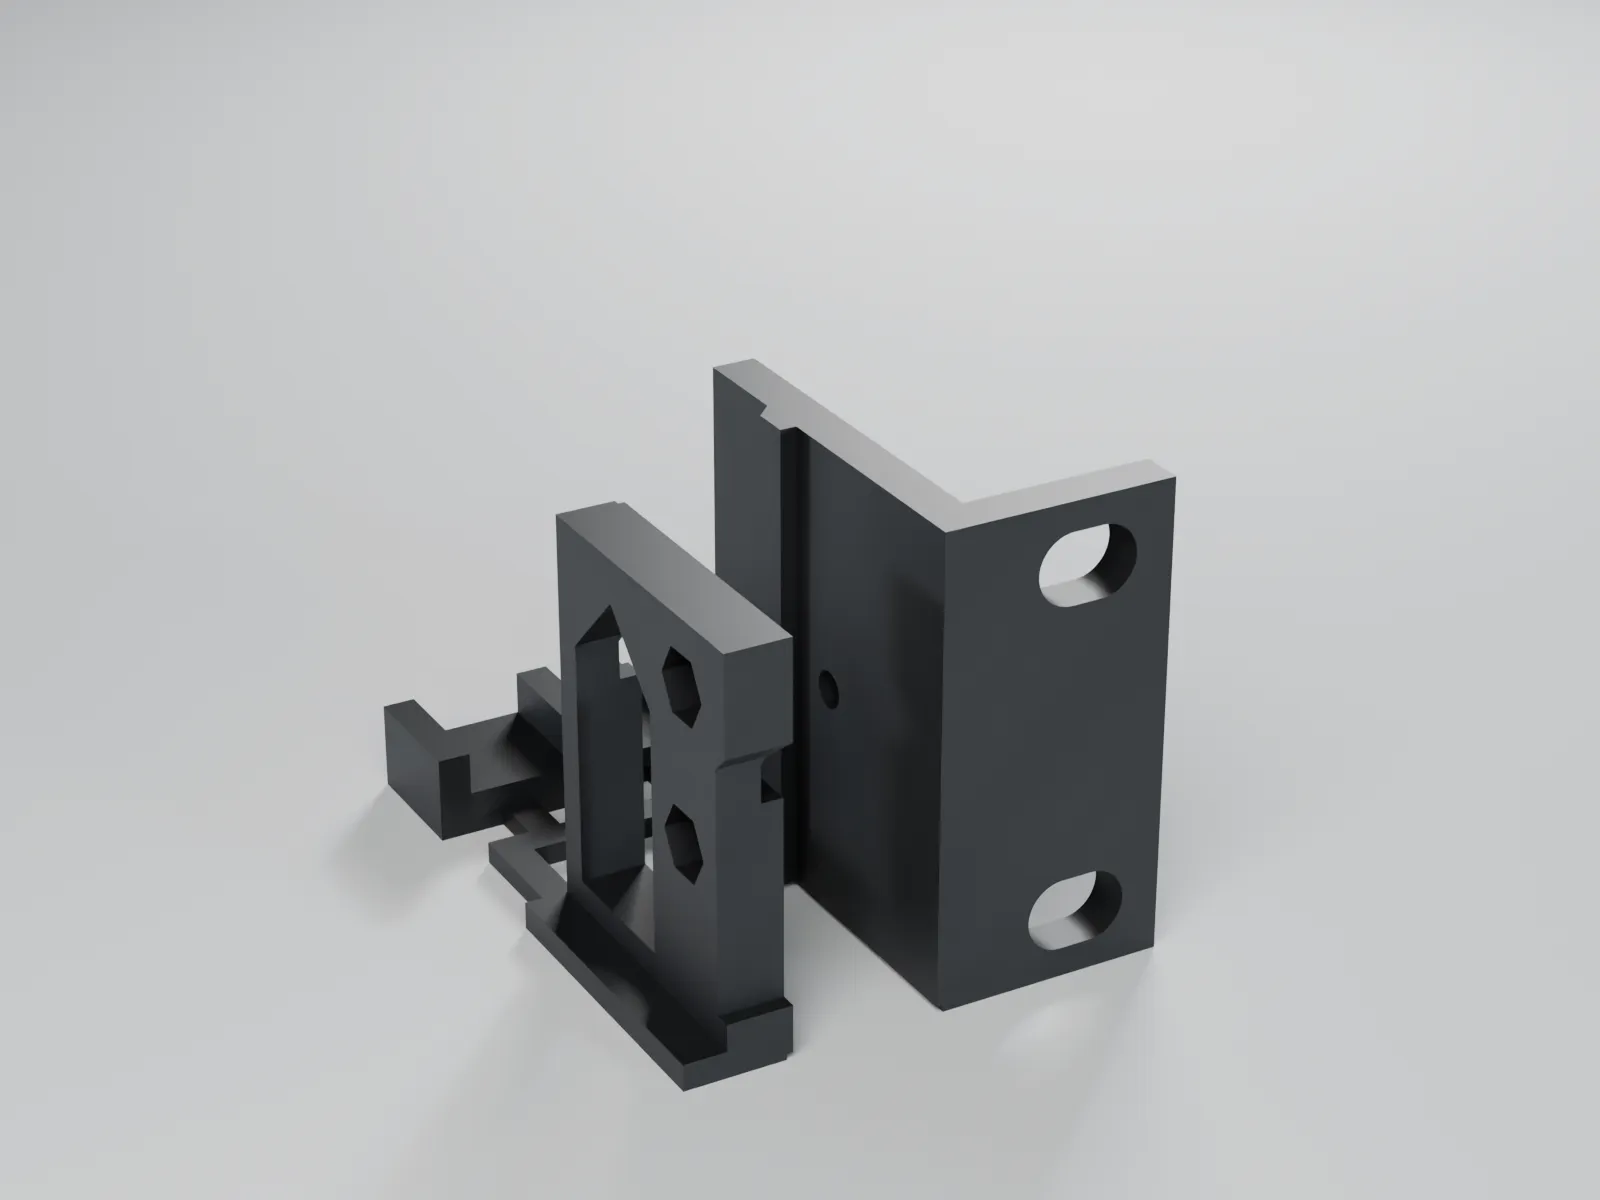
- Carrier piece with the M3 joint: bolt the ear on with 2 × M3×10 countersunk screws and nuts. Do the nuts go into their pockets, are the fronts flush?
- Tolerance comb: snap off the 10 mm tongue and try it in the three slots (+0.3 / +0.5 / +0.7 mm, 1–3 notches). Our joint uses +0.5 mm.
Hole spacing: there is no standard for 10-inch racks. We found 235 to 238 mm centre to centre; our 10″ ears have slots for 234.0 to 239.5 mm. Measure the hole centres on your rack if in doubt. 19″ ears: 465.1 ± 1 mm per EIA-310. Hole width and height are the same for 10″ and 19″, so one test part covers both.
The dimensions come from standard tables, manufacturer data and community measurements; our part has not been tested on a rack yet. That is exactly what this test part is for.
Load of the inserts: without rear support (2-post rack) 1 kg at most, with the rear support brackets (4-post rack) 2 kg at most, both guide values, not a tested load rating. The test part itself carries no device.
10″ slot covers 234.0–239.5 mm centre to centre, 19″ 464.1–466.1 mm.
Dimensions
| Width | 60 mm |
|---|---|
| Height | 44 mm |
| Depth | 68 mm |
| Weight (printed) | 18 g |
| Layer height | 0.2 mm |
| Walls | 3 |
| Infill | 15 % |
Dimensions of the default variant in print orientation.
Material and temperature
Mini PCs often run around the clock and get warm: PETG or ASA cope with that, PLA deforms over time. Do not block the device's vents.
Print orientation: As the file is laid out: ear upright, carrier piece front face down (like the real carrier), comb and tongue flat.
Safety notice
For checking the fit only; do not hang anything from it. Holders for devices, not an electrical component: do not install or modify anything carrying mains voltage in or on them. 2 kg per rack mount at most (guide value, not a tested load rating); from 1 kg, support the device at the back as well. Print in PETG or ASA because of the constant warmth and keep the device's ventilation free.
Not an original part. No affiliation with the vehicle or device manufacturers named; make and model names only indicate fitment.
What's included
You get one ZIP with:
- STL – print-ready mesh
- 3MF – with print profile
- STEP – editable in CAD
You will also need
- 2 × M3×10 countersunk screw (ISO 10642)
- 2 × M3 nut (ISO 4032)
- 1 × Your rack's screw with a washer
Printing
- Print in the material of the final insert (PETG or ASA), 0.2 mm layers, 3 walls, no supports.
Installation
- Snap the parts off the bars and deburr.
- Screw the ear to one rail with a rack screw and washer; check the height against the next unit.
- Press the M3 nuts into the pockets of the carrier piece from inside, fit the ear (tongue into groove) and fasten with 2 × M3×10 countersunk screws.
- Try the tongue in the three comb slots: the one that fits without force and without play shows your printer's clearance.
FAQ
Which material should I use for this rack mount?
Recommended: PETG (alternatively ASA). Mini PCs often run around the clock and get warm: PETG or ASA cope with that, PLA deforms over time. Do not block the device's vents.
Do I receive a printed part?
No. You get the print files and print the part yourself or use a print service. We email you the download link.
Which screws do I need?
For the rack, your rack's screws (#10-32, M5 or M6) with a washer, because the head is only slightly larger than the slot. For the joint, 2 × M3×10 countersunk (ISO 10642) and 2 M3 nuts.
Reviews
No reviews yet.
How we check reviews: only people who bought or downloaded the file for free in our shop can review, via the personal link from the download email; once per order and file. Anyone who received the files in return for something (cooperations, gifts, 100% codes) cannot review. We publish all reviews, negative ones too, and only remove unlawful content or spam. There is no reward for reviews.
Version 2.0.0, updated 3 November 2026 · SKU HL-FIT-TEST-1U
Homelab & Rack for other cars
All homelab & rack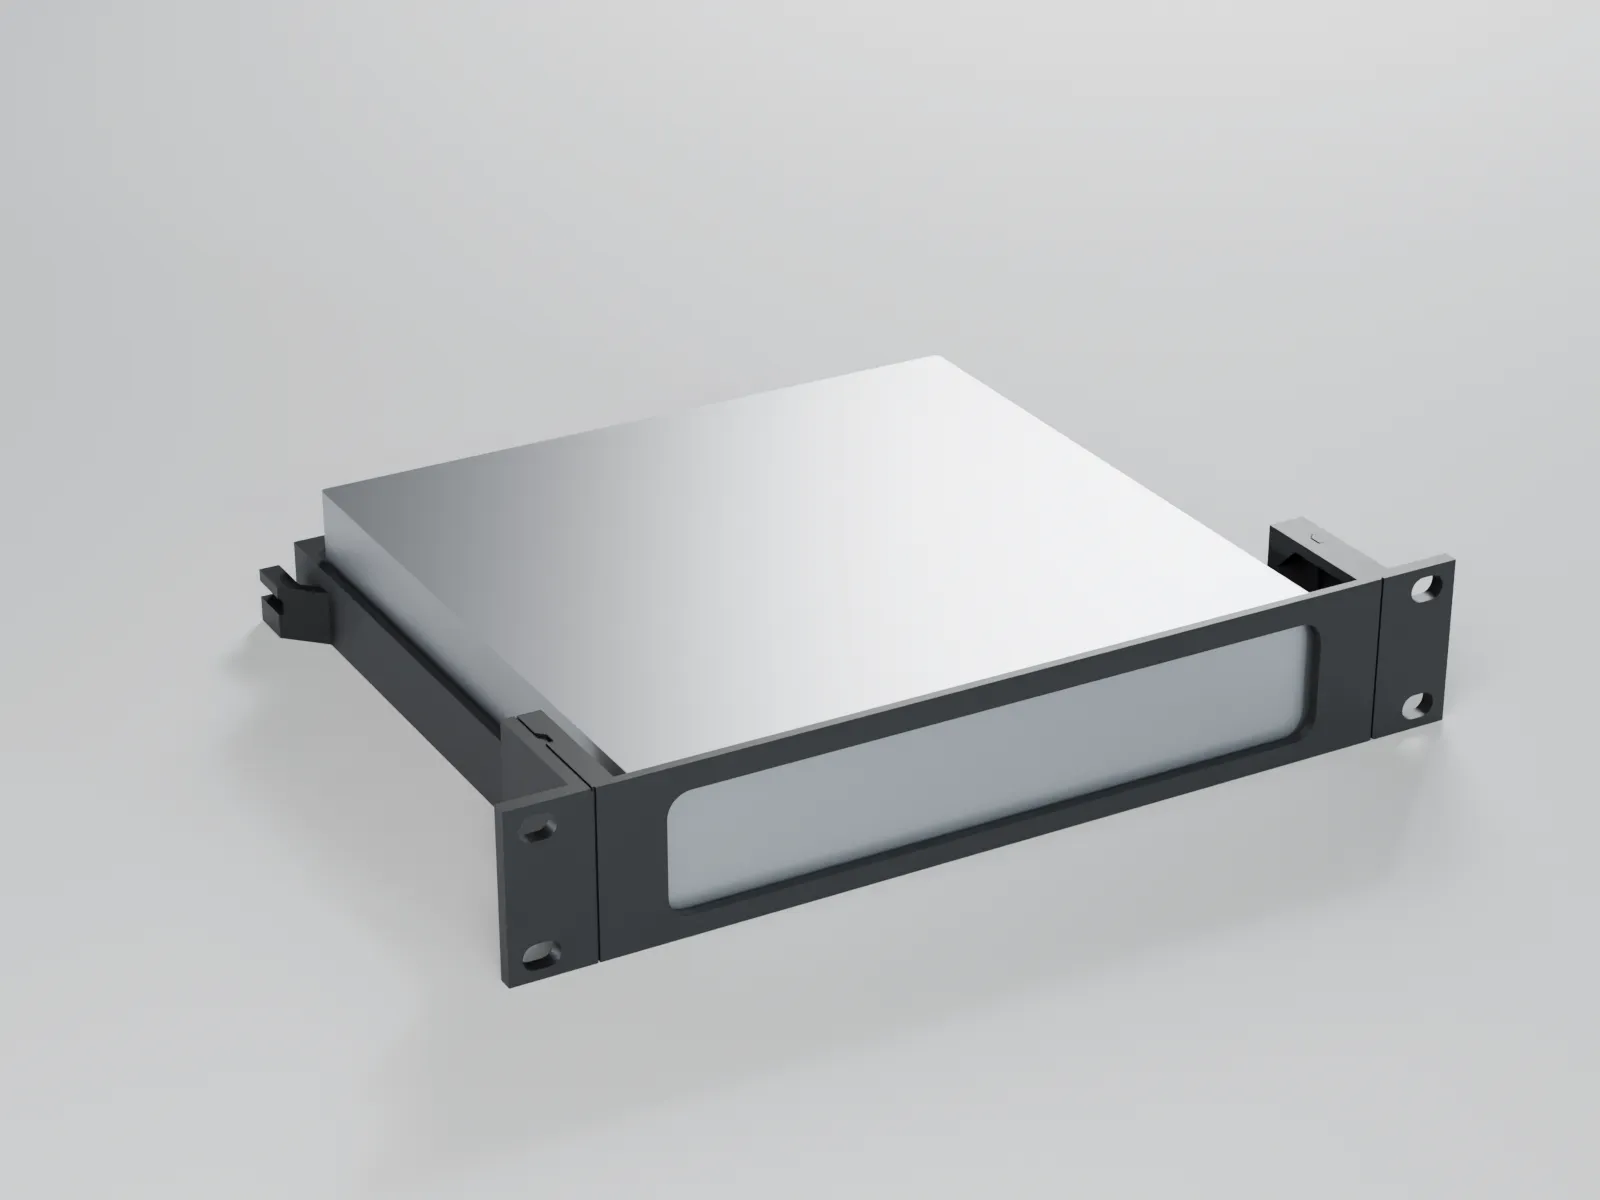
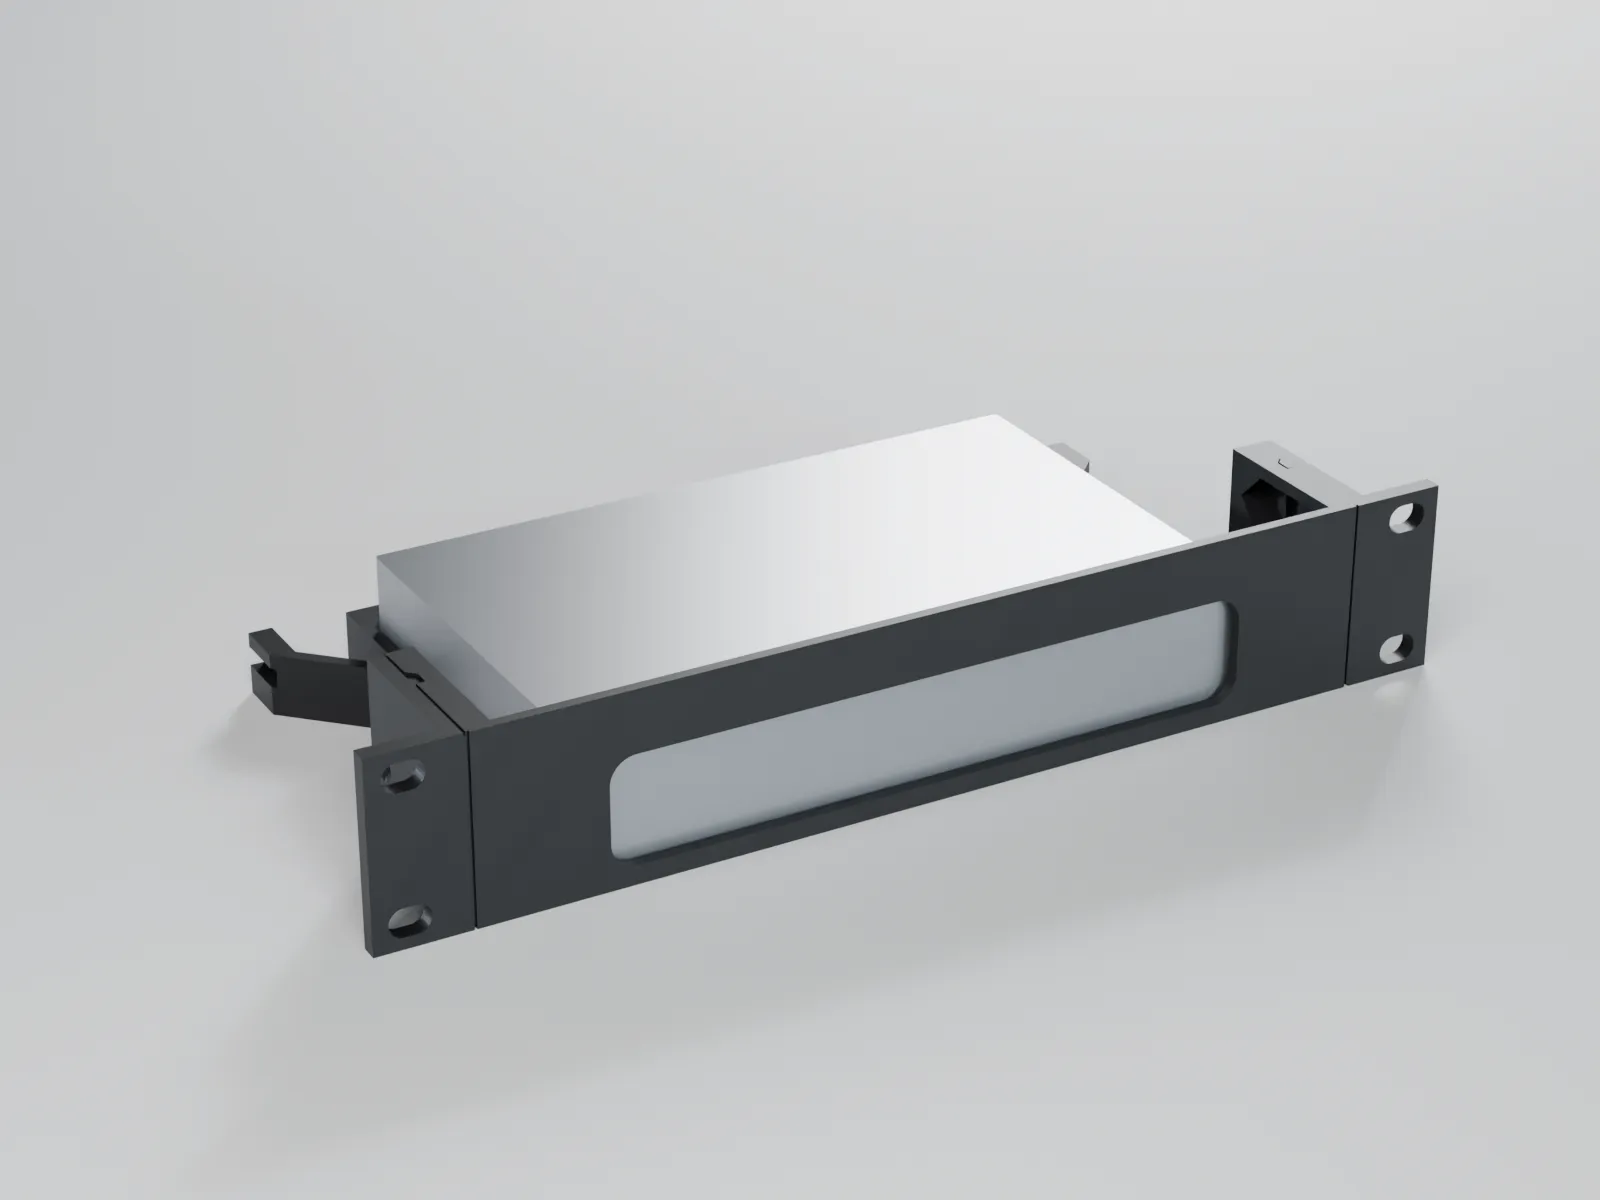
1U rack mount for 5- or 8-port desktop switches (TP-Link TL-SG105/TL-SG108, Netgear GS305/GS308) – 10″ and 19″
Universal – fits any car
from€3.90
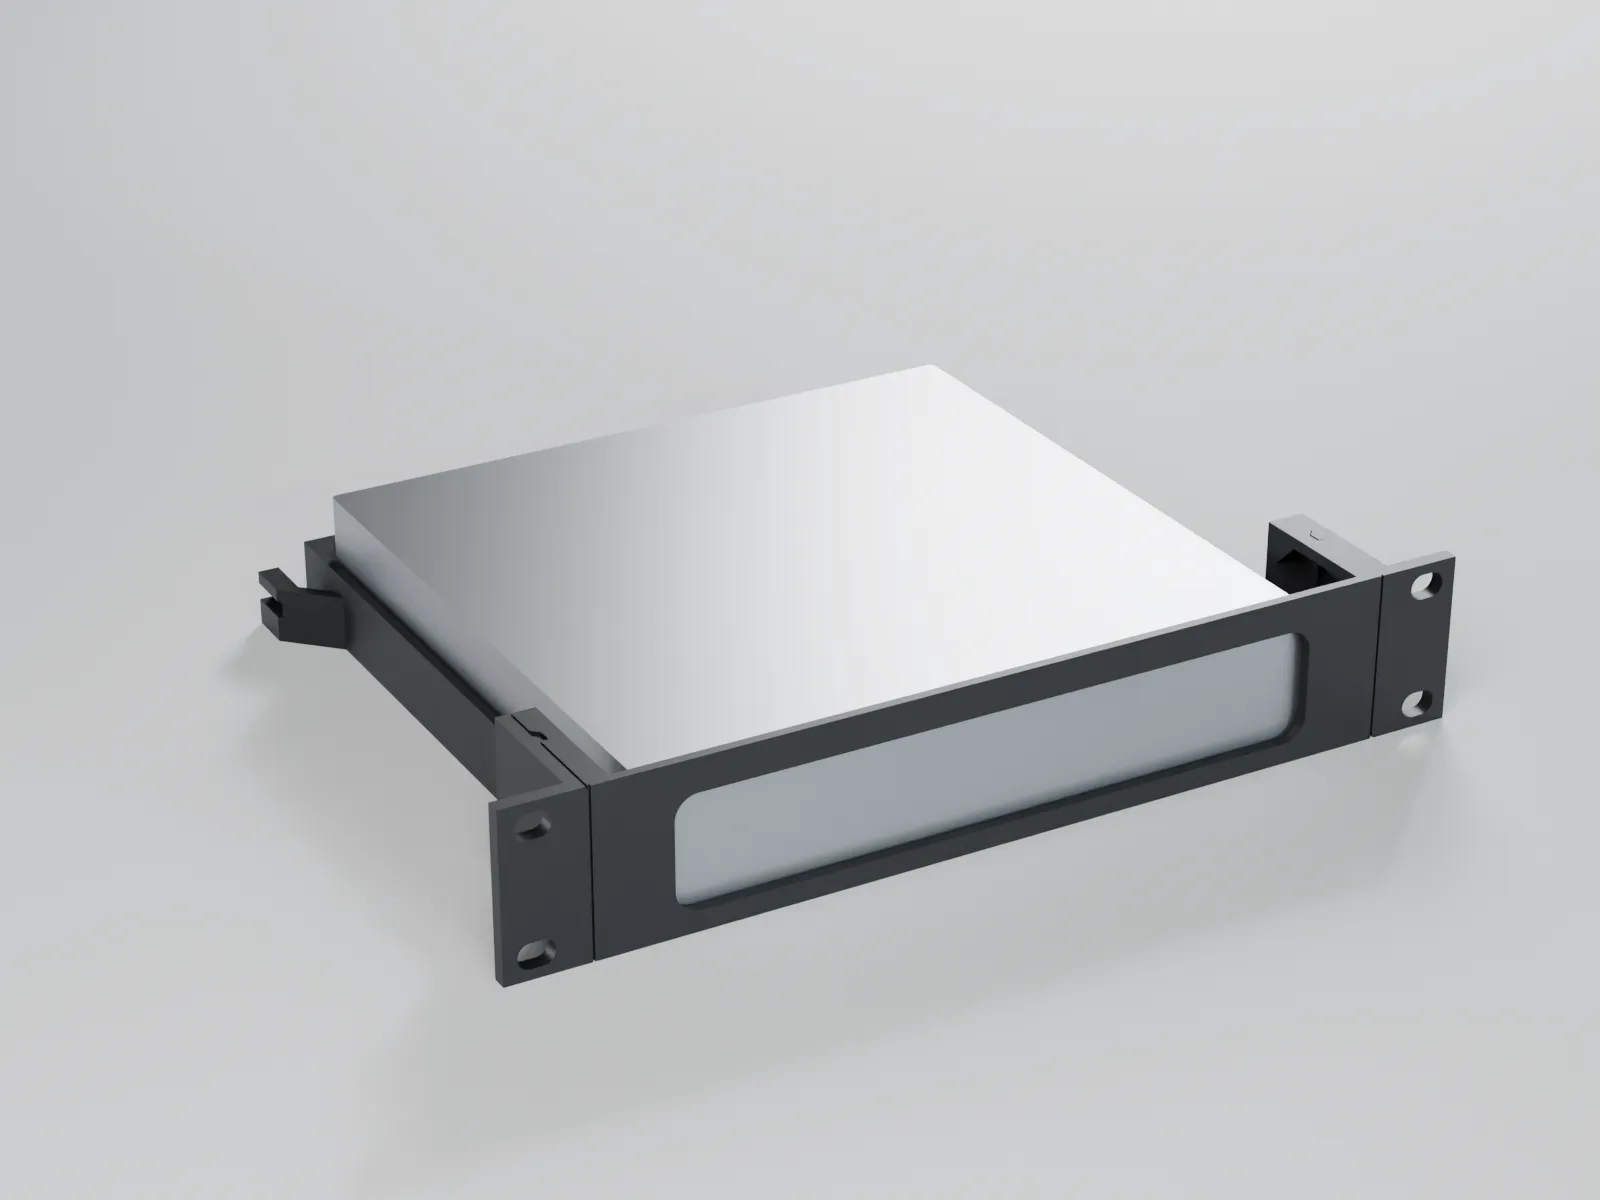
1U rack mount for HP EliteDesk / ProDesk / Elite Mini (G4–G9) – 10″ and 19″
Universal – fits any car
€3.90
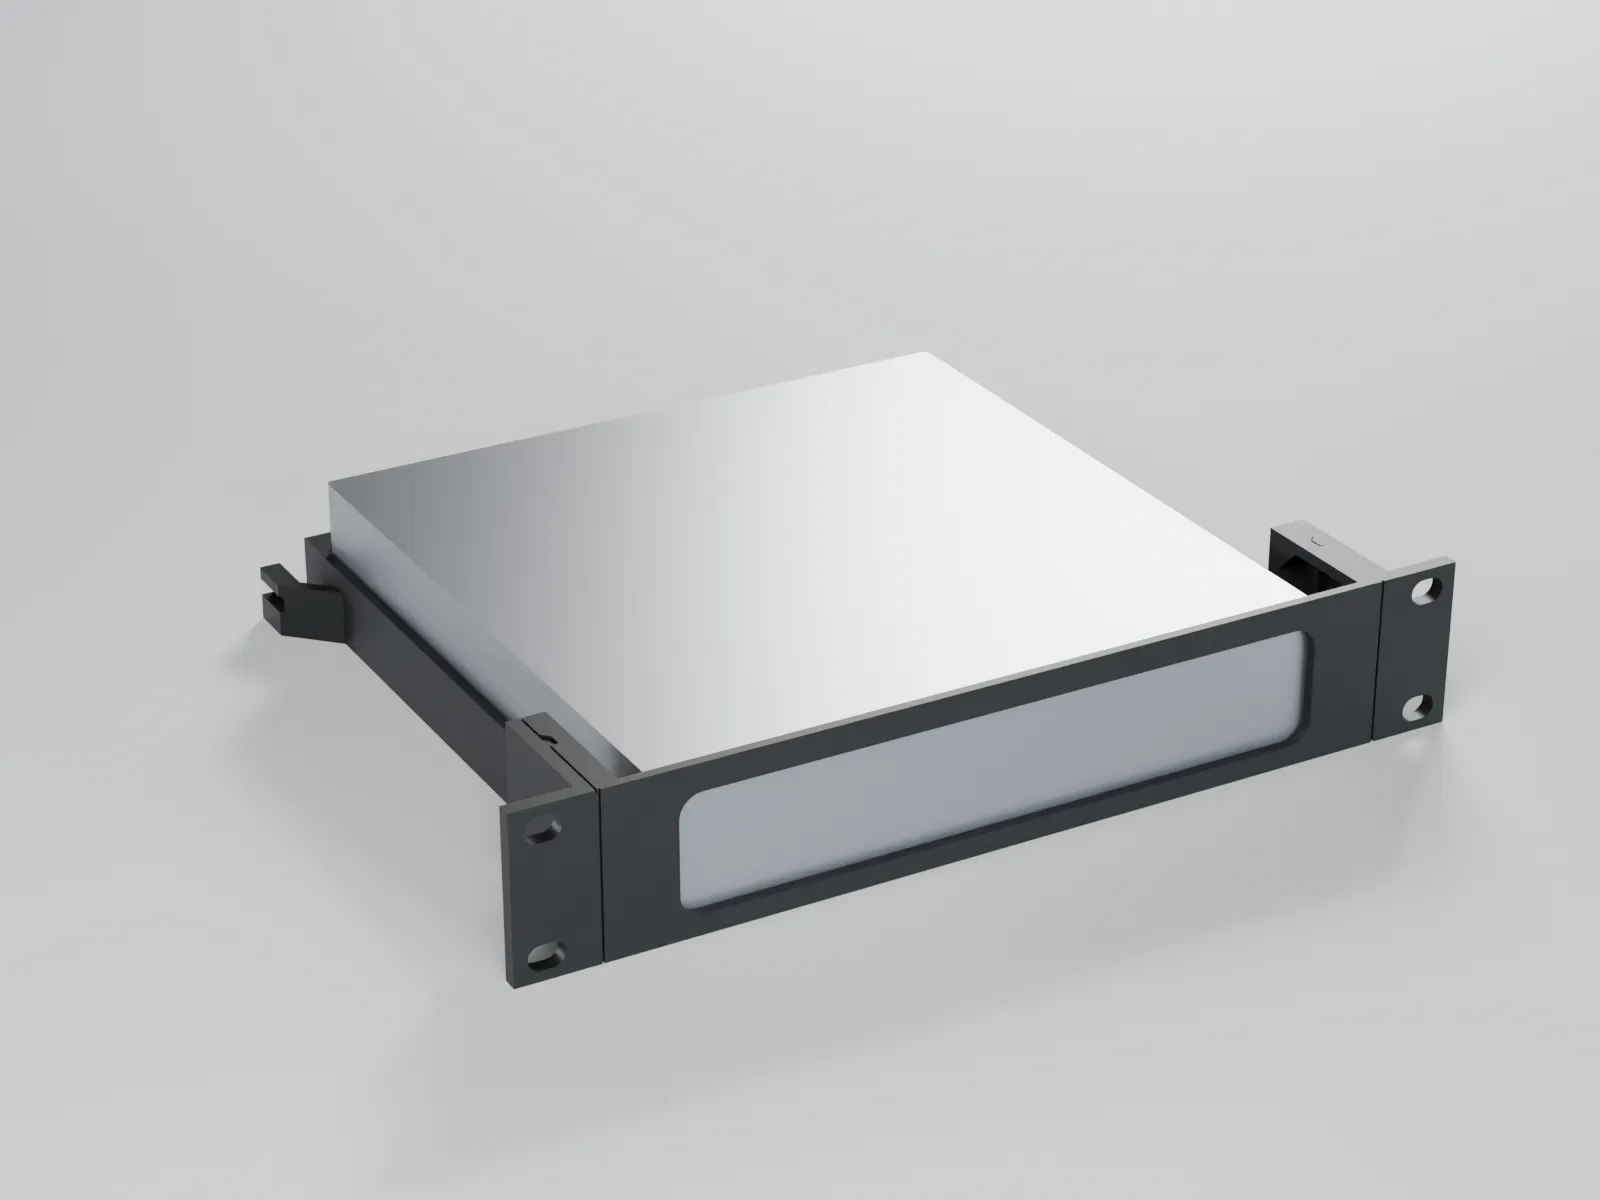
1U rack mount for Lenovo ThinkCentre Tiny (M720q, M920q, M70q, M80q, M90q, M75q) – 10″ and 19″
Universal – fits any car
€4.90
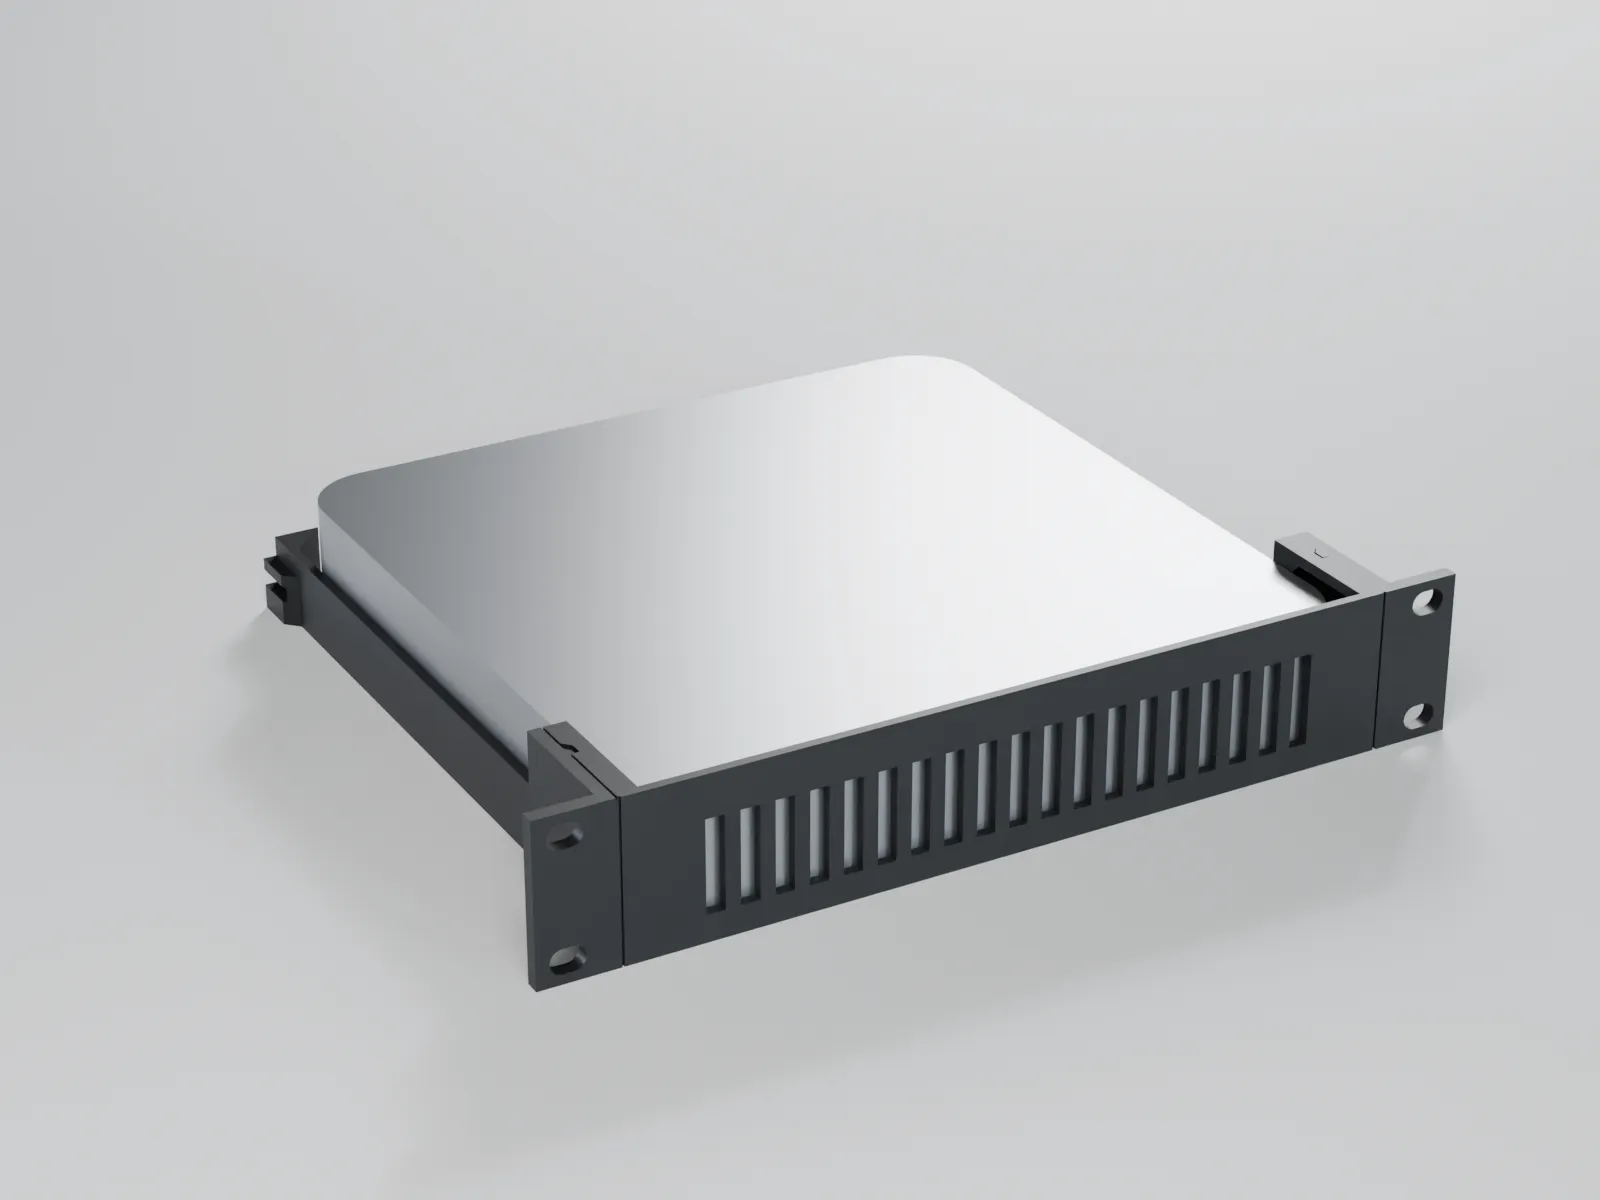
1U rack mount for Mac mini M1 (2020) / M2 / M2 Pro (2023) – 10″ and 19″
Universal – fits any car
€4.90